Create your first map
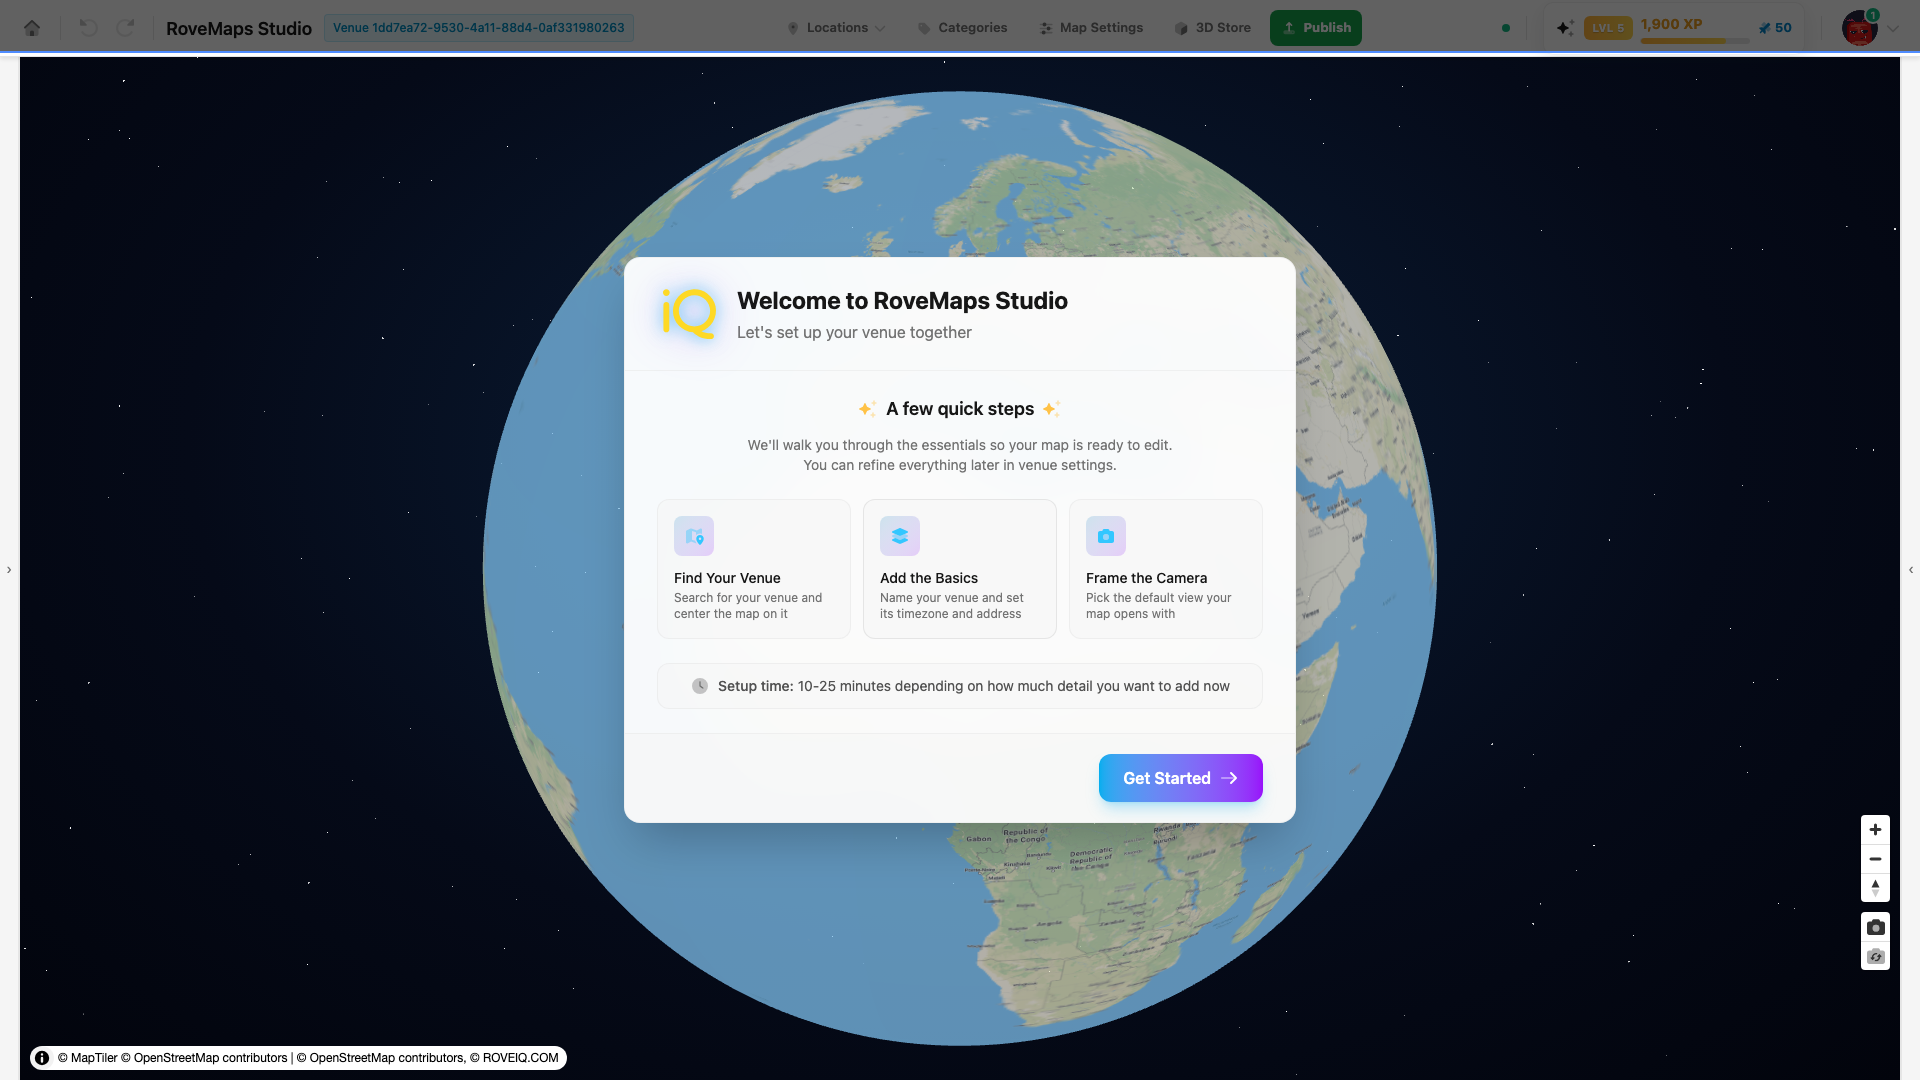
Every map starts as a draft. Creating one takes a few seconds: name it from the dashboard, then a guided setup walks you through the essentials — where your venue is, what it’s called, and how it should look — before you start drawing.
The whole journey on this page:
- Start from the dashboard
- Name your venue
- Find your location
- Venue info
- Name your floors
- Pick a style theme
- Add your first locations
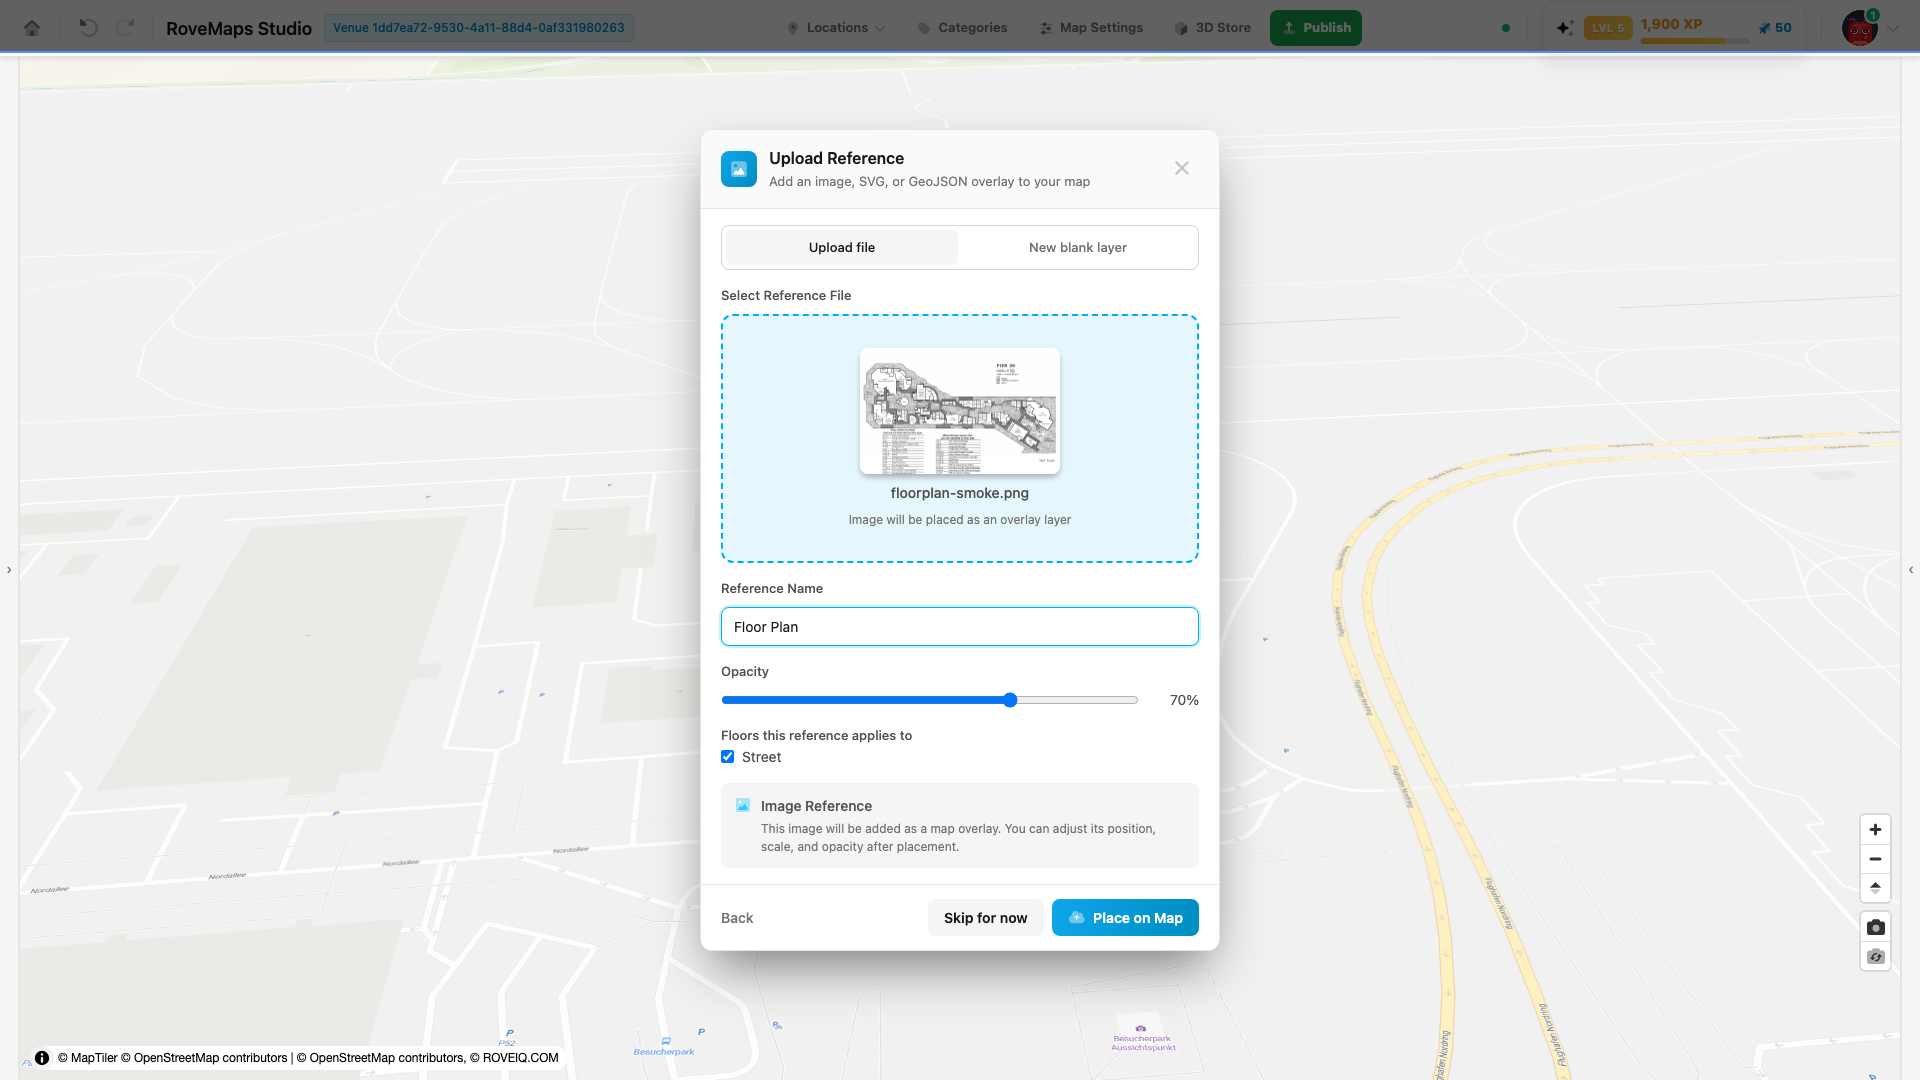
- ⭐ Upload a map reference
Start from the dashboard
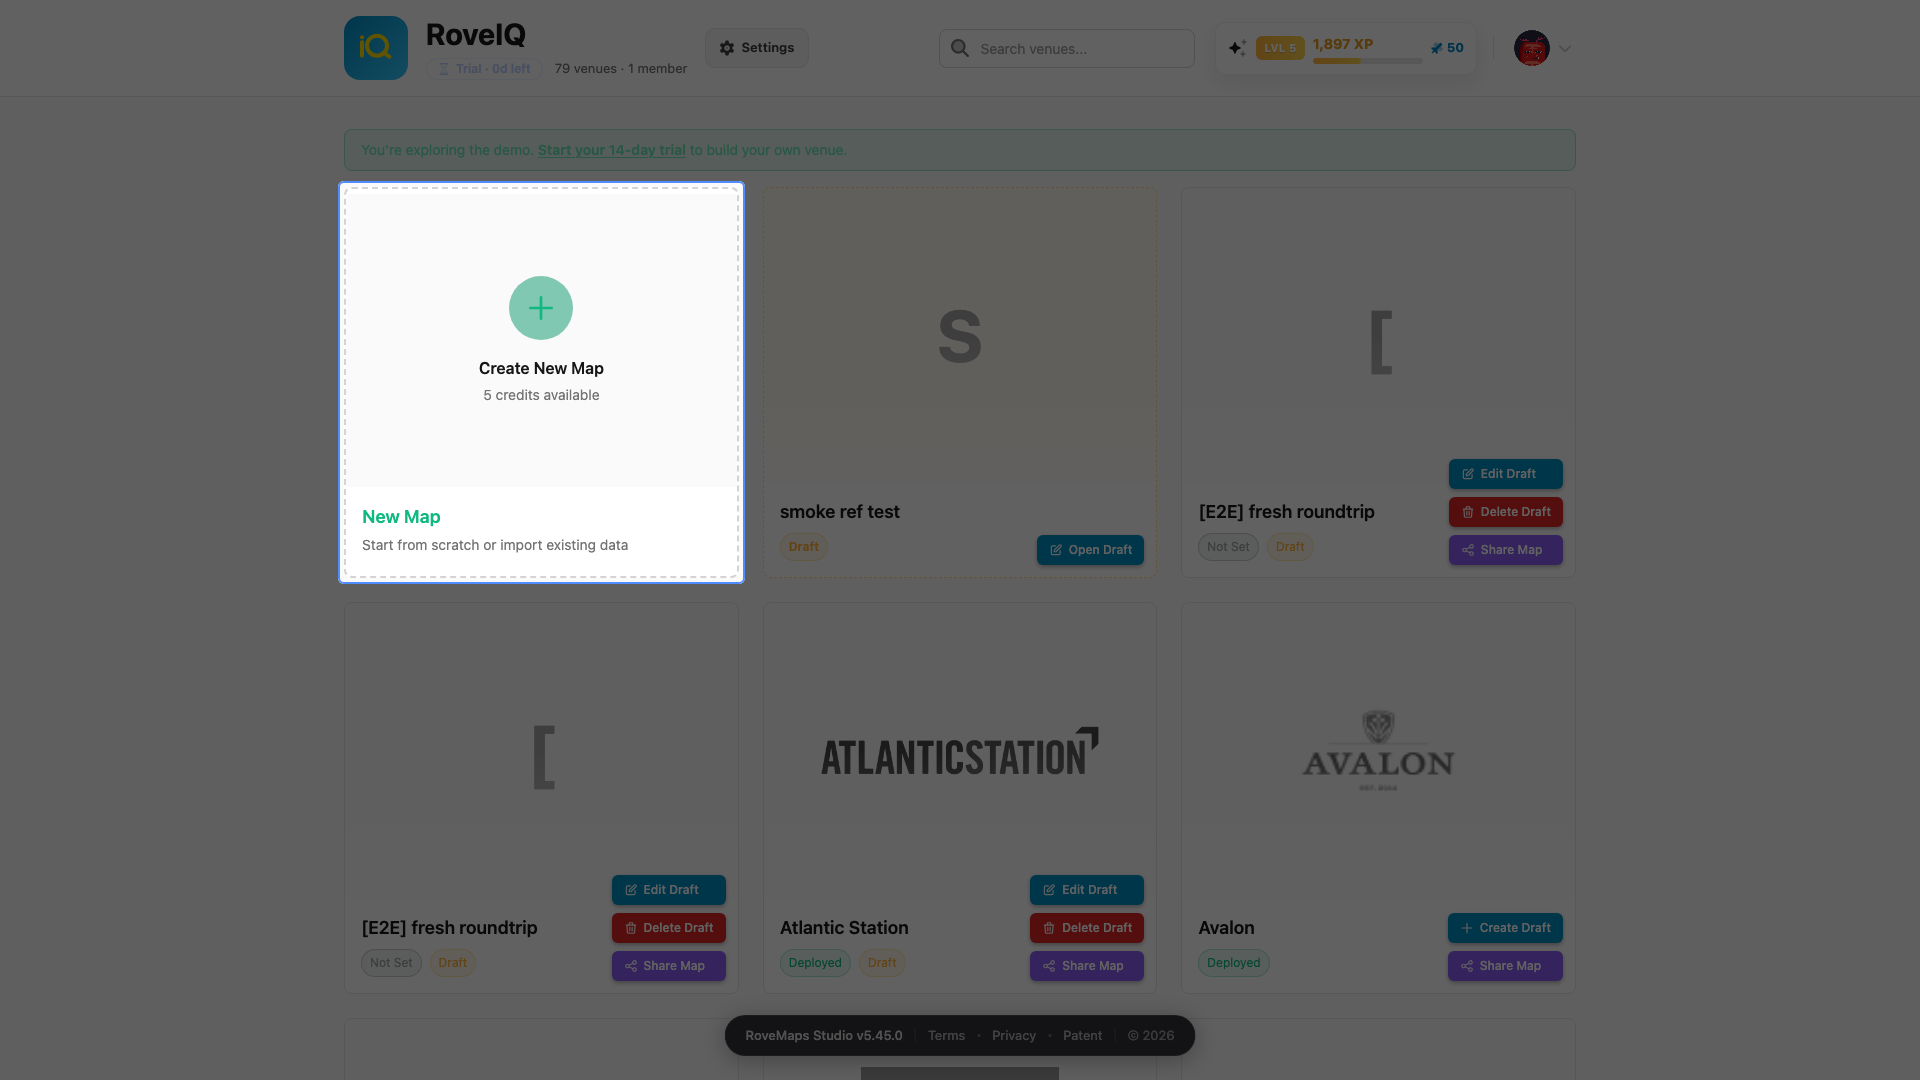
On your dashboard, click the Create New Map card. It’s available while you have map credits remaining — and a new map stays a draft until you publish it, private to you and anyone you invite to the editing room.
Name your venue
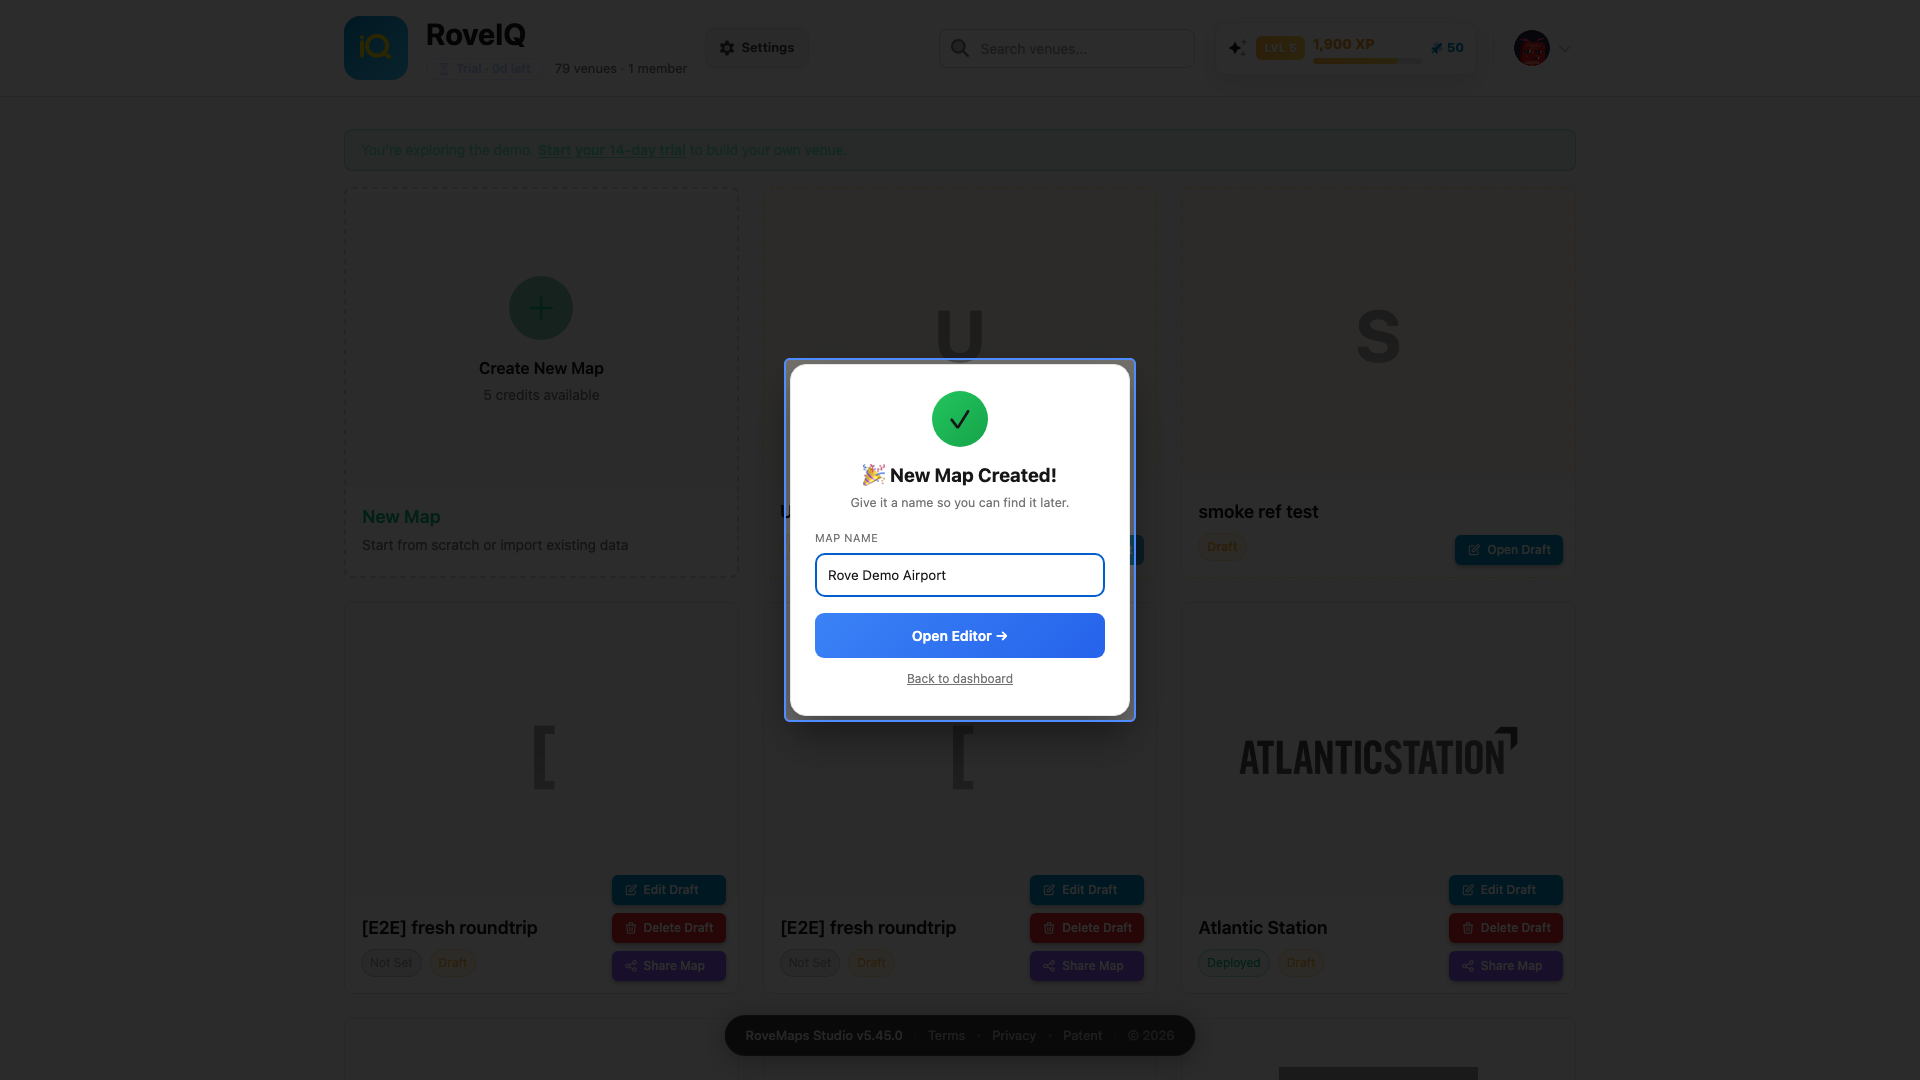
The New Map dialog prepares your draft — seeding its floors, structures, and routing — and asks for a Map name. Type one you’ll recognize later, then click Open Editor (it enables once the draft is ready and a name is in). The editor opens on your new draft and the guided setup begins.
The name you type here pre-fills the setup’s venue-info step — you can still change it there, or later from Map Settings.
Find your location
The first (and required) setup step. Search for your venue’s address or name and pick it from the results — the map flies there. Verify the highlighted area, then click Confirm.
Venue info
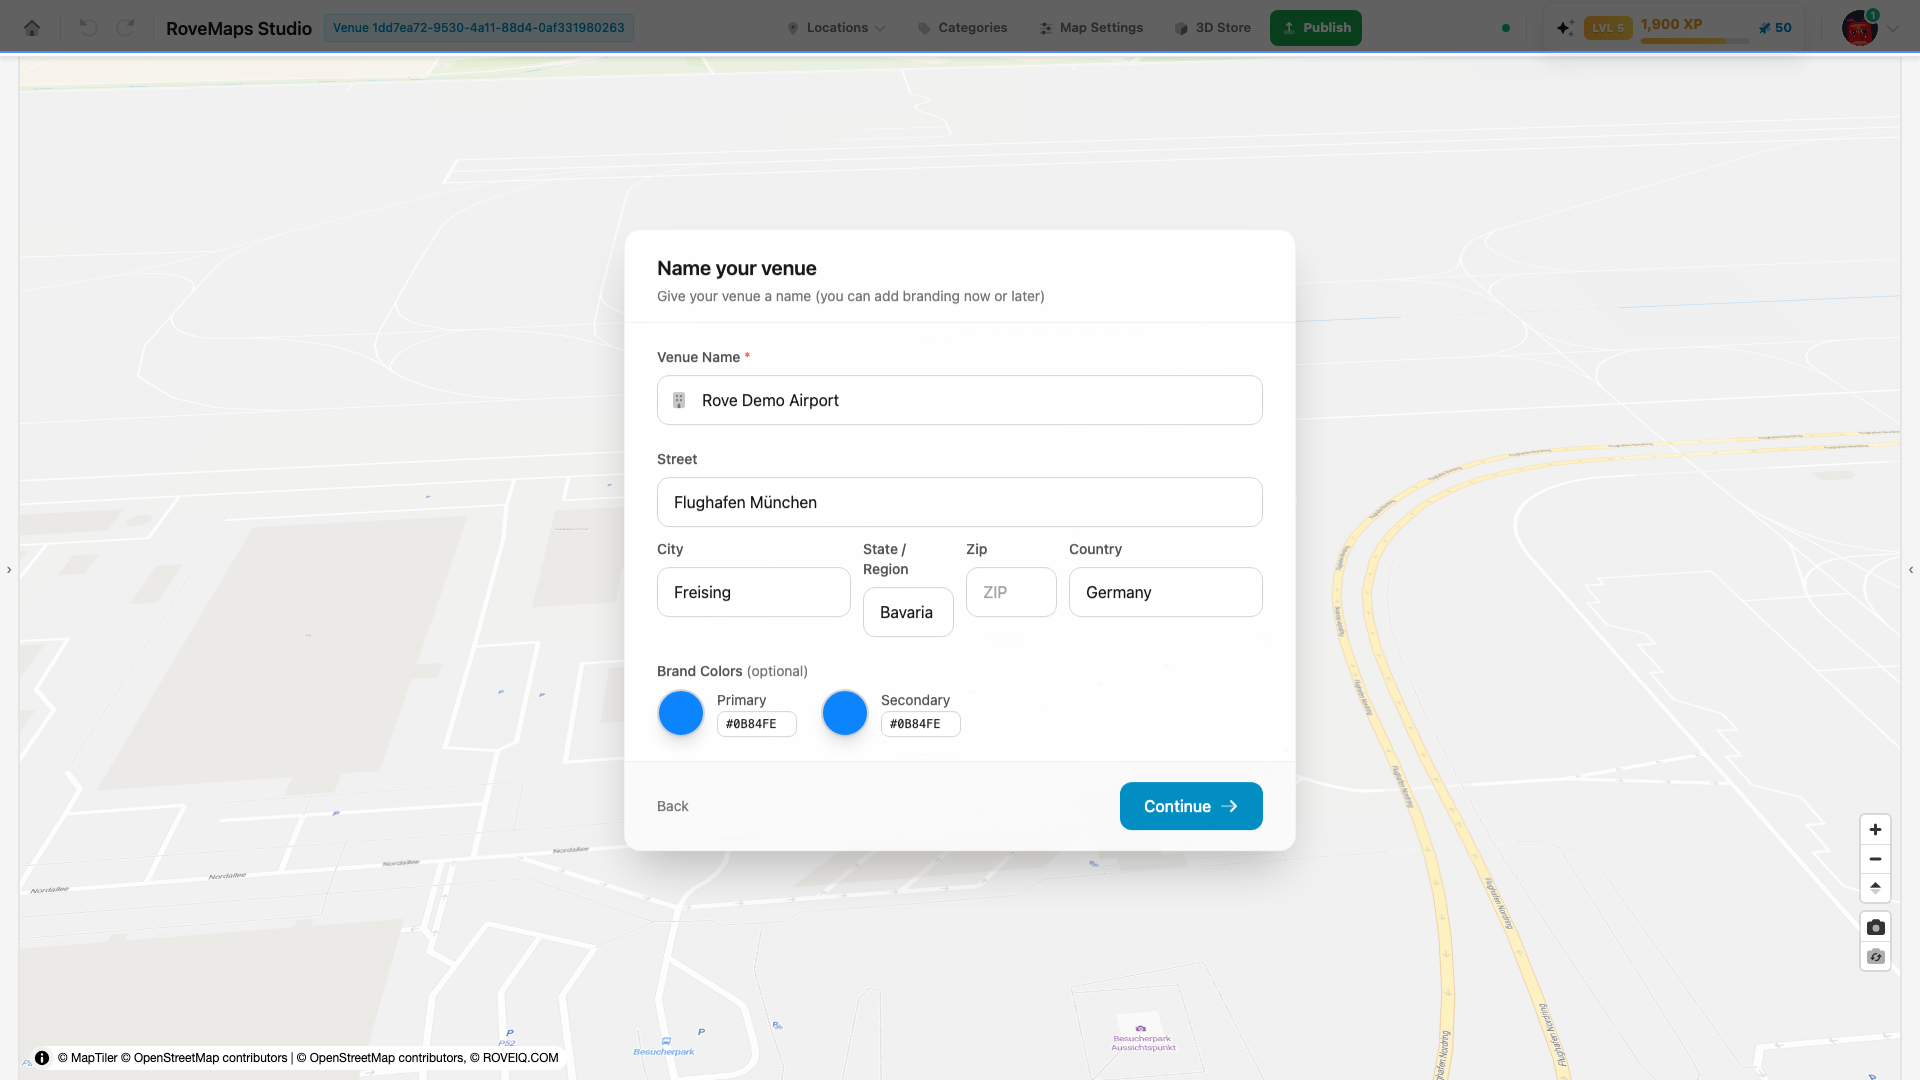
Confirm the name (pre-filled from the New Map dialog) and the address parsed from your search. For US venues the State is a dropdown of state codes; elsewhere it is a free State / Region field. Finding the venue and naming it are the only required steps — everything after this can be skipped and finished later.
Name your floors
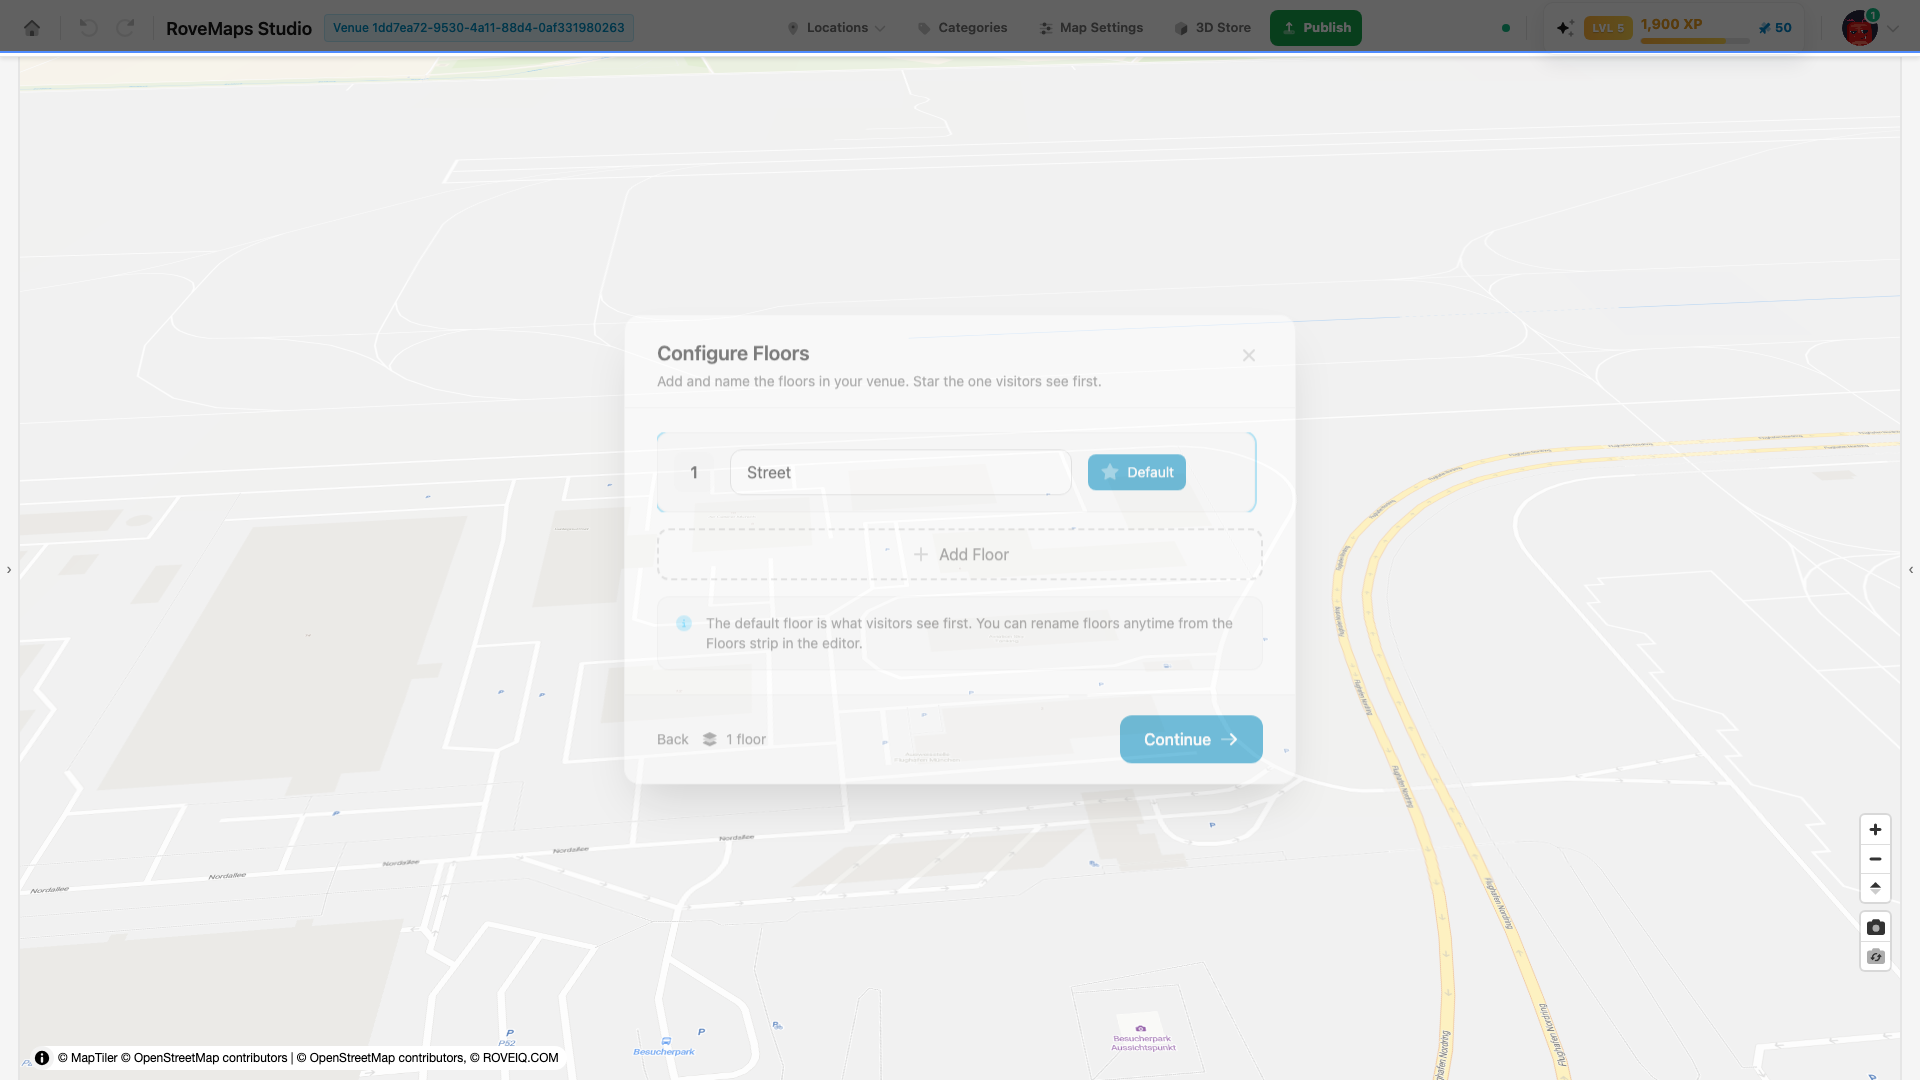
Rename your first floor or add more. You can also do this any time later from the Floors strip in the Layers panel — see Floors.
Pick a style theme
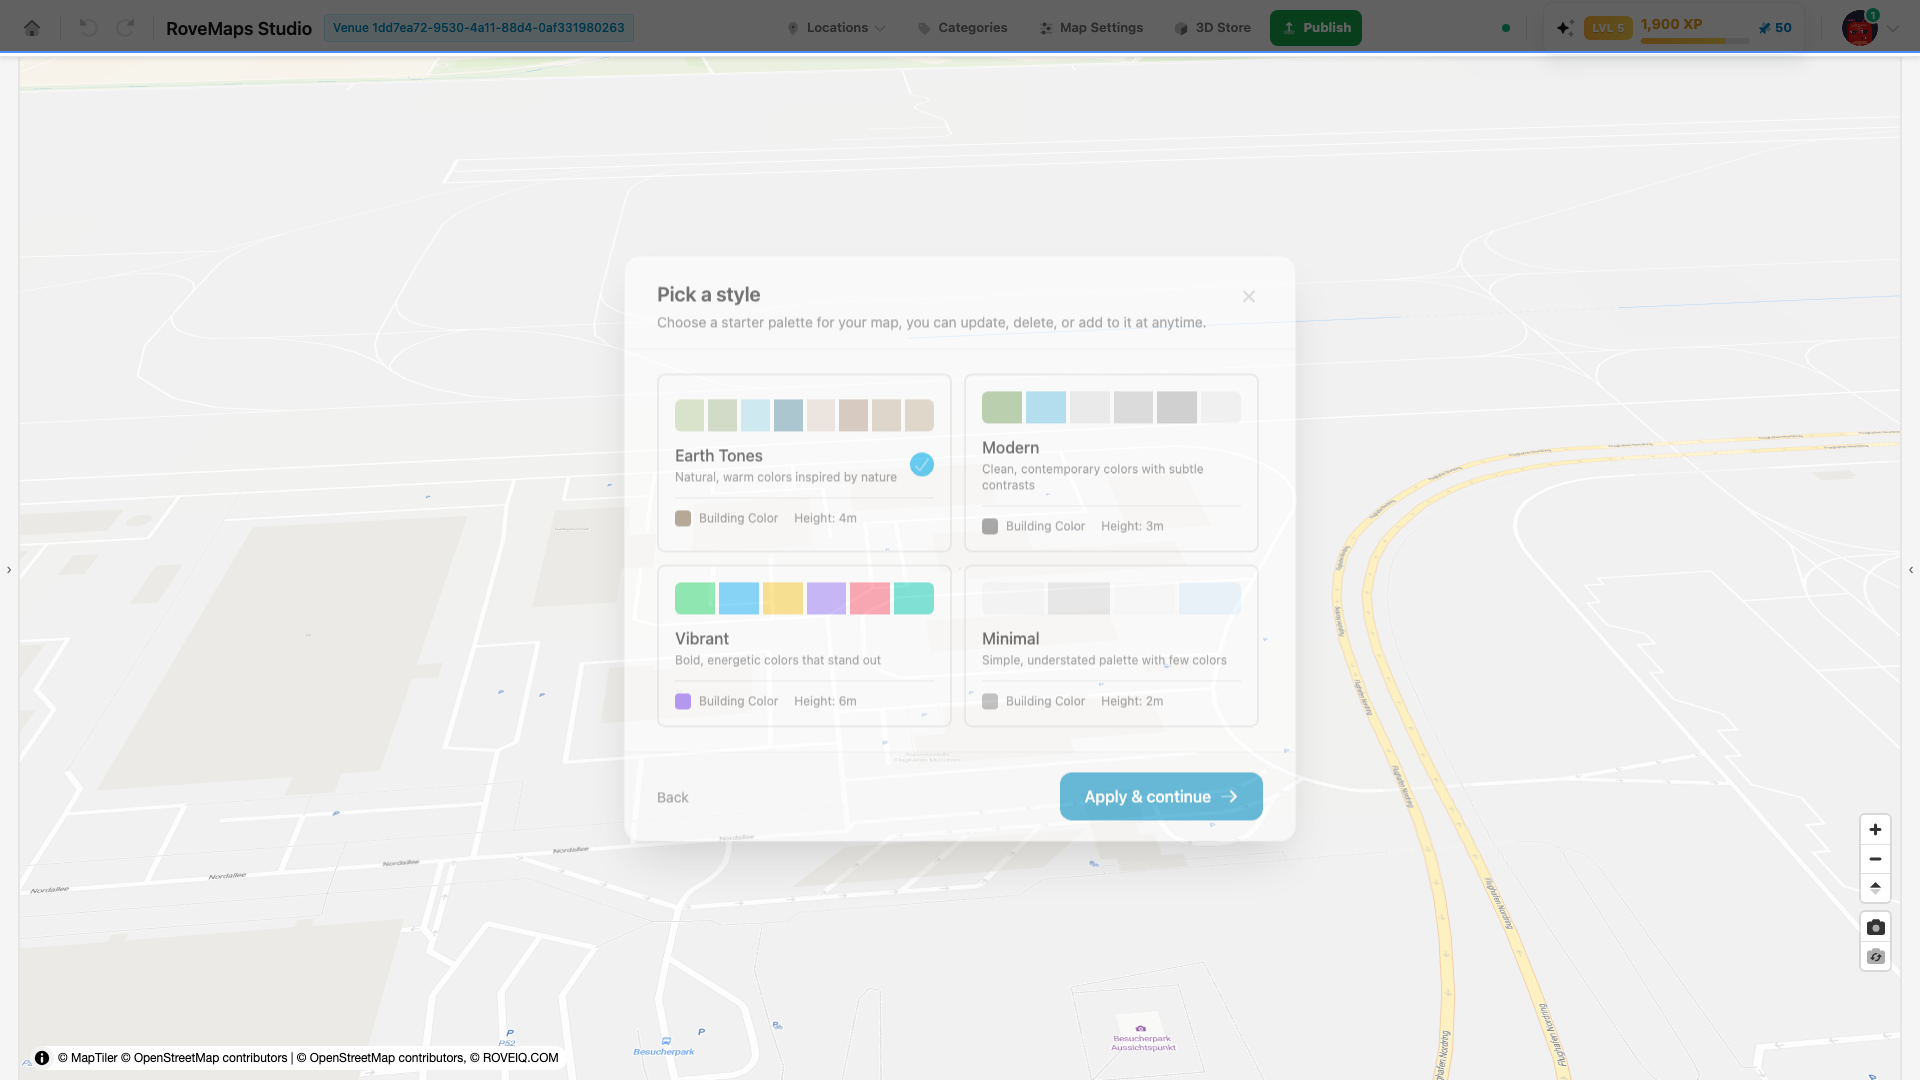
Choose a starter palette and click Apply & continue, or skip. The theme adds editable style layers (grass, roads, water, and more) that you can restyle any time — see Custom Styles.
Add your first locations
Name your first locations or Import CSV, then click Finish. Locations are the searchable destinations your visitors navigate to. Deeper how-tos:
Upload a map reference
⭐ Recommended when you have a floor plan: this can be the quickest way to create your first editable map geometry.
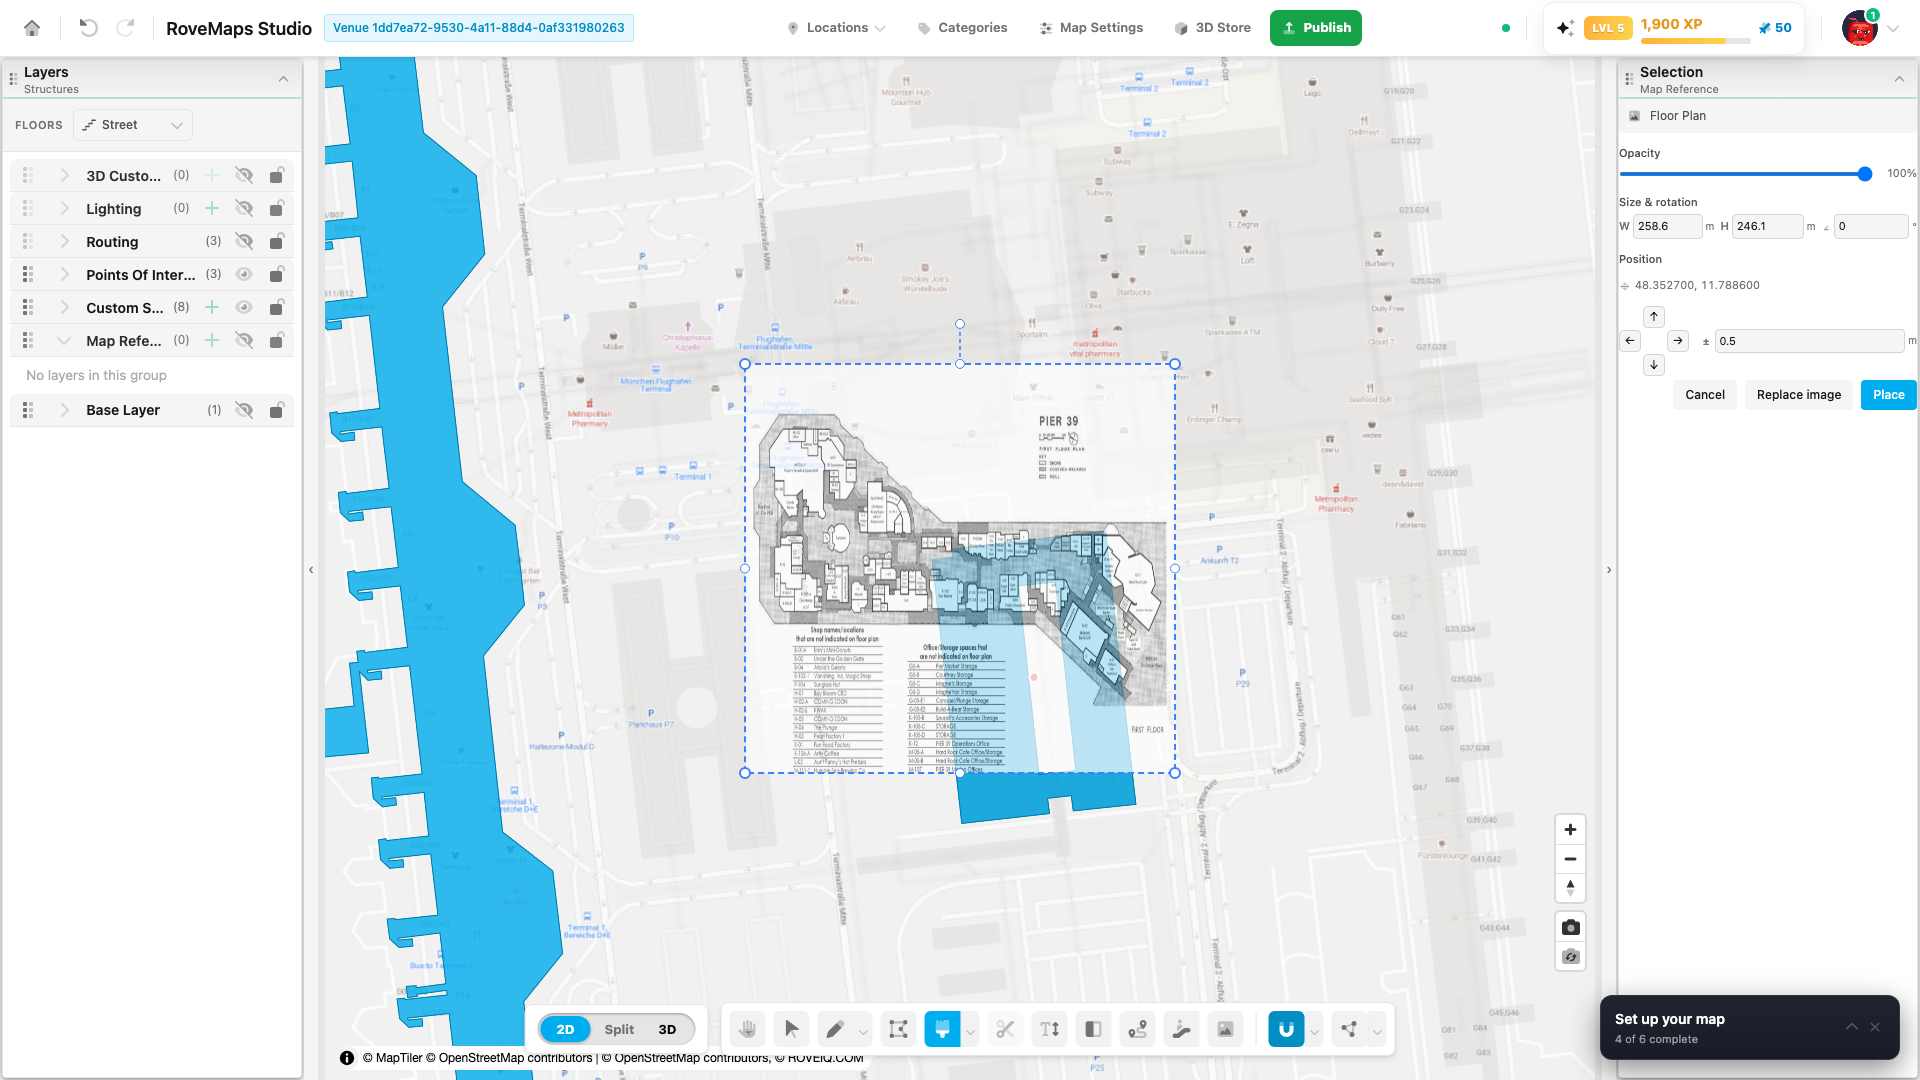
Upload the image in the wizard, or Skip for now and open the same flow later with either the small + beside Map References or the Image Reference toolbar button. Then align the image over the base map (drag to move, corner/edge handles to size, the top handle to rotate, Opacity to blend) and use Generate to trace detected polygons into a second reference layer.
This is the same Upload Reference flow documented in full on the Map References page — see the complete walkthrough with every step: Open Upload Reference, Position the floor plan, and Generate polygons with AI.
Notes
- Setup runs only for the person who created the draft. Collaborators see a waiting screen until setup is done.
- After setup, change any of these settings from Map Settings in the header. Floors are always managed from the Floors strip in the Layers panel.
Next: Build your map →