Floor Transition Tool
The Floor Transition Tool places the points that connect a venue’s floors — stairs, escalators, and elevators — so a route can move vertically between them. Each transition binds to the floors it serves and joins the routing network through its connection state.
Place a floor transition
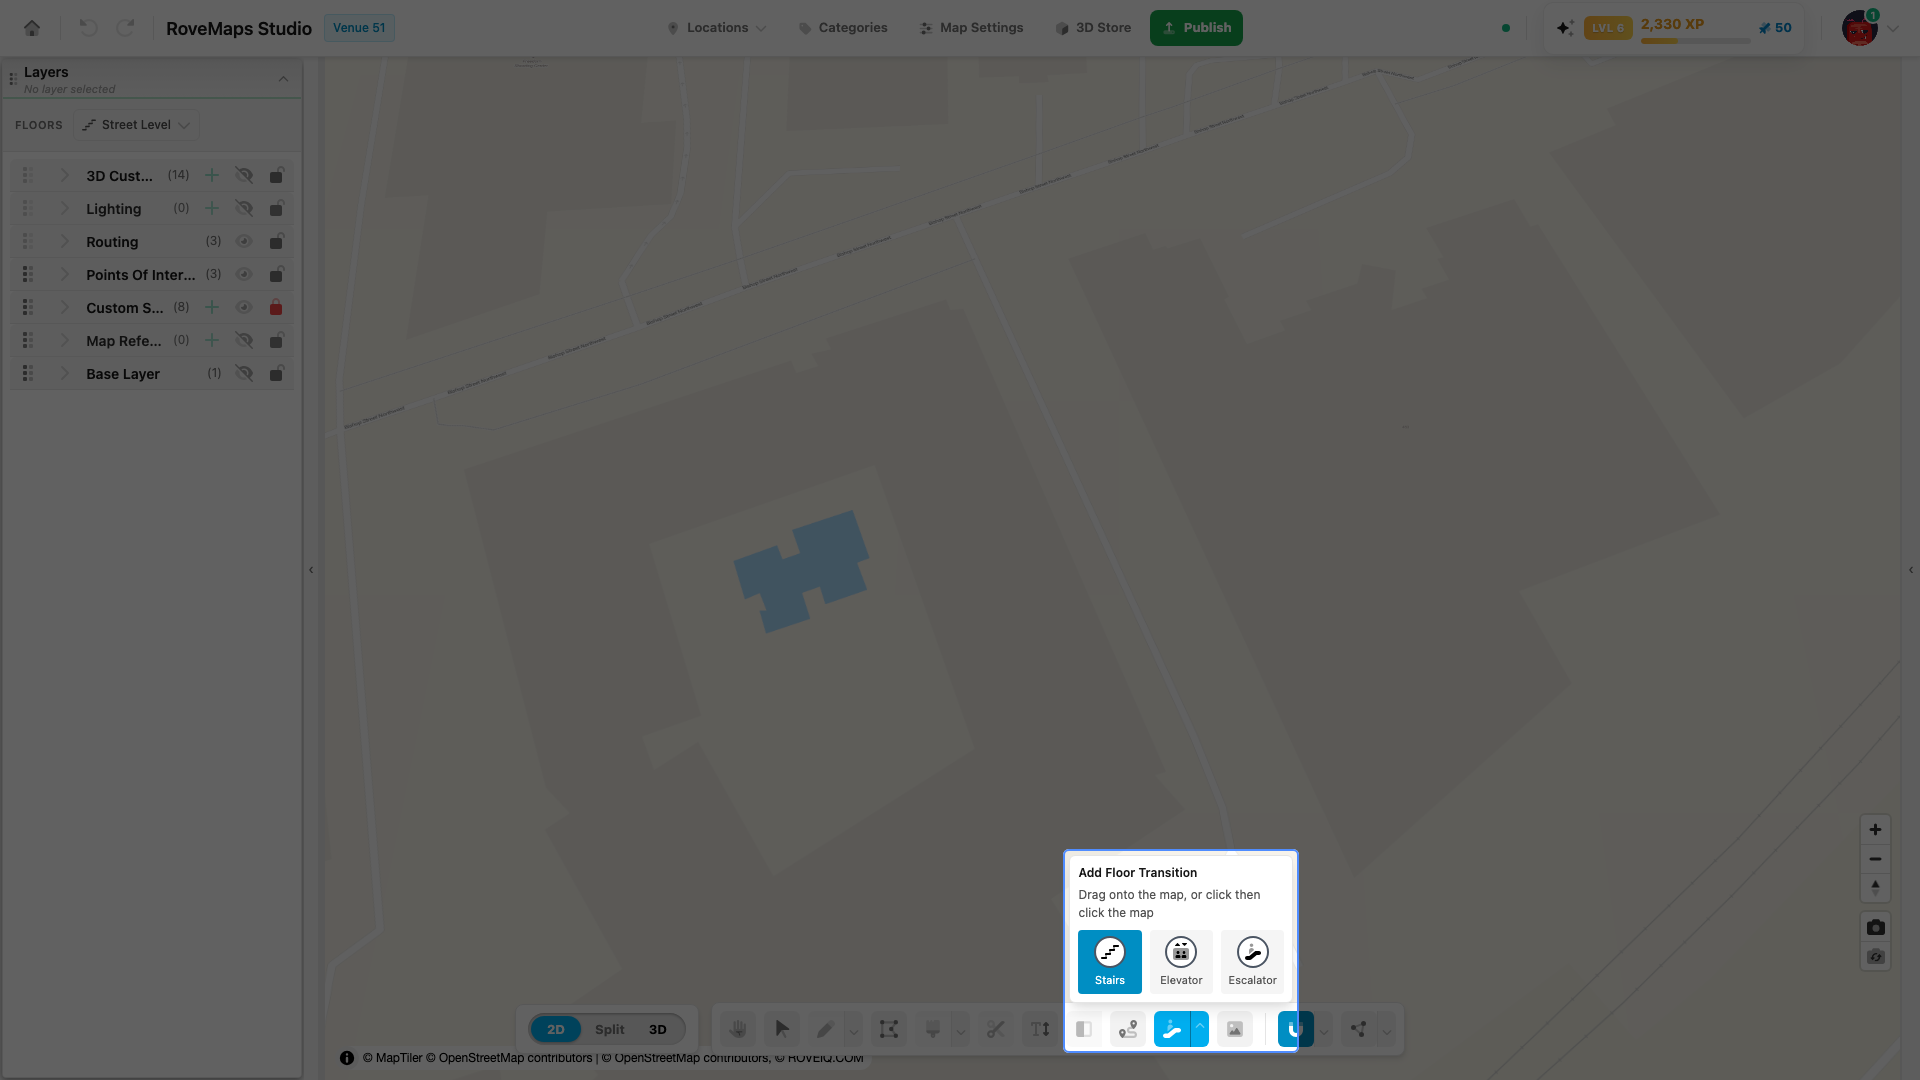
- Click the Floor Transition Tool (escalator icon) in the bottom toolbar. Its type palette opens with Stairs, Escalator, and Elevator.
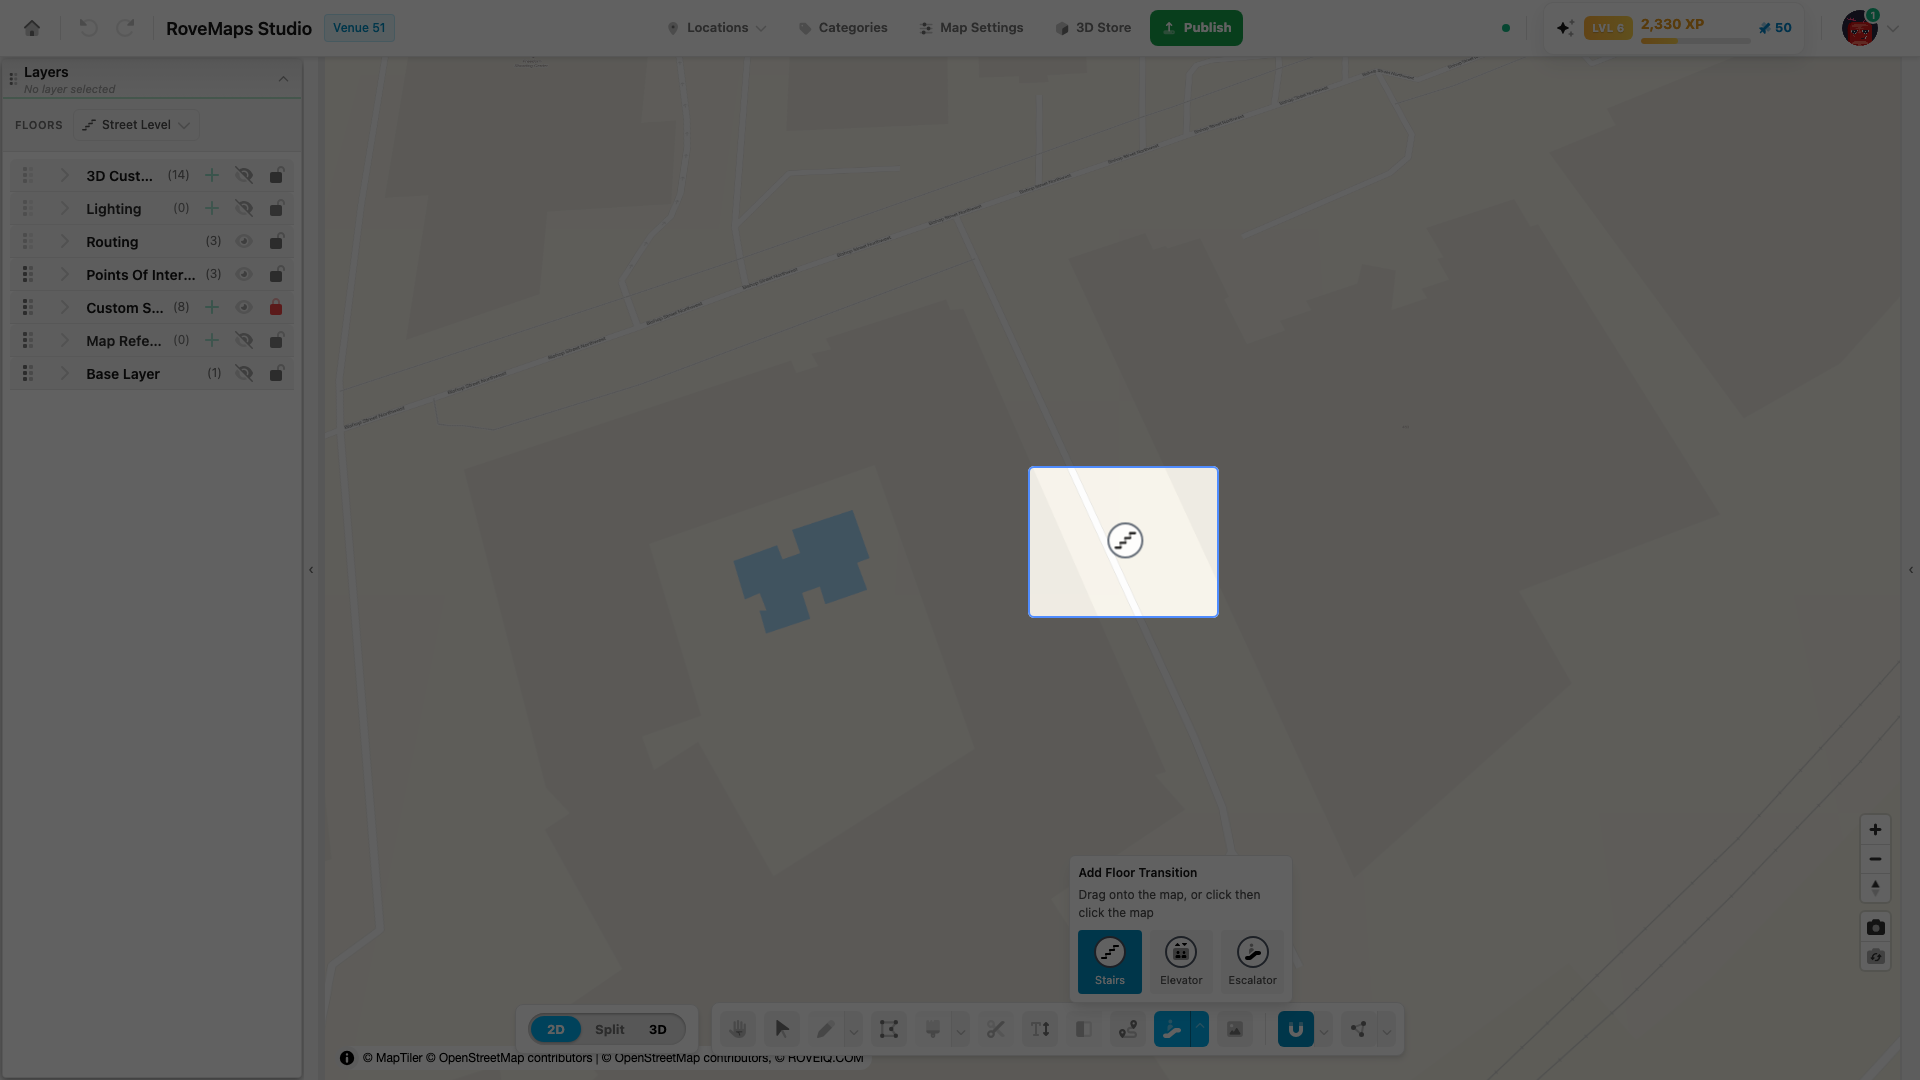
- Press a type icon — releasing without moving arms click-to-place and a ghost icon follows your cursor. (Or press and drag the icon straight onto the map to drop one immediately.)
- Click the map where the transition belongs. It is placed, selected, and its panel opens — already bound to the floor you are viewing.
- Placement stays armed so you can click again to place more. Press Esc to disarm, or pick another tool to leave.
Notes
- A bare map click with nothing armed places nothing — arming a type is what activates placement.
- Placing and dragging snap to nearby routing vertices, so a transition lines up with the route it serves.
- Switching floors deactivates the tool (like every editor tool) — re-arm on the new floor.
Publish impact: floor transitions are feature-level — each one publishes individually and appears in the publish preview under Floor Transitions. Changes stay in your draft until you Publish.
Types and direction
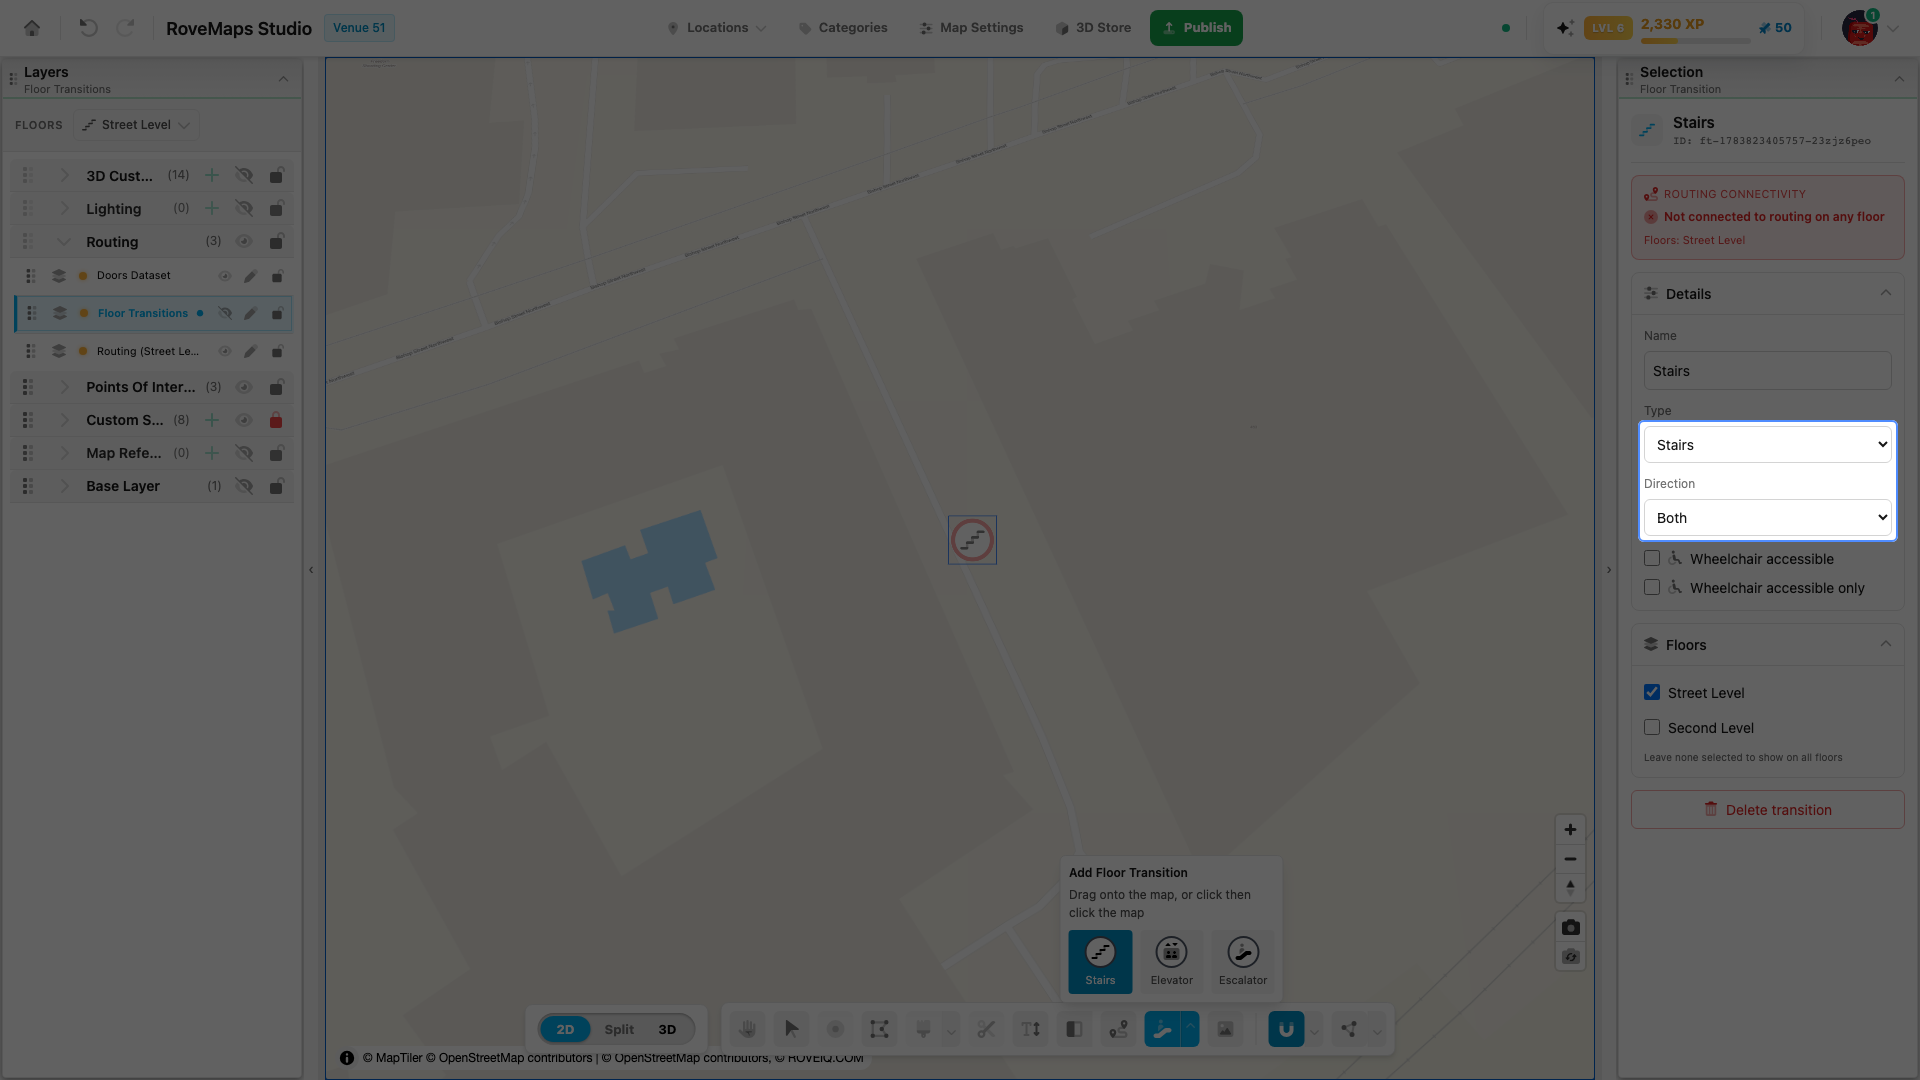
The selected transition’s panel sets what it is and which way it carries traffic.
- Type — Stairs, Escalator, or Elevator. The map icon follows the type.
- Direction — Both, Up, or Down. An escalator that only runs upward should be Up so routes never descend it.
Accessibility
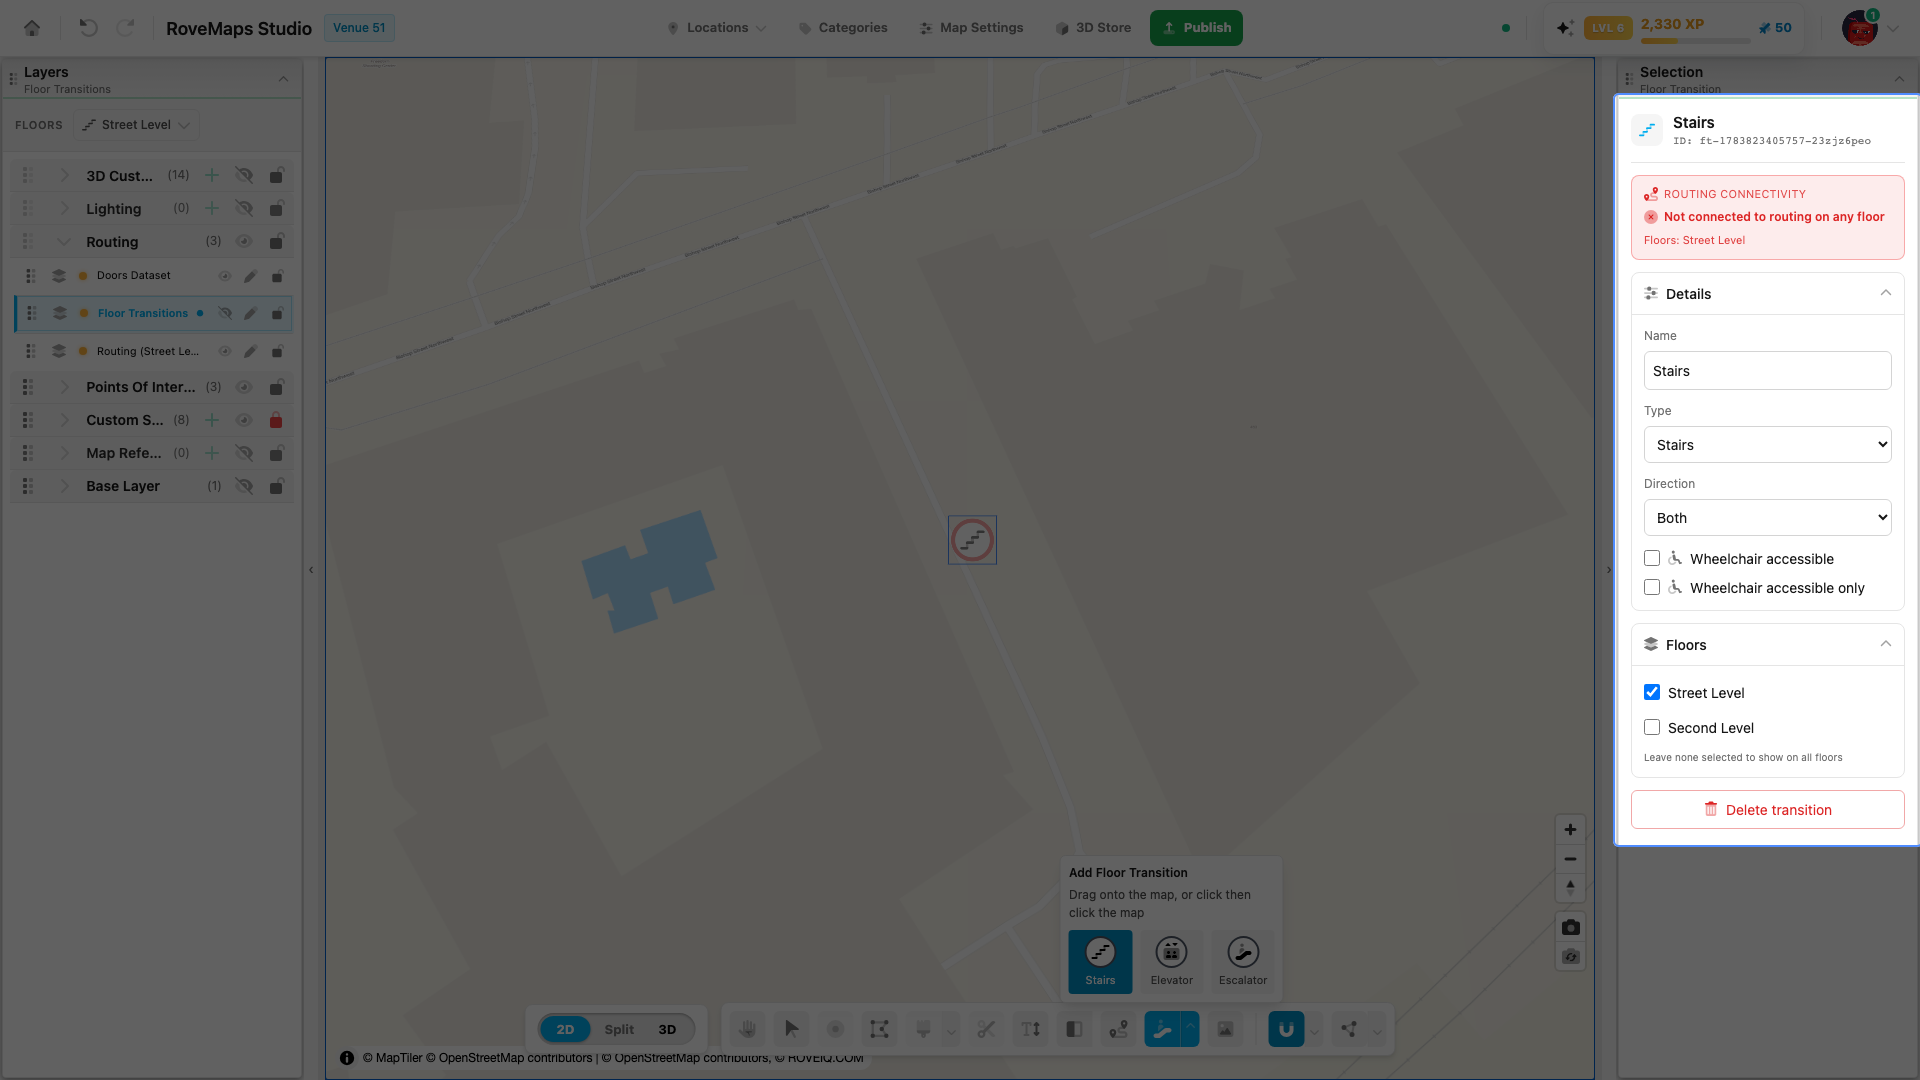
Two independent flags describe who can use the transition:
- Wheelchair accessible — the transition is usable by wheelchair. Picking the Elevator type sets this automatically.
- Wheelchair accessible only — the transition is reserved for accessibility use (for example a wheelchair-only lift).
Choose floors
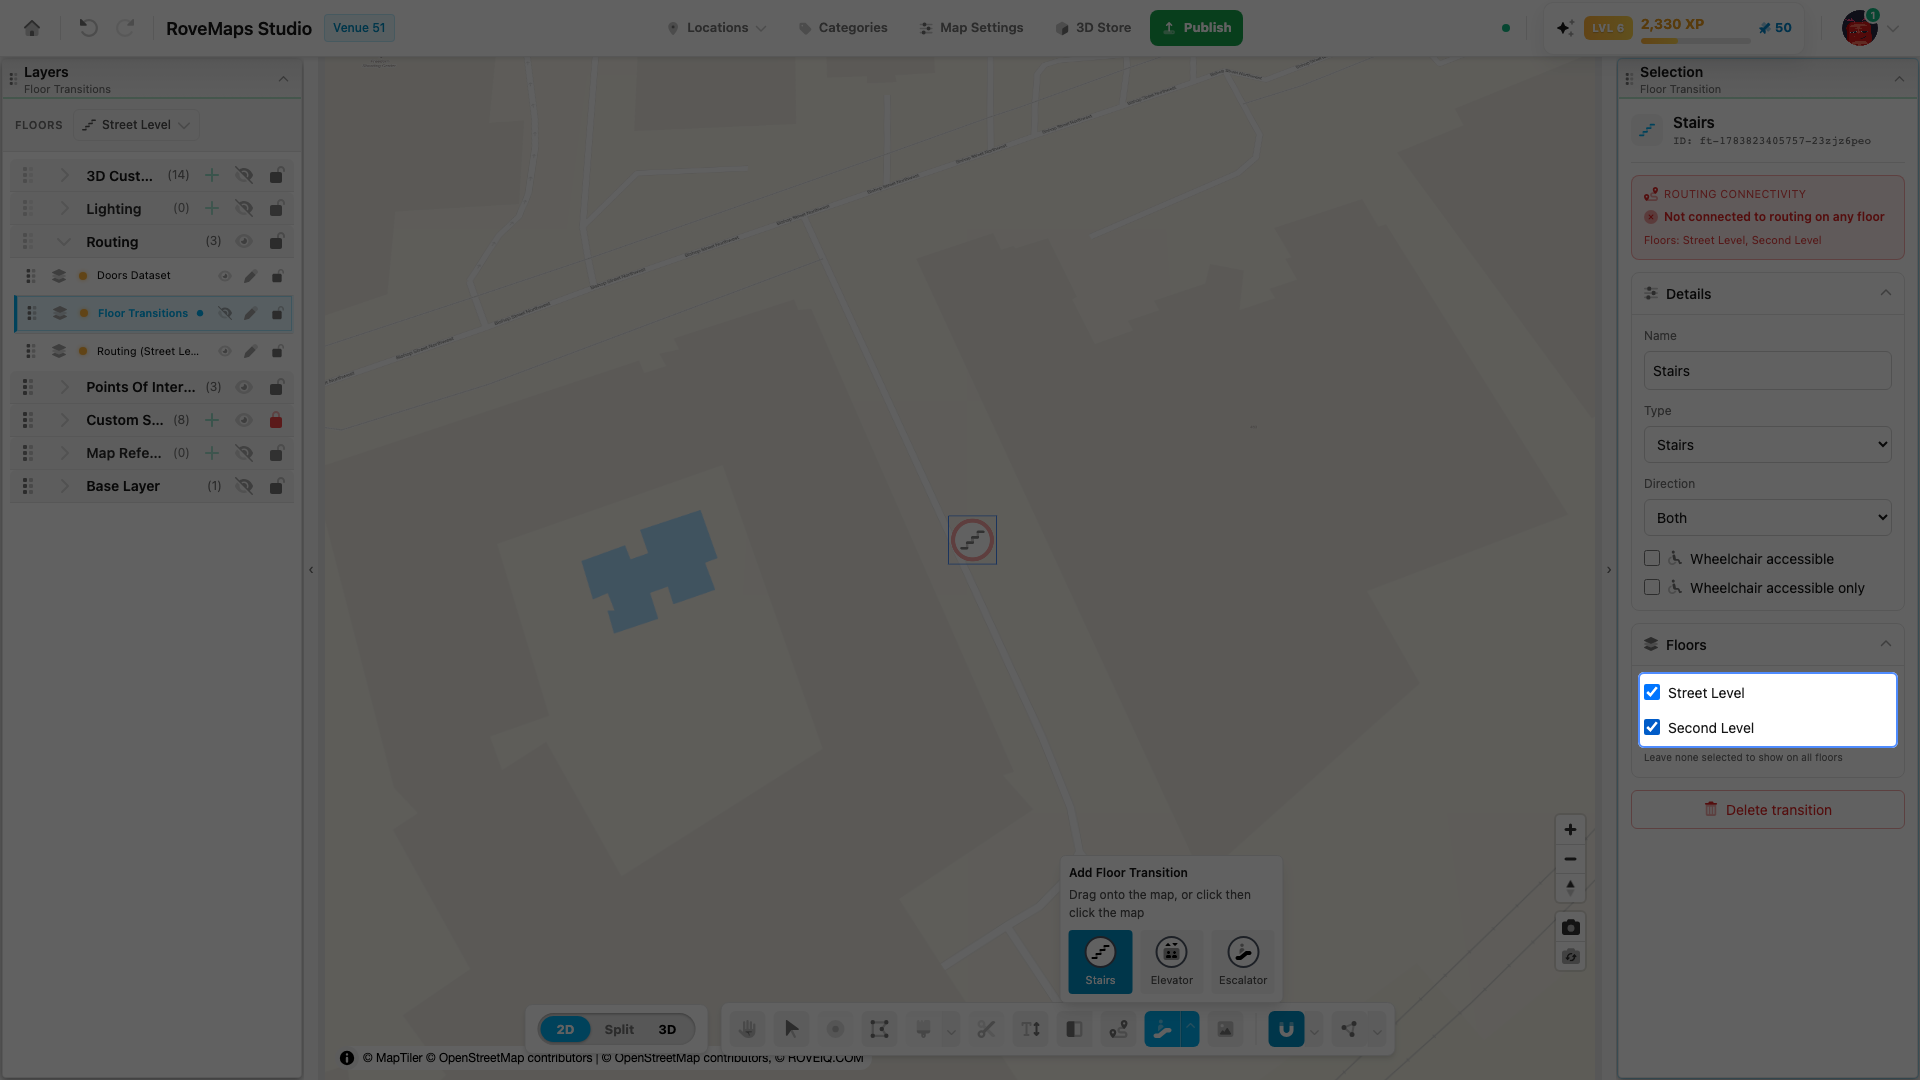
The Floors section lists the venue’s floors as checkboxes — check every floor the transition physically links.
Notes
- A new transition starts bound to the floor you placed it on; add the others it reaches.
- Leaving no floors selected shows the transition on every floor.
Connection states
The transition’s marker wears a colored halo showing whether routing actually reaches it, and the panel’s Routing connectivity card says the same in words:
- Red — not connected to routing on any of its floors.
- Yellow — connected on some floors, missing on others.
- Green — connected on every floor it serves.
See connection states on the Routing page for the full walkthrough of taking a transition from red to green.
Move or delete a transition
- Move — select the transition, then drag its marker to the new spot; the drag snaps to nearby routing vertices.
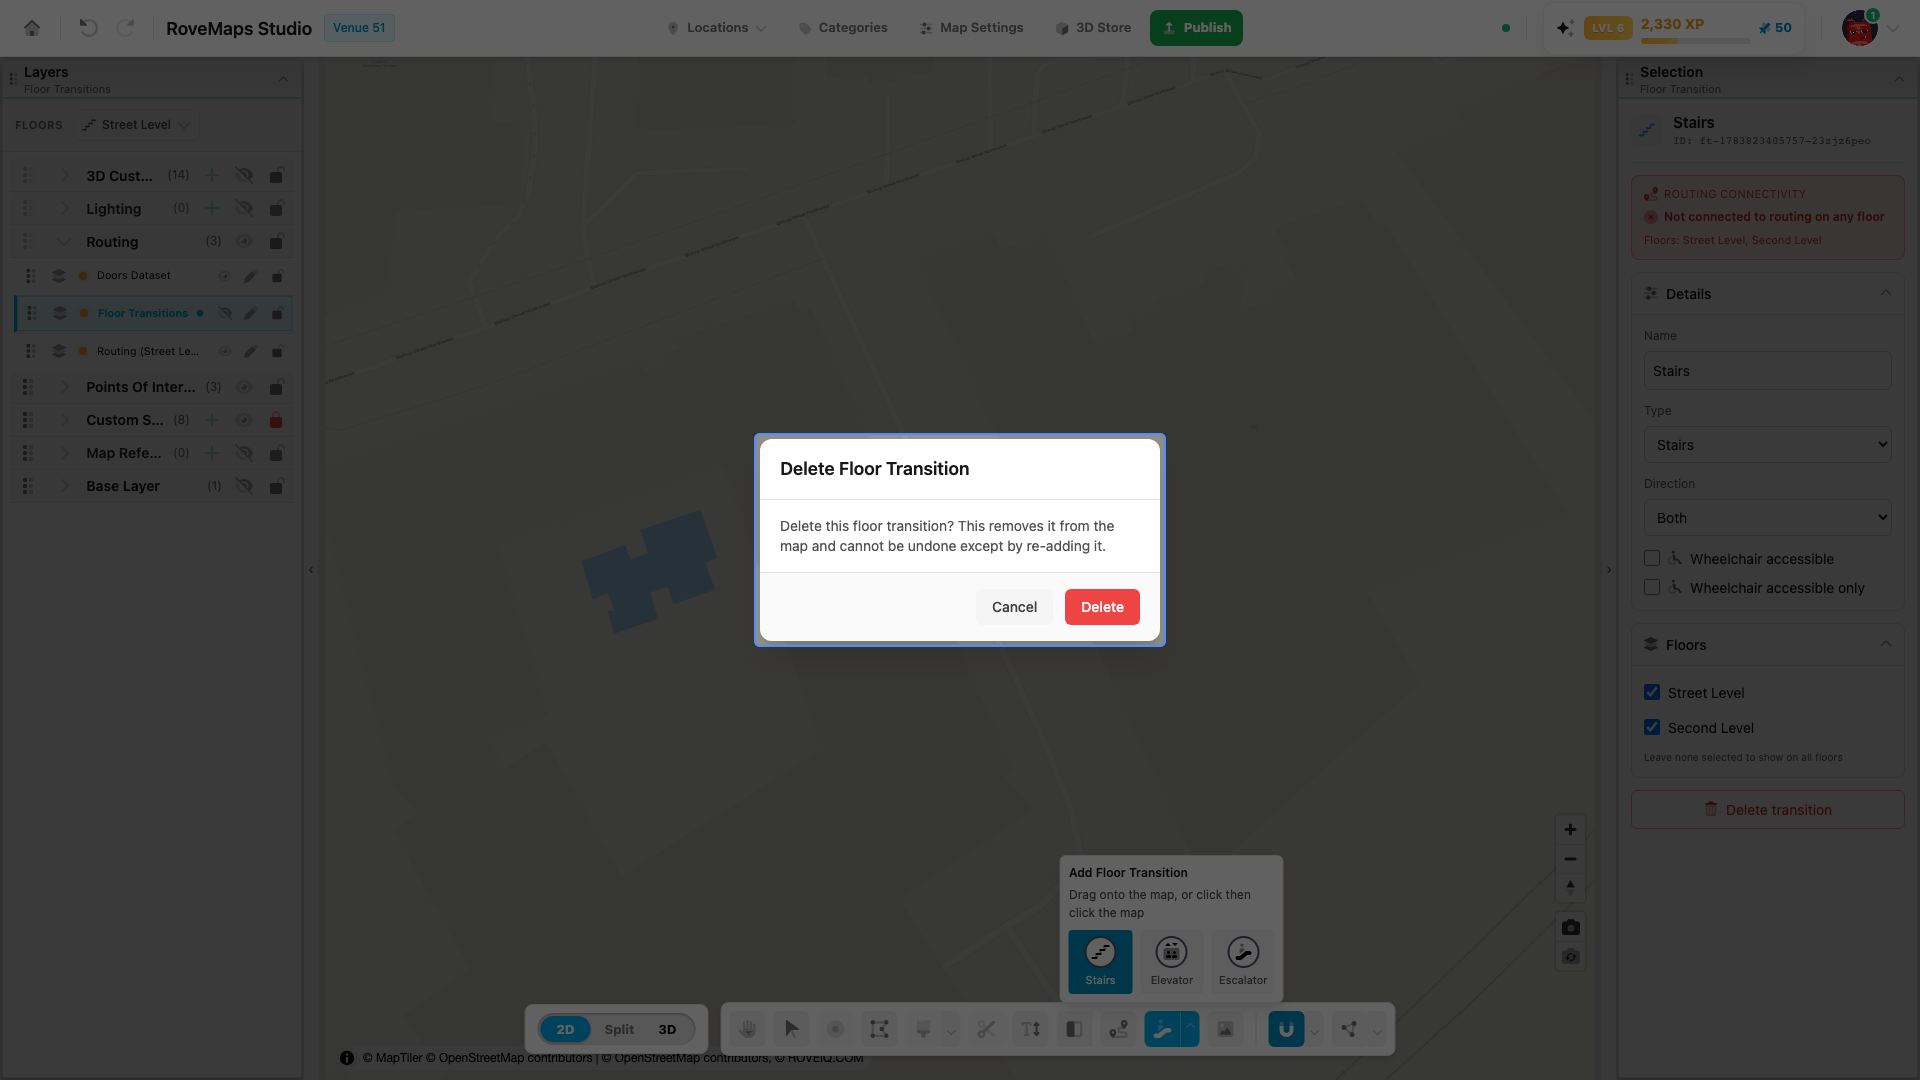
- Delete — in the selected transition’s panel, click Delete transition and confirm. Deleting removes it from the map and cannot be undone except by re-adding it.
Glossary
- Floor transition — a point (stairs, escalator, or elevator) connecting a venue’s floors for routing.
- Arming — pressing a type icon in the palette so the next map click places that type; a ghost icon follows the cursor while armed.
- Direction — which way routes may traverse the transition: Both, Up, or Down.
- Connection state — the red / yellow / green halo showing whether routing reaches the transition on its floors.