Vertex Tool
The Vertex Tool reshapes existing polygons vertex-by-vertex — across every feature on the floor, with no select-a-feature step. Hover any structure outline or custom style polygon and grab: move a vertex, add one on an edge, delete a few, box-select a group and move or align them together. To edit one feature at a time through its properties panel instead, use Direct Select.
Open the Vertex Tool
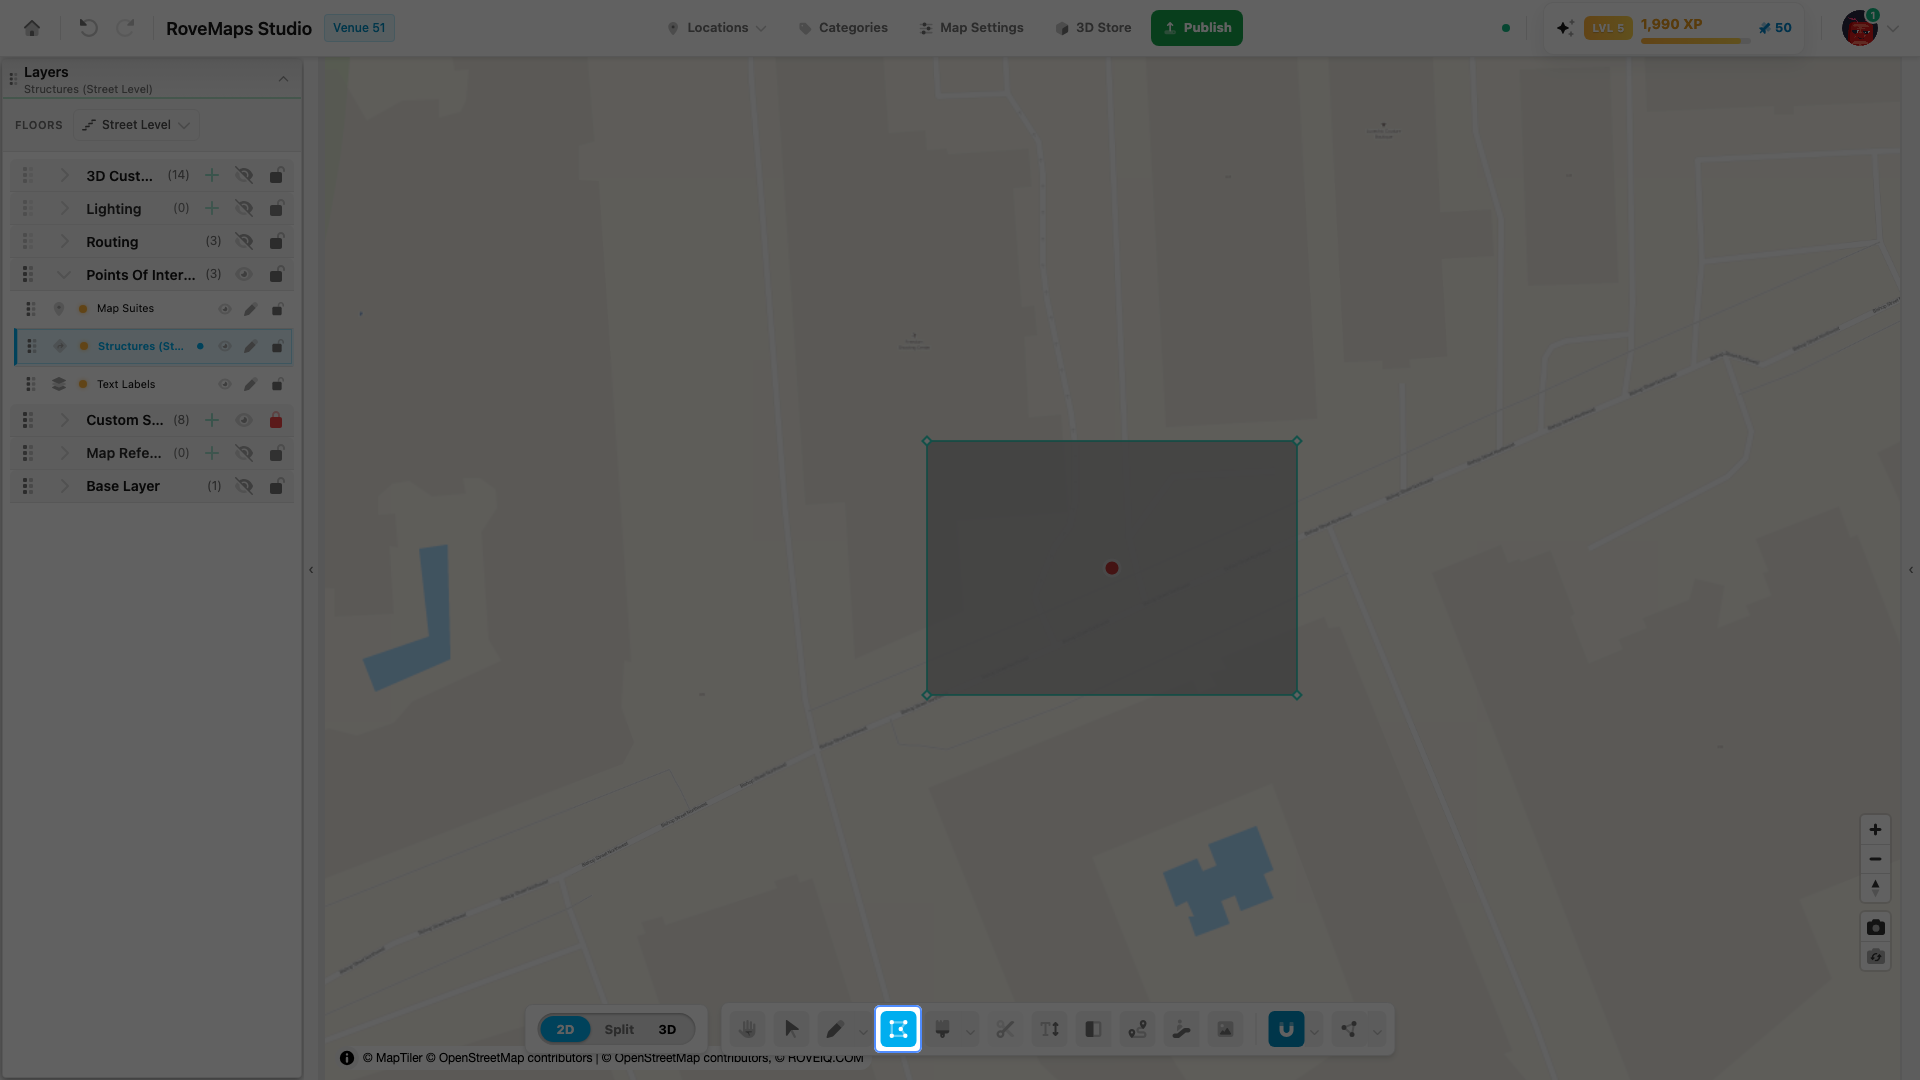
Click the Vertex Tool button (polygon-outline icon) in the bottom toolbar.
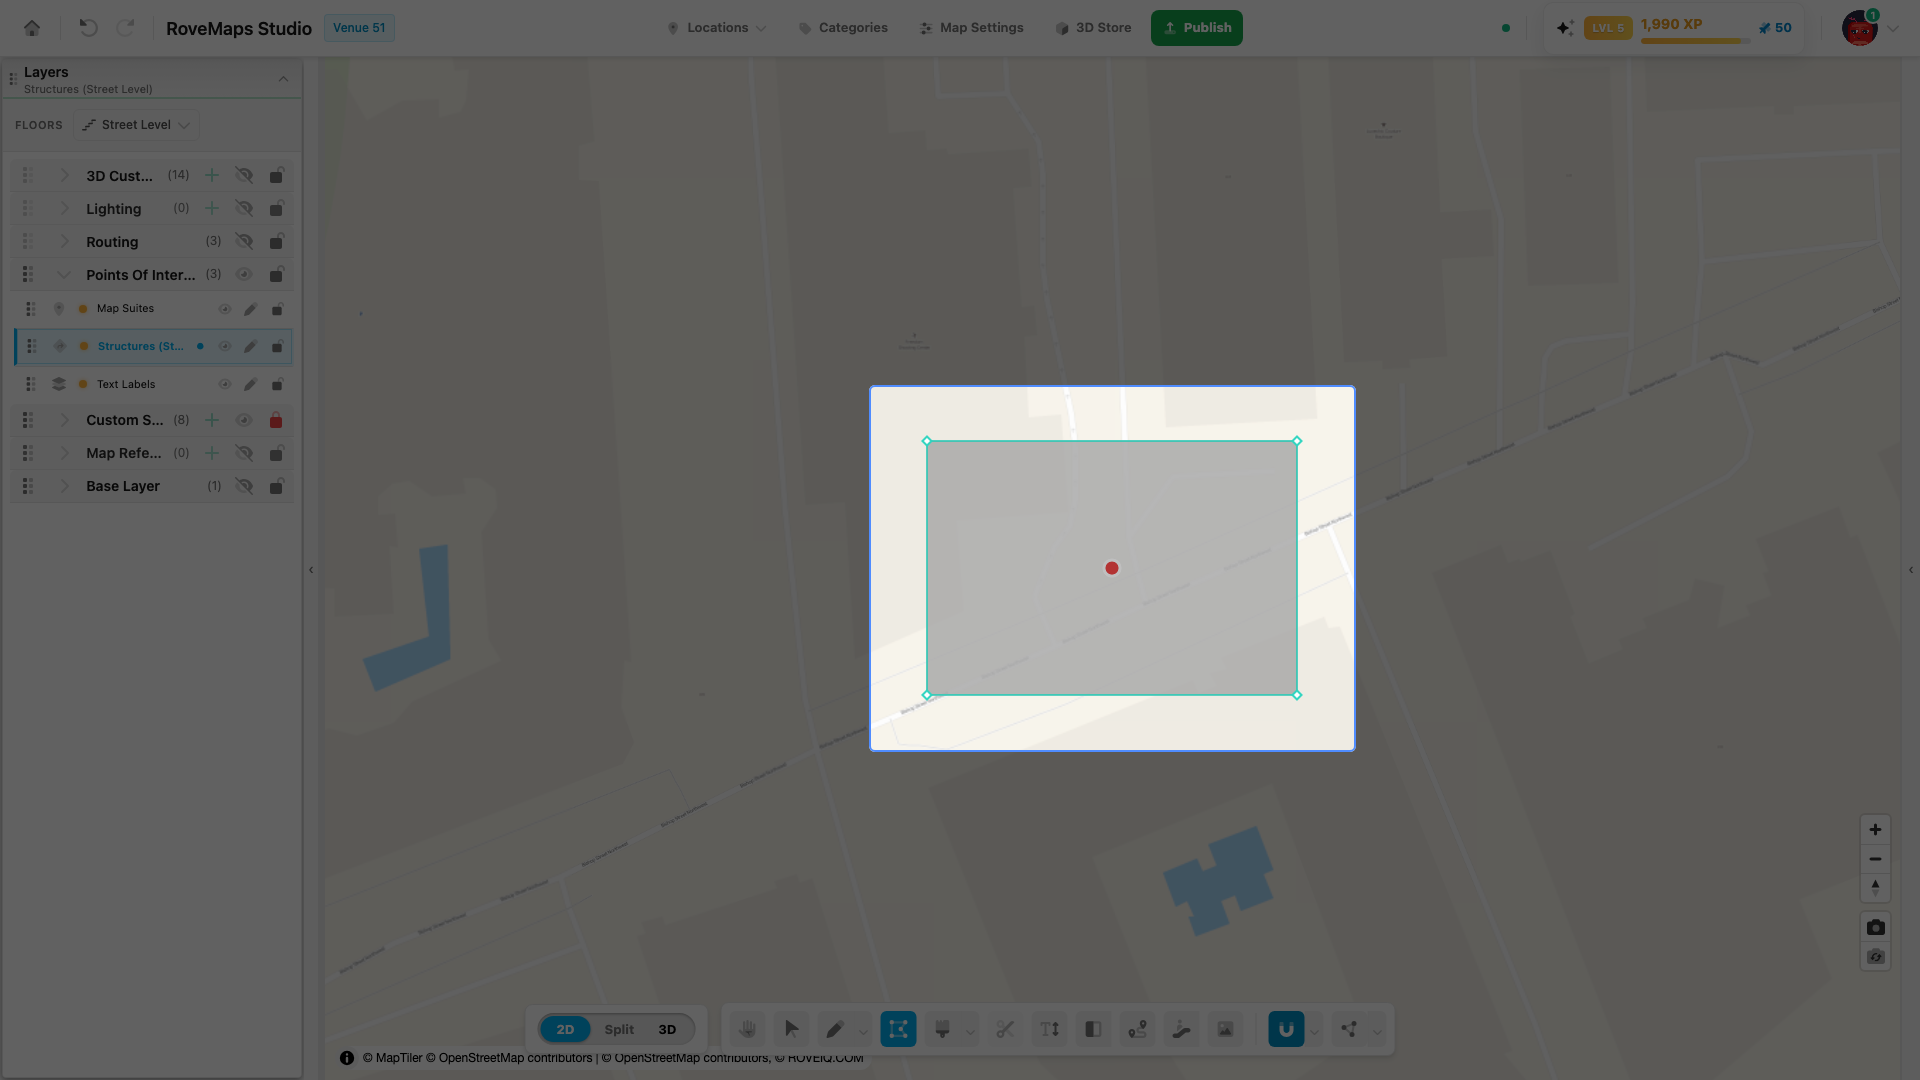
- Move the cursor over any polygon — its vertices appear as handles, the shape gets a dimming wash and an outline, and its touching neighbors reveal their handles too. Once you select a vertex, every vertex on the floor stays visible until you leave the tool.
- Edit any handle you can see. There is no “open for editing” step — every eligible polygon on the visible floor is editable directly.
- Esc steps back one layer at a time: it cancels a drag in progress, then releases a pin and clears the selection, and only leaves the tool once nothing is selected. Hold Space to pan the map while the tool is active.
Notes
- Click a polygon (not a handle) to pin it — its handles stay up even when the cursor leaves, so you can grab a vertex where another feature overlaps. Click empty canvas to release the pin and clear the selection.
- The tool edits structure outlines, custom style polygons, and imported GeoJSON map reference shapes. Routing lines have their own editor — see Routing.
- Handles with a green ring are shared: another feature has a vertex at the same spot. Dragging one with Move Together on carries the neighbor’s vertex too.
- Handle shape, size, and colors are yours to customize — see vertex defaults in User Settings.
Move a vertex
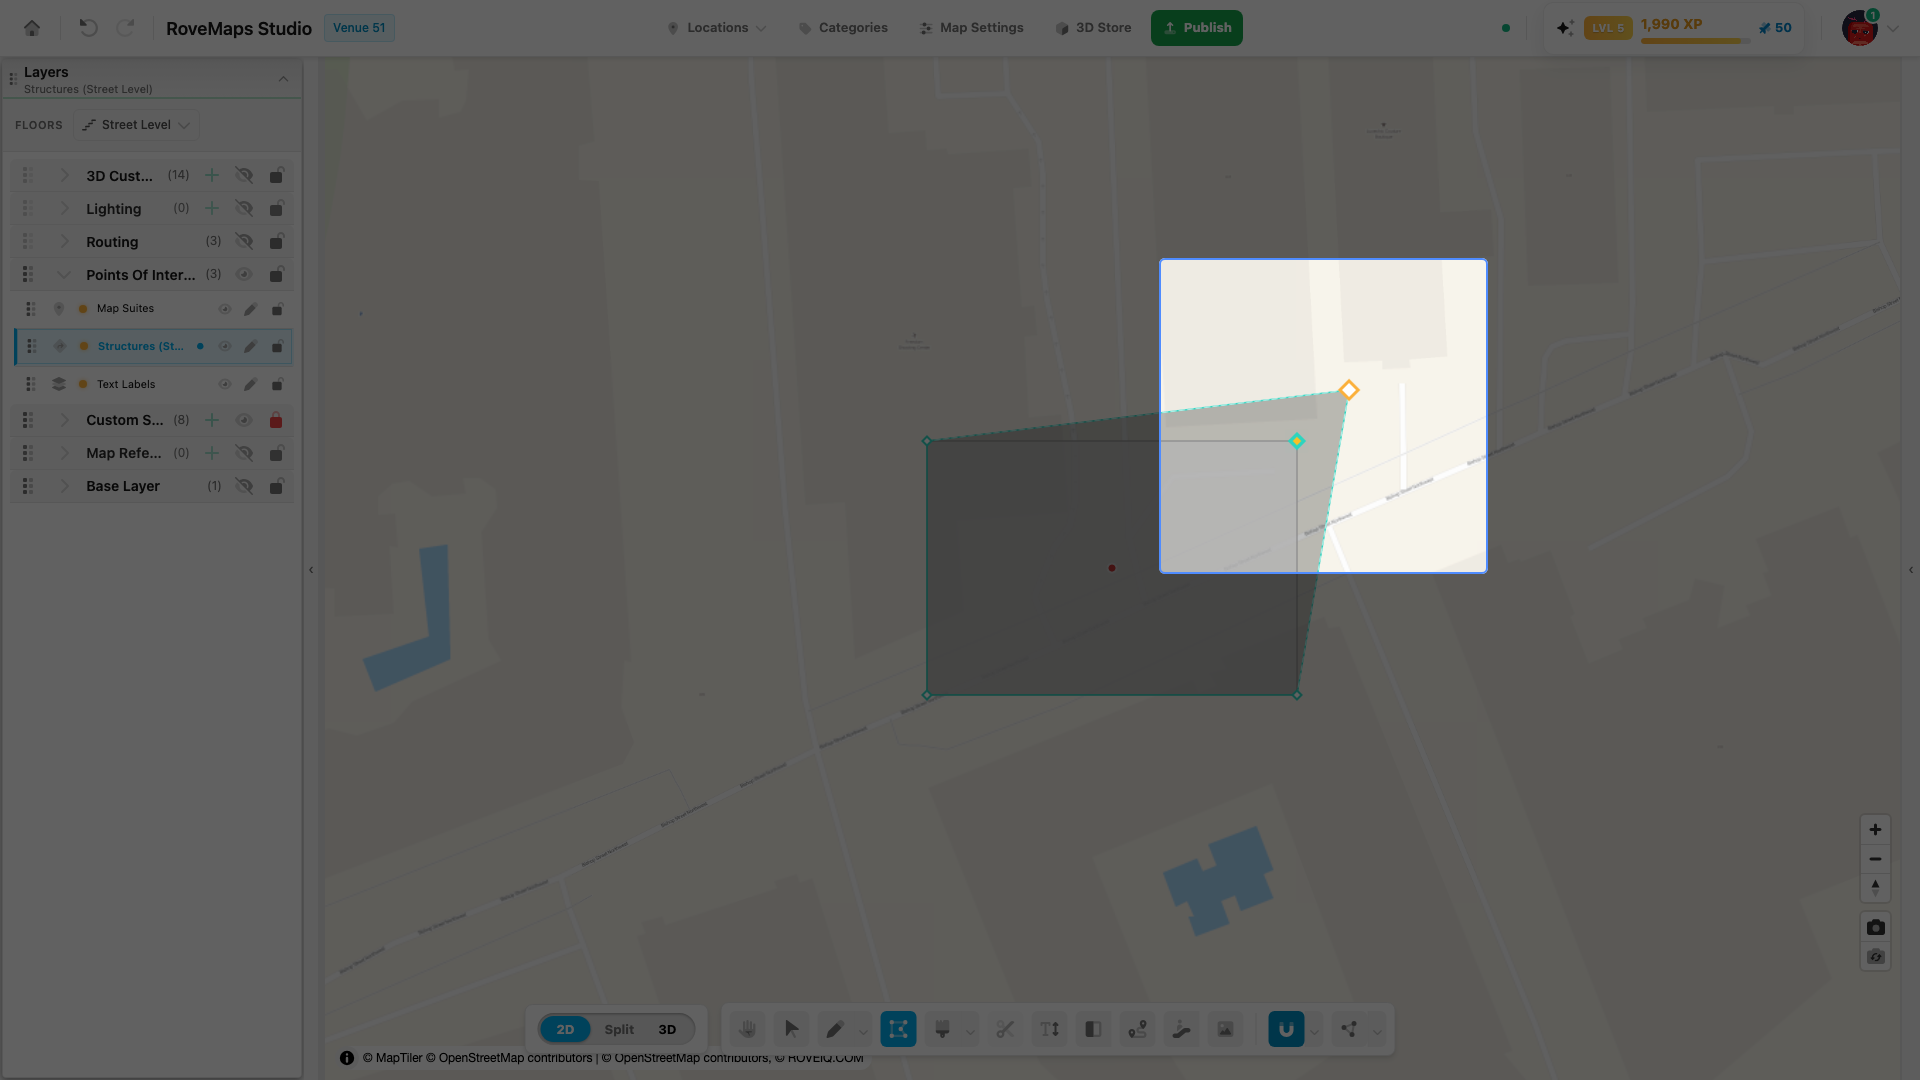
- Hover a polygon to reveal its handles.
- Press and drag any handle. A ghost preview follows the cursor while the original stays put.
- Release to commit the move — the polygon reshapes. Press Esc during the drag to cancel it.
Notes
- With Snapping on, the dragged vertex pulls to nearby geometry; with Move Together on, coincident vertices on touching features move with it.
- Each move is a single undo step (Ctrl+Z / Cmd+Z).
Publish impact: the touched layer is marked modified and the change stays in your draft until you Publish.
Add a vertex
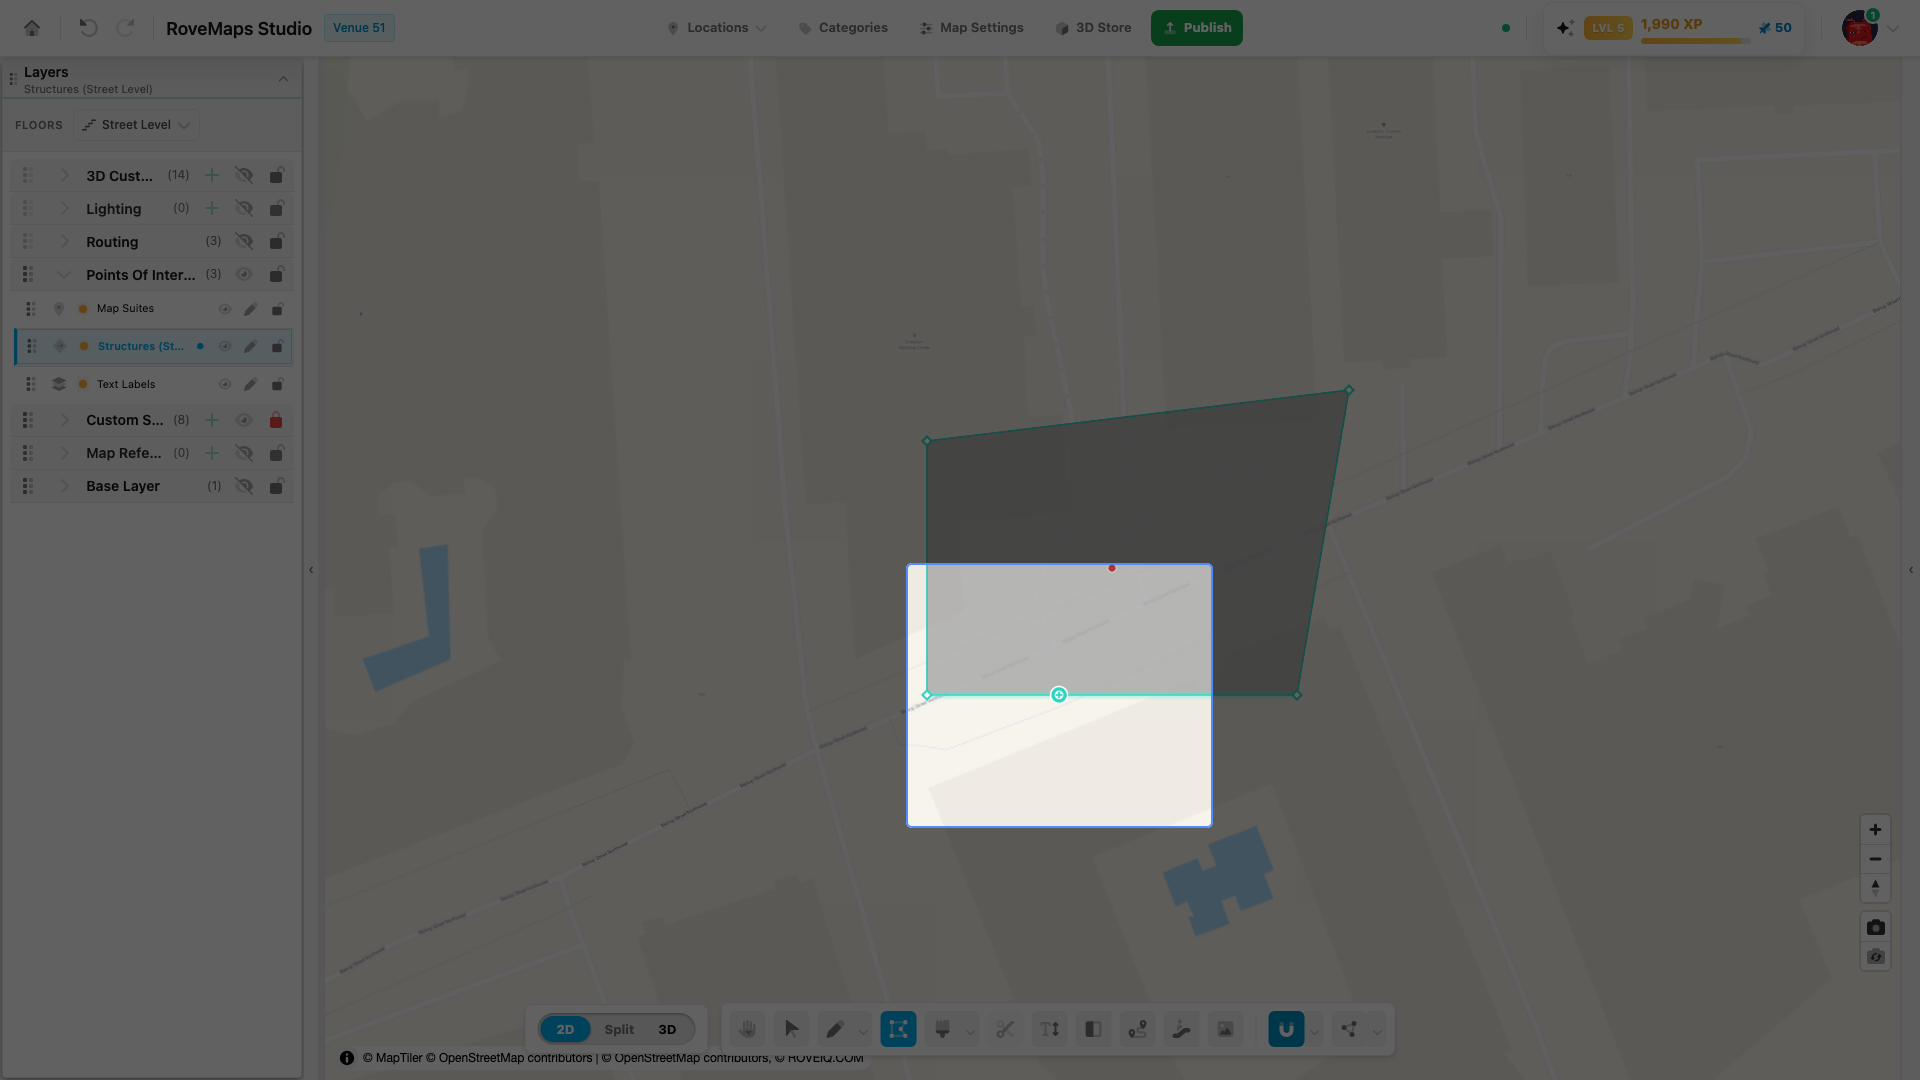
- Hover an edge between two handles. A + marker rides the edge under your cursor (it hides when you get close to an existing corner).
- Click the edge where the + shows — a new vertex is inserted exactly there. A double-click on the edge does the same.
- The new handle is immediately draggable like any other.
Delete vertices
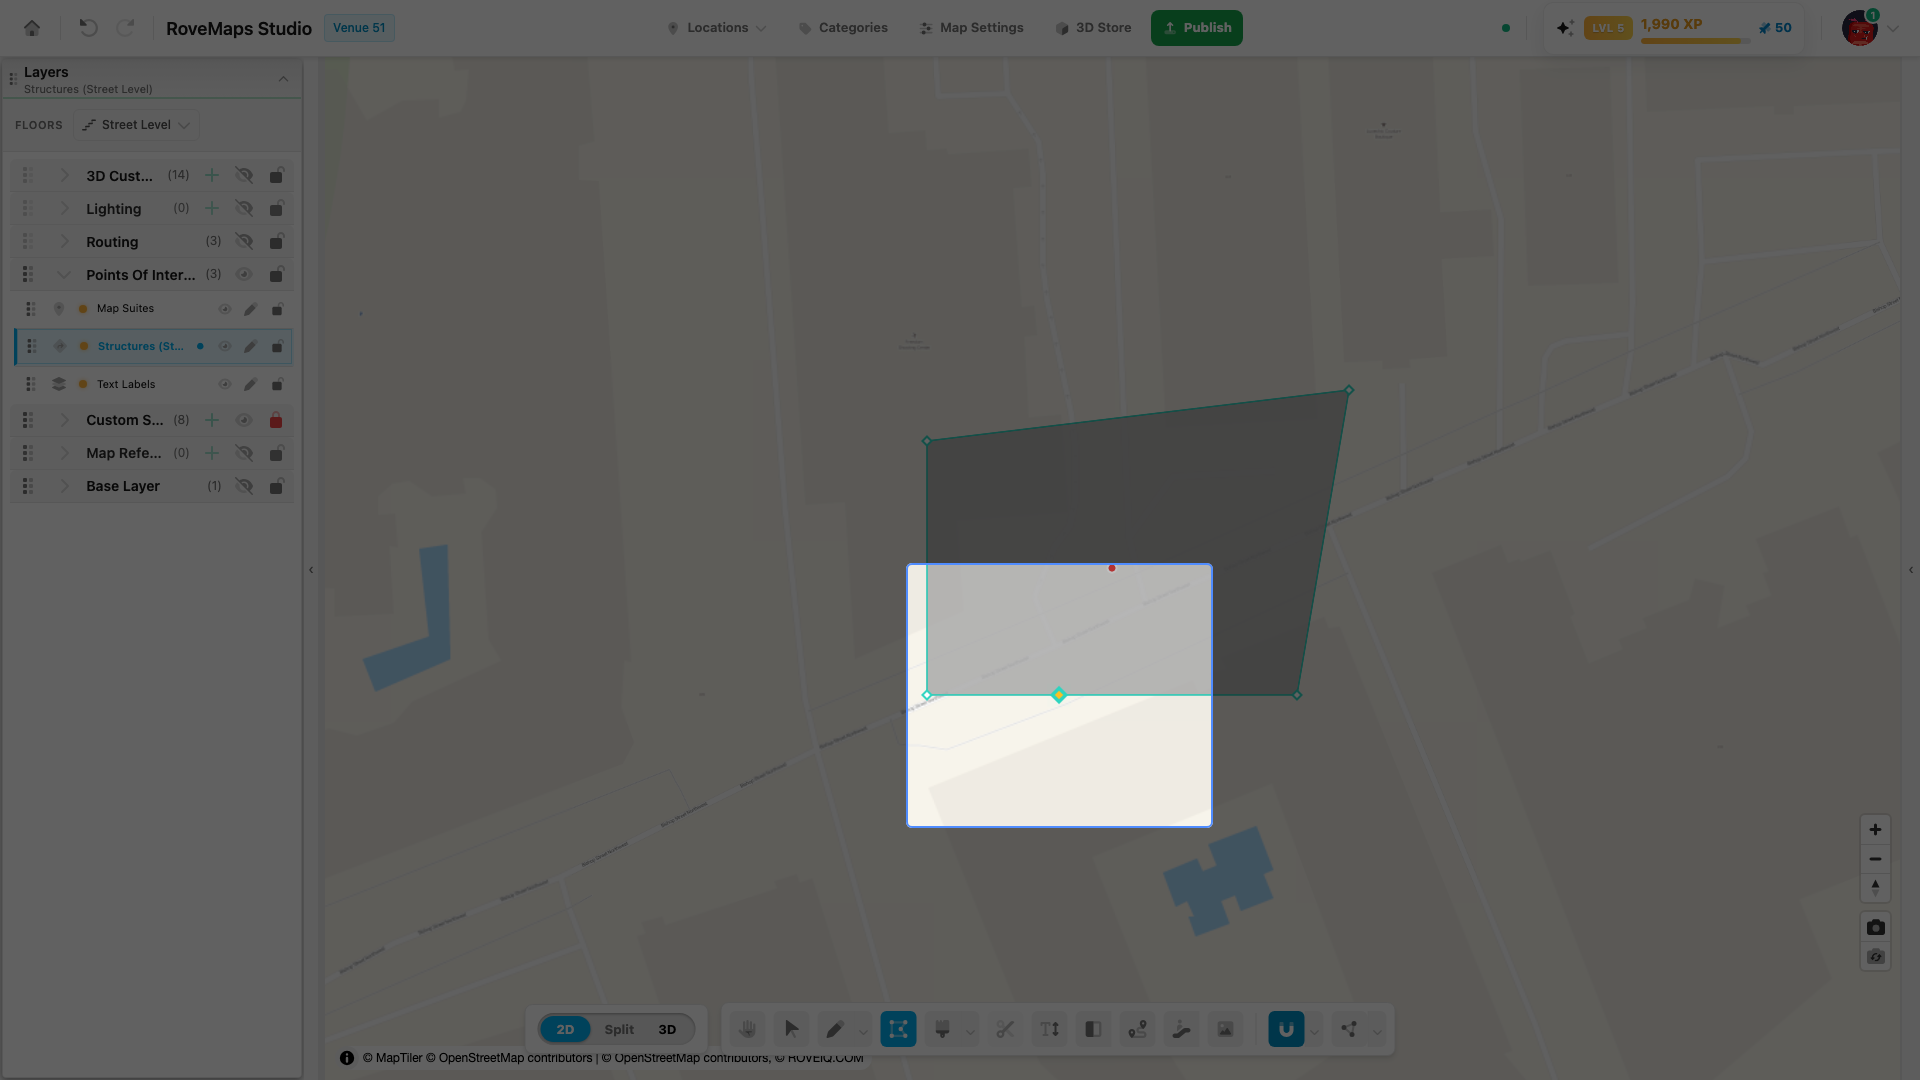
- Click a handle to select it — it fills amber. Shift-click more handles to add them to the selection.
- Press Delete or Backspace. Every selected vertex is removed and the outline closes up.
Notes
- A polygon must keep at least three corners. A delete that would leave fewer is rejected and nothing changes.
- Deletes are all-or-nothing across the selection: if removing them would make any affected shape invalid, the whole delete is rejected.
Select multiple vertices
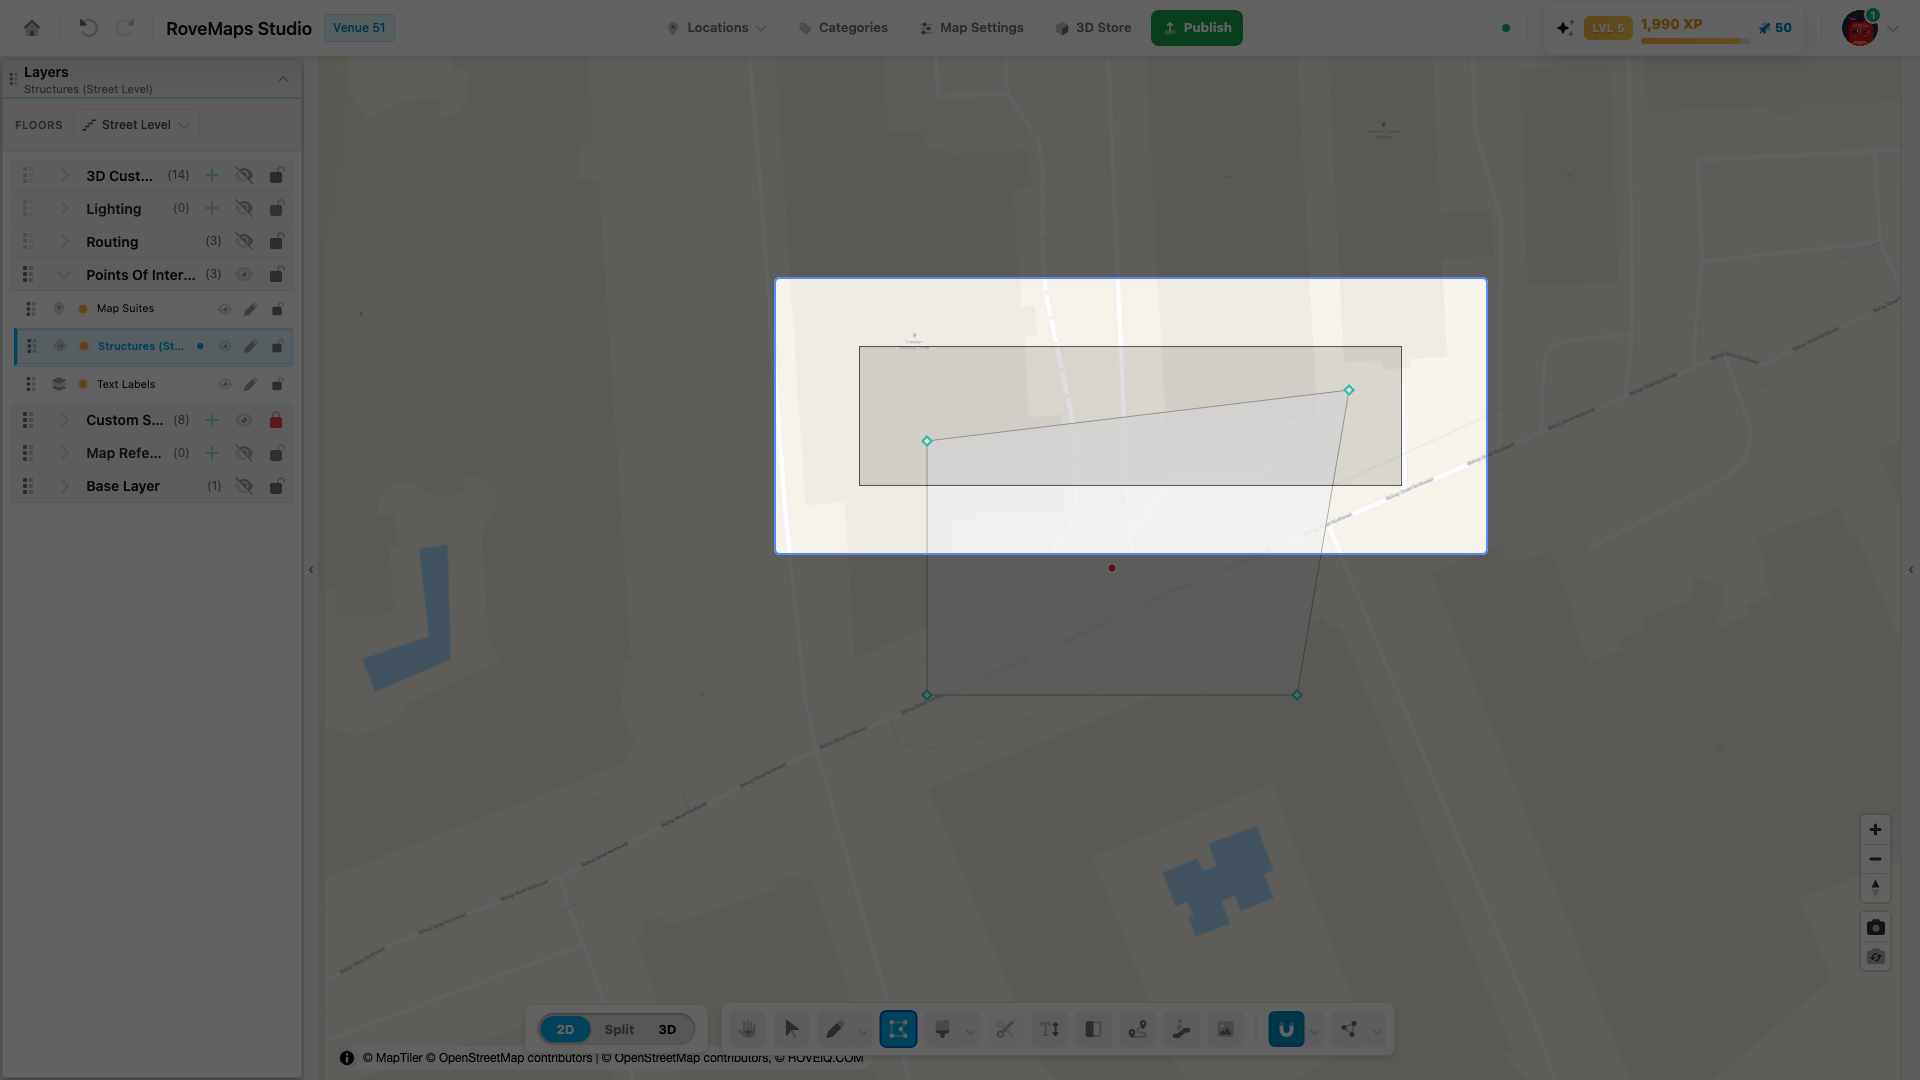
- Press on empty canvas and drag — a marquee box follows the cursor.
- Release: every handle inside the box is selected. Hold Shift while boxing — or Shift-click individual handles — to add to an existing selection.
- Click empty canvas (or press Esc) to clear the selection.
Notes
- While more than one distinct position is selected, the toolbar shows an Align (N) group — see Align vertices.
- A box over no handles clears the current selection.
Move multiple vertices
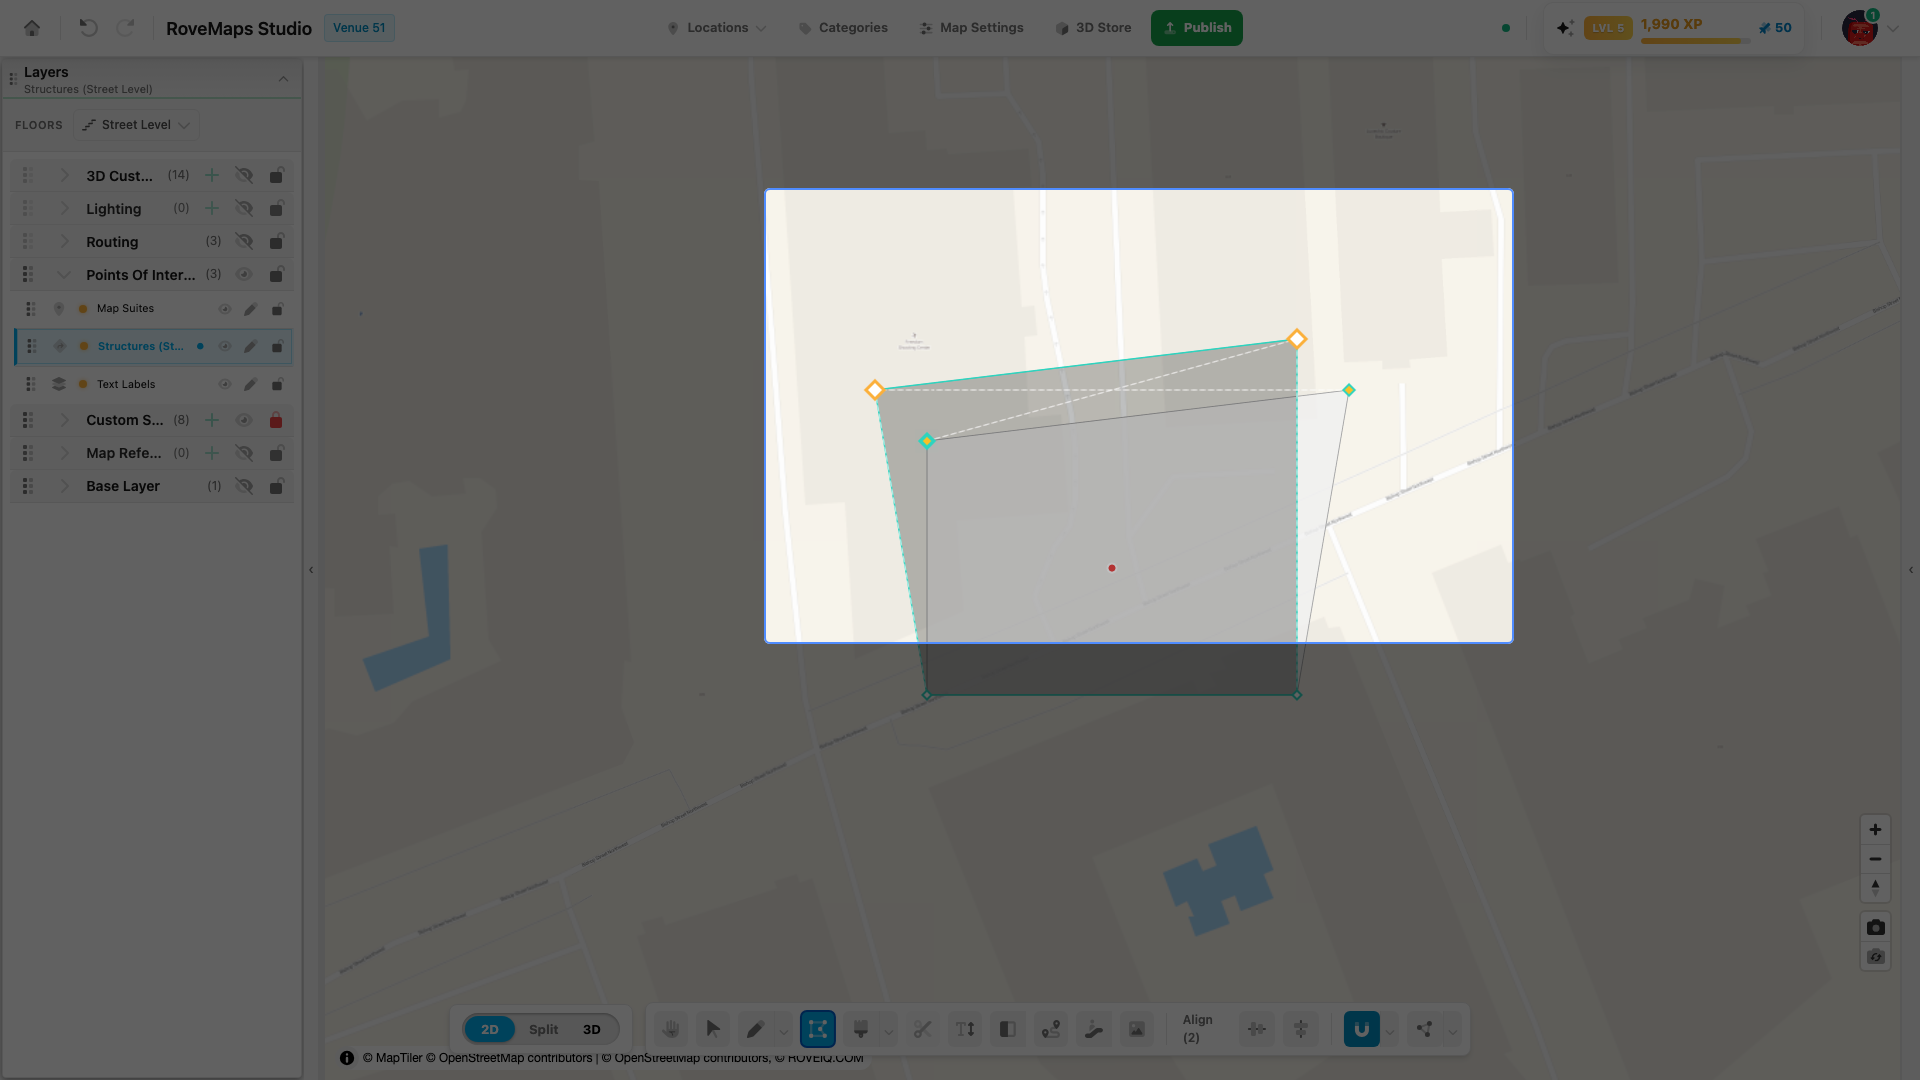
- Select two or more handles (marquee or Shift-click).
- Press and drag any selected handle. The whole selection moves by the same offset — spacing between the selected vertices stays fixed.
- Release to commit; Esc during the drag cancels it.
Notes
- A group move is all-or-nothing: if it would make any affected shape invalid (for example self-intersecting), the entire move is rejected and nothing changes.
- Snapping and Move Together apply to the grabbed handle exactly as in a single-vertex drag.
Publish impact: every layer the group touches is marked modified — still one undo step, held in draft until you Publish.
Align vertices
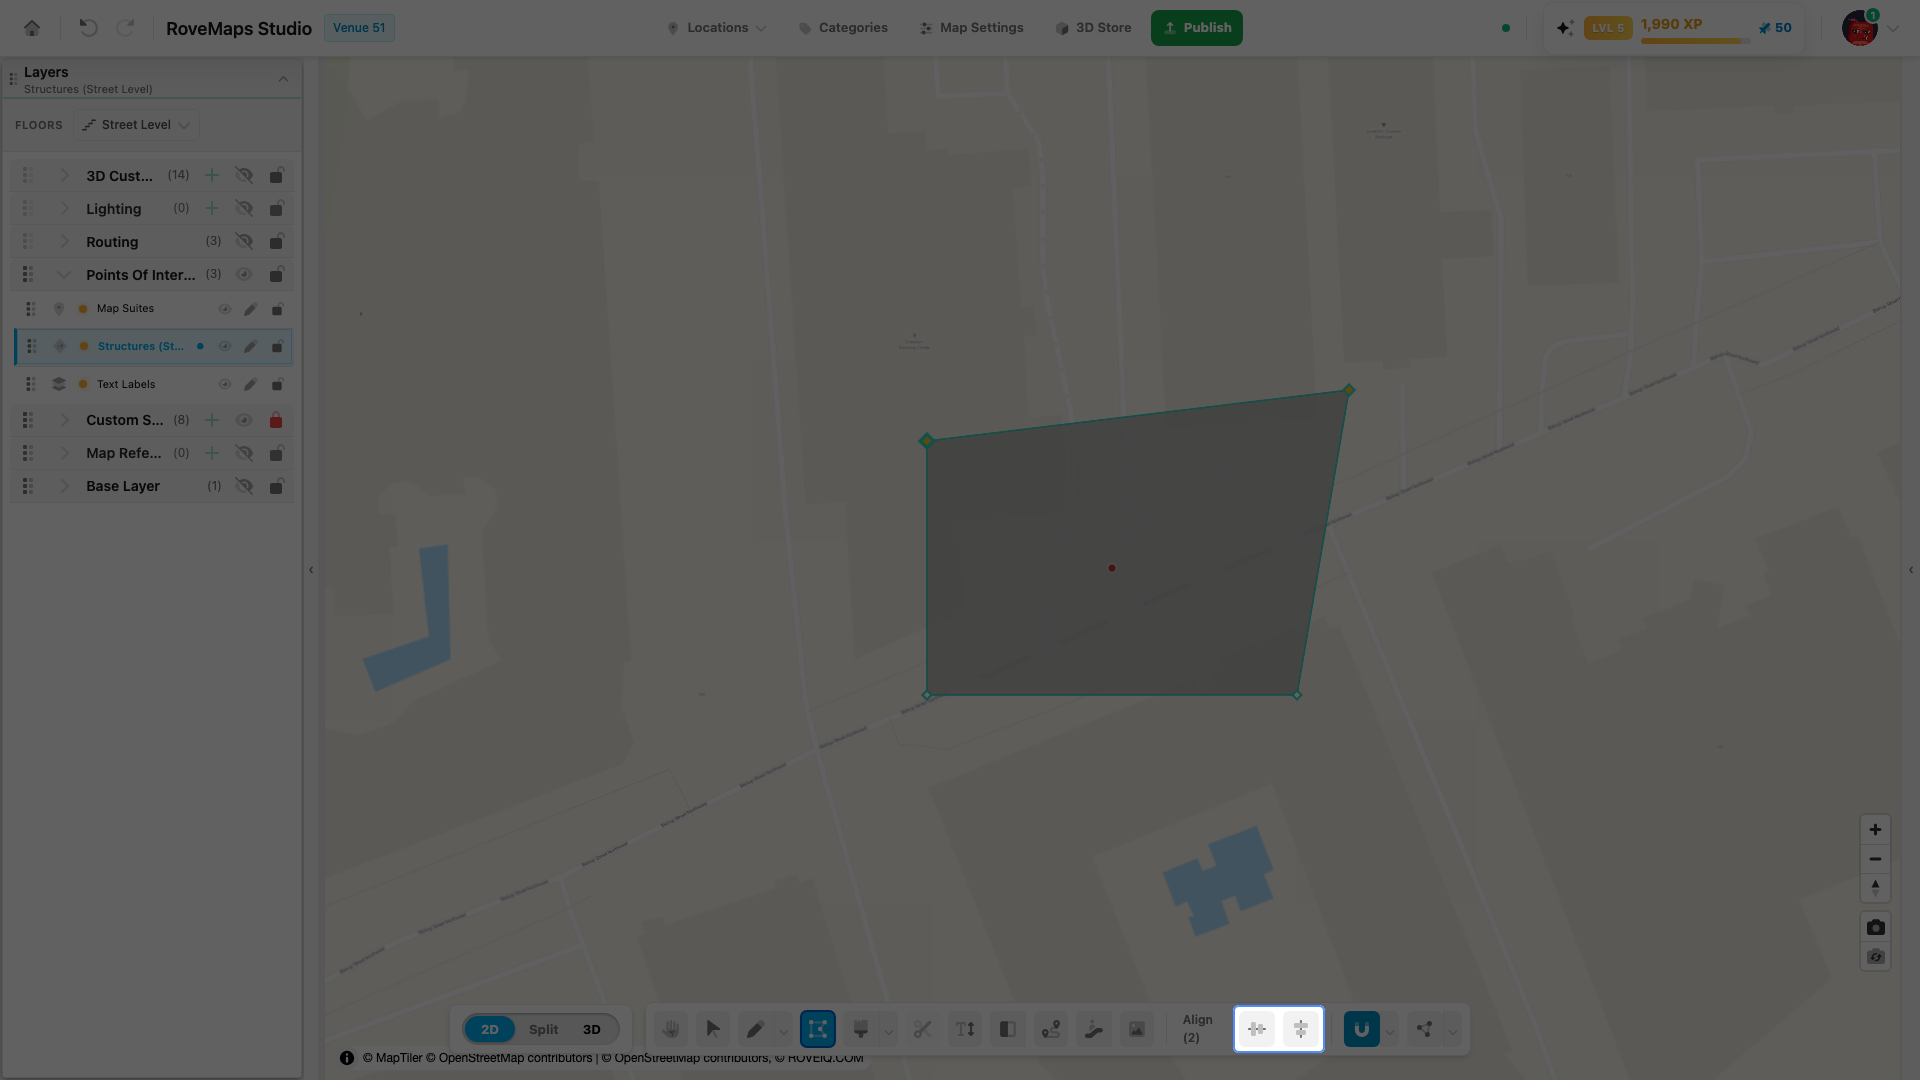
Snap selected vertices onto a straight horizontal or vertical line to square up an outline.
- Select two or more handles. The toolbar shows an Align (N) group, where N counts distinct selected positions.
- Click Align Horizontal to move them onto one horizontal line (the average of their positions), or Align Vertical for one vertical line.
Notes
- A single closed corner is two handles stacked at one point — it counts as one position, so it cannot be aligned on its own.
- Align is all-or-nothing: an align that would produce an invalid shape is rejected entirely.
Move an edge
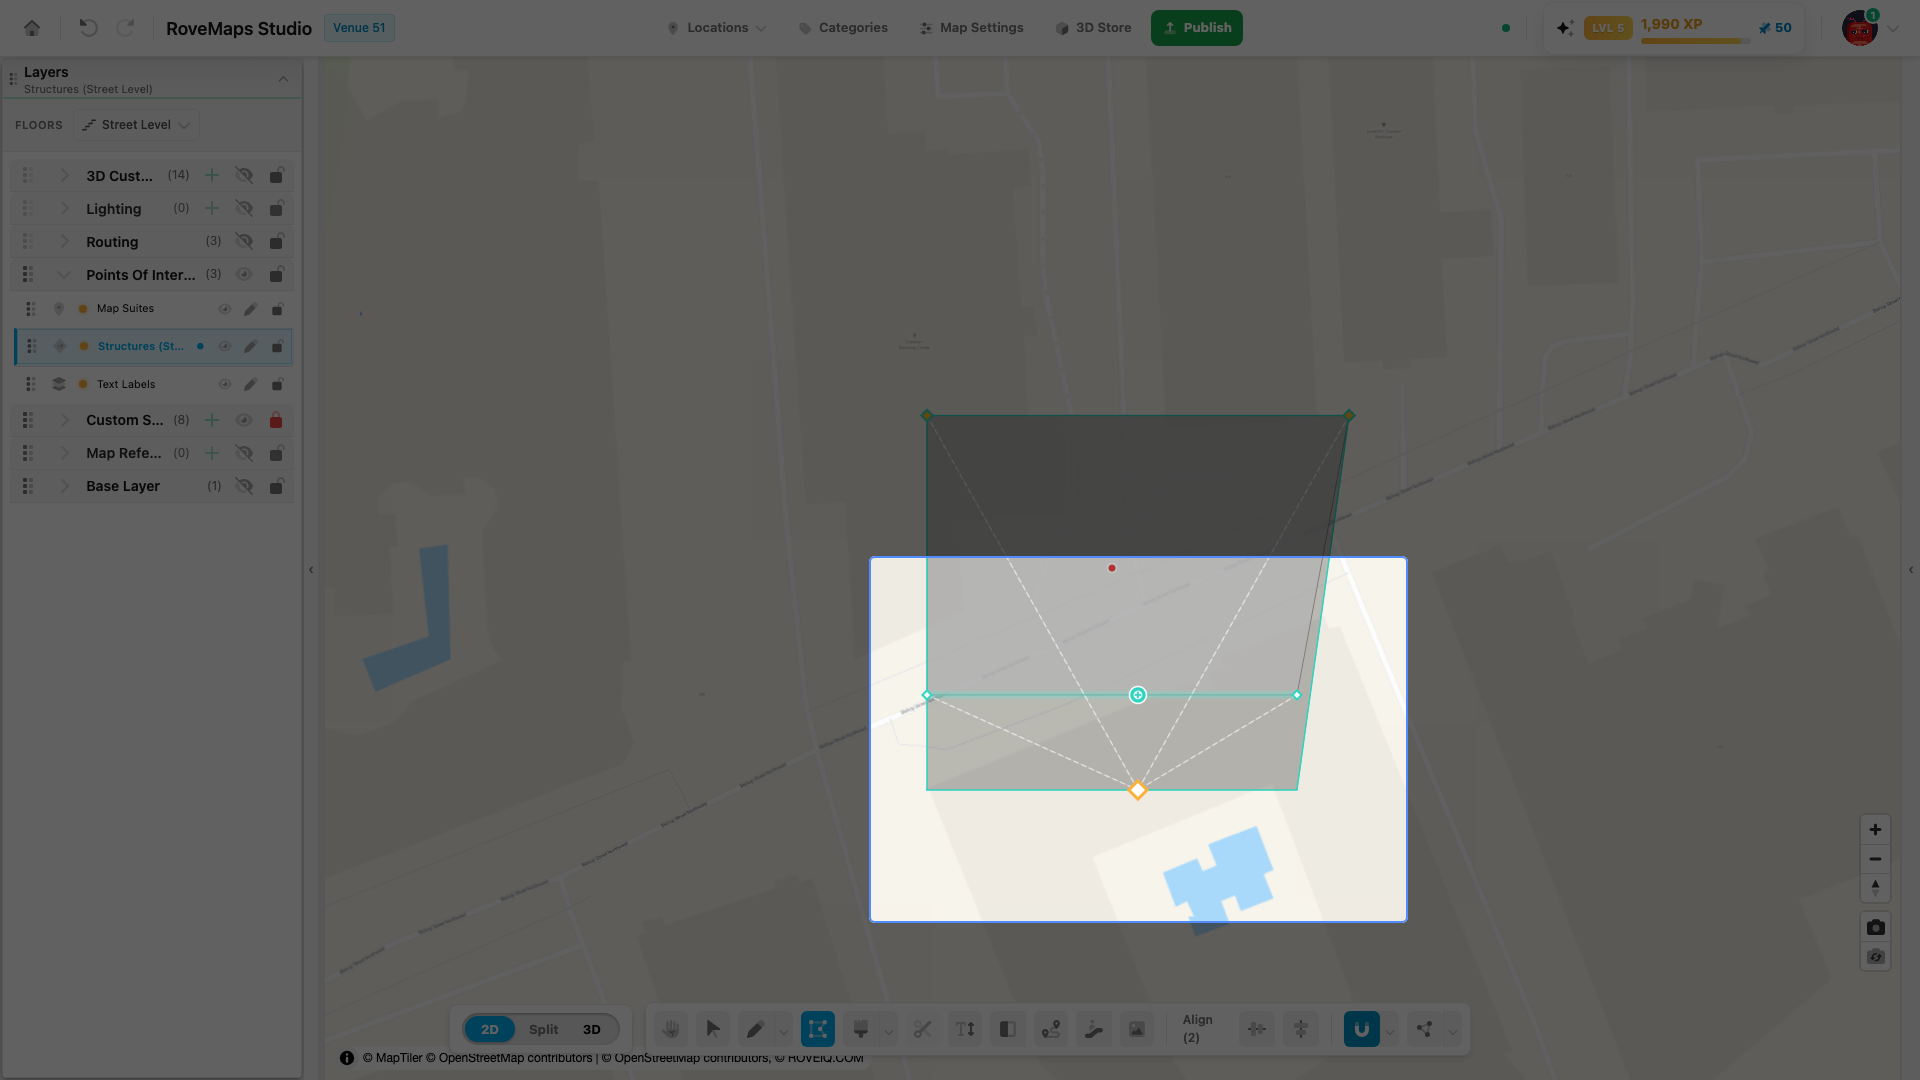
- Press on a segment between two handles — away from the corners — and drag.
- Both endpoints move together, keeping the edge parallel to where it started.
- Release to commit; Esc cancels.
Notes
- A quick click on a segment inserts a vertex instead (see Add a vertex); dragging past a few pixels makes it an edge move.
- With Move Together on, a wall shared with a touching feature moves on both features at once.
Works with Snapping and Move Together
The Vertex Tool composes with the two toolbar modifiers:
- Snapping (the magnet) pulls a dragged vertex to nearby geometry so you can land exactly on a neighbor’s corner or edge.
- Move Together (topology) treats vertices from different features at the same spot as one: drags, group moves, edge moves, and aligns carry the coincident partners, and near-coincident vertices weld to exact on drop.
Every edit validates before it commits: coordinates must stay valid, rings keep their minimum size, and self-intersecting results are rejected with nothing written. The publish preview can still repair duplicate vertices it finds, but it is better to fix outlines here first.
Glossary
- Handle — the marker on a vertex you grab to move it; its shape and colors are set in vertex defaults.
- Shared vertex — a green-ringed handle sitting at the same spot as another feature’s vertex.
- + marker — the add-vertex indicator that rides an edge under your cursor.
- Marquee — the drag-box that selects every handle it contains.
- Align (N) — the toolbar group that appears when N distinct positions are selected.
- Move Together — the topology modifier that moves coincident vertices on touching features as one.
- All-or-nothing — the validation rule: an edit that would break any affected shape is rejected whole, nothing commits.