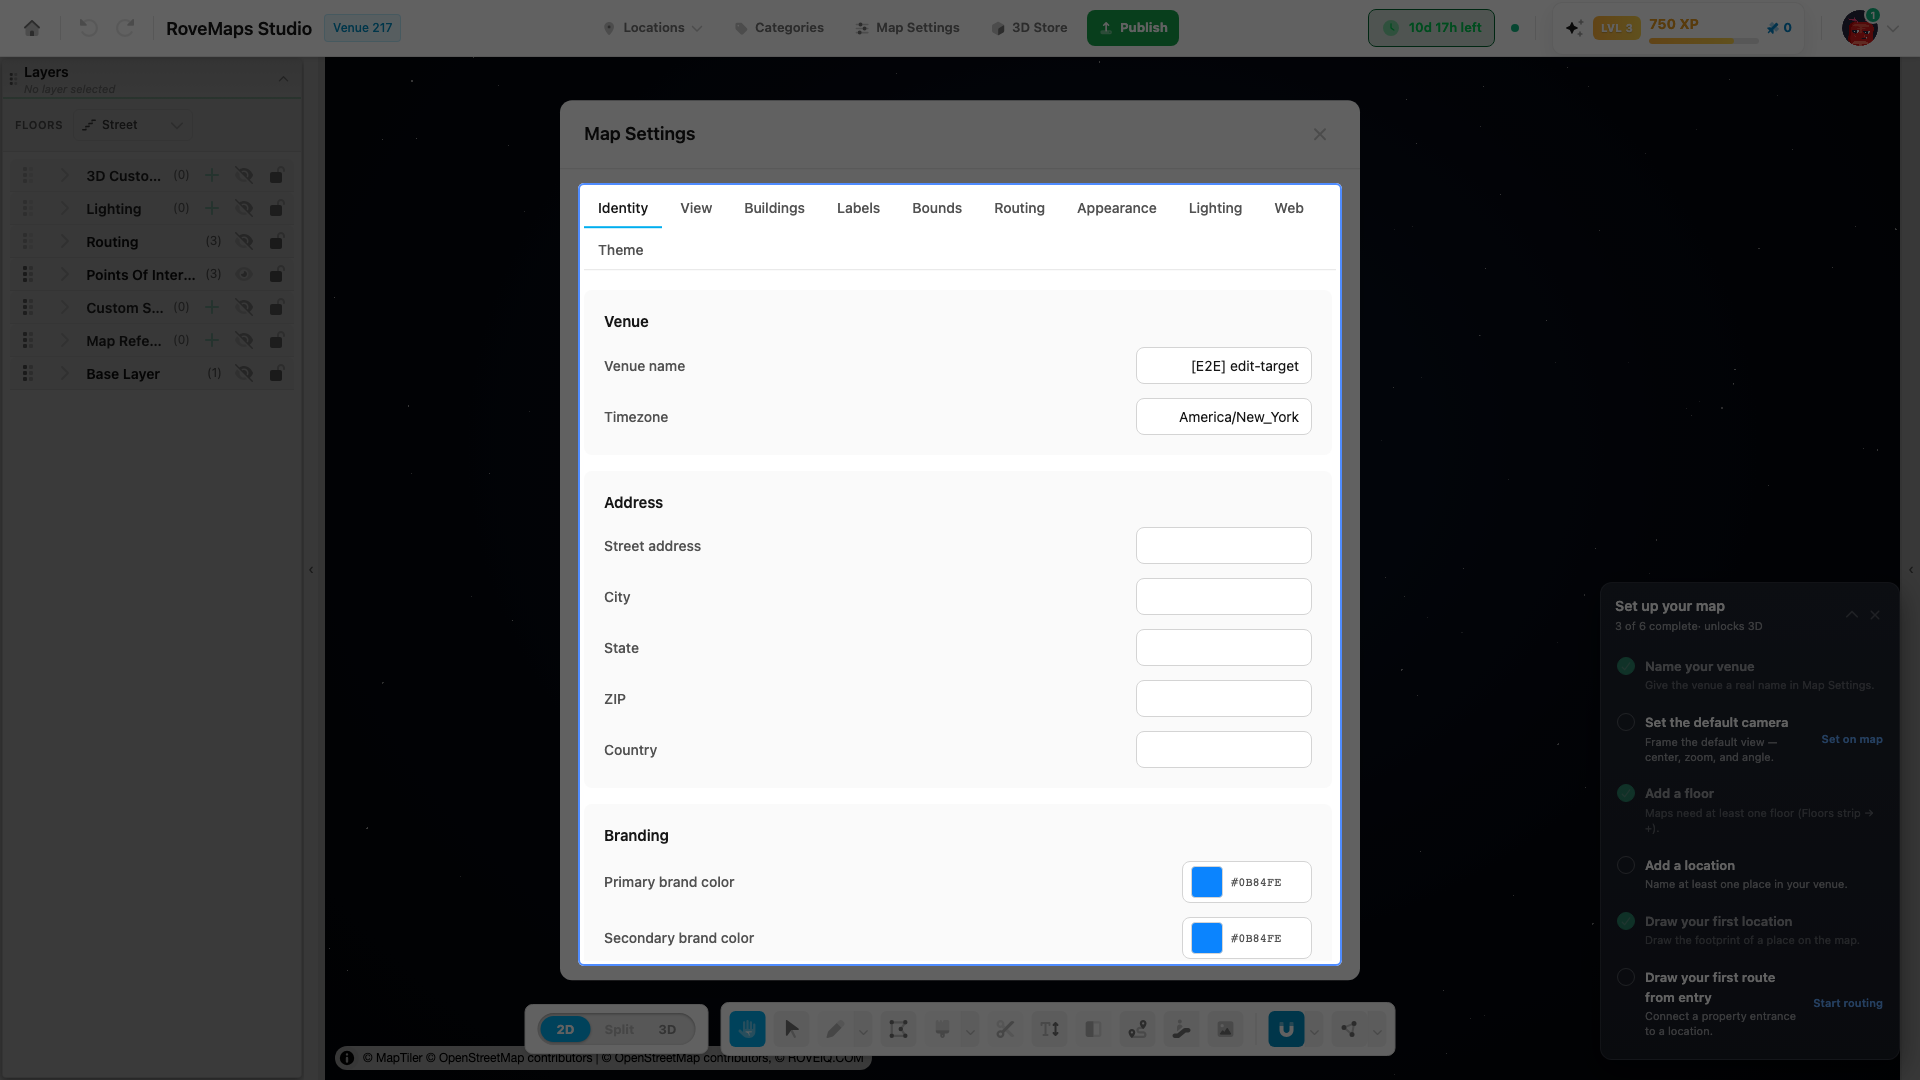
Map Settings
Map Settings controls venue-level defaults: identity, the opening camera, building and label appearance, bounds and geofencing, routing colors, lighting, public-web colors, and starter themes. Open it from the Map Settings button in the editor header, then choose a tab.
Update venue information
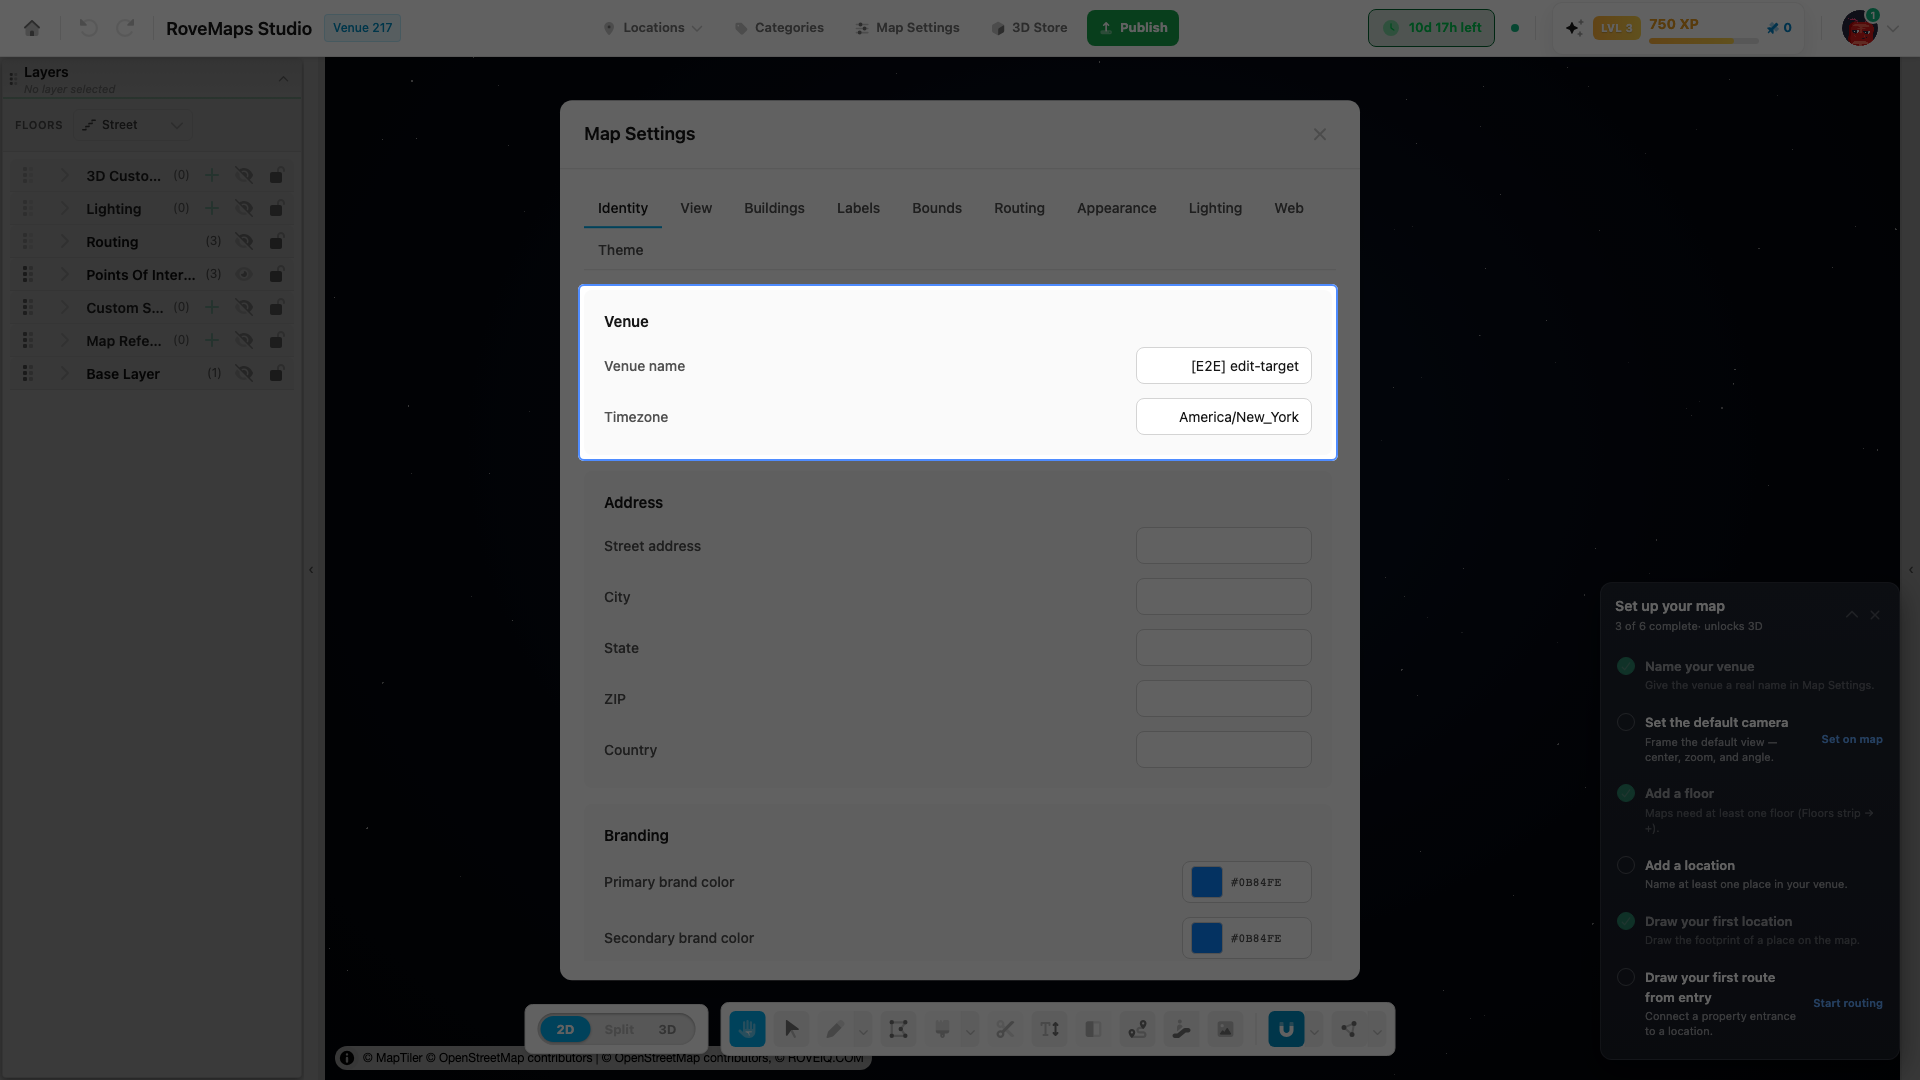
The Identity tab stores information that identifies the venue and feeds public map and web surfaces.
- Open Map Settings from the editor header.
- Select the Identity tab.
- Update the relevant field:
- Venue — venue name and timezone.
- Address — street address, city, state, ZIP, and country.
- Branding — primary and secondary brand colors.
- Leave the field to commit its value to the draft, then close the dialog when you are done.
Publish impact: identity changes stay in the draft until you publish. They appear under Venue Settings in the publish preview.
Set the default structure color
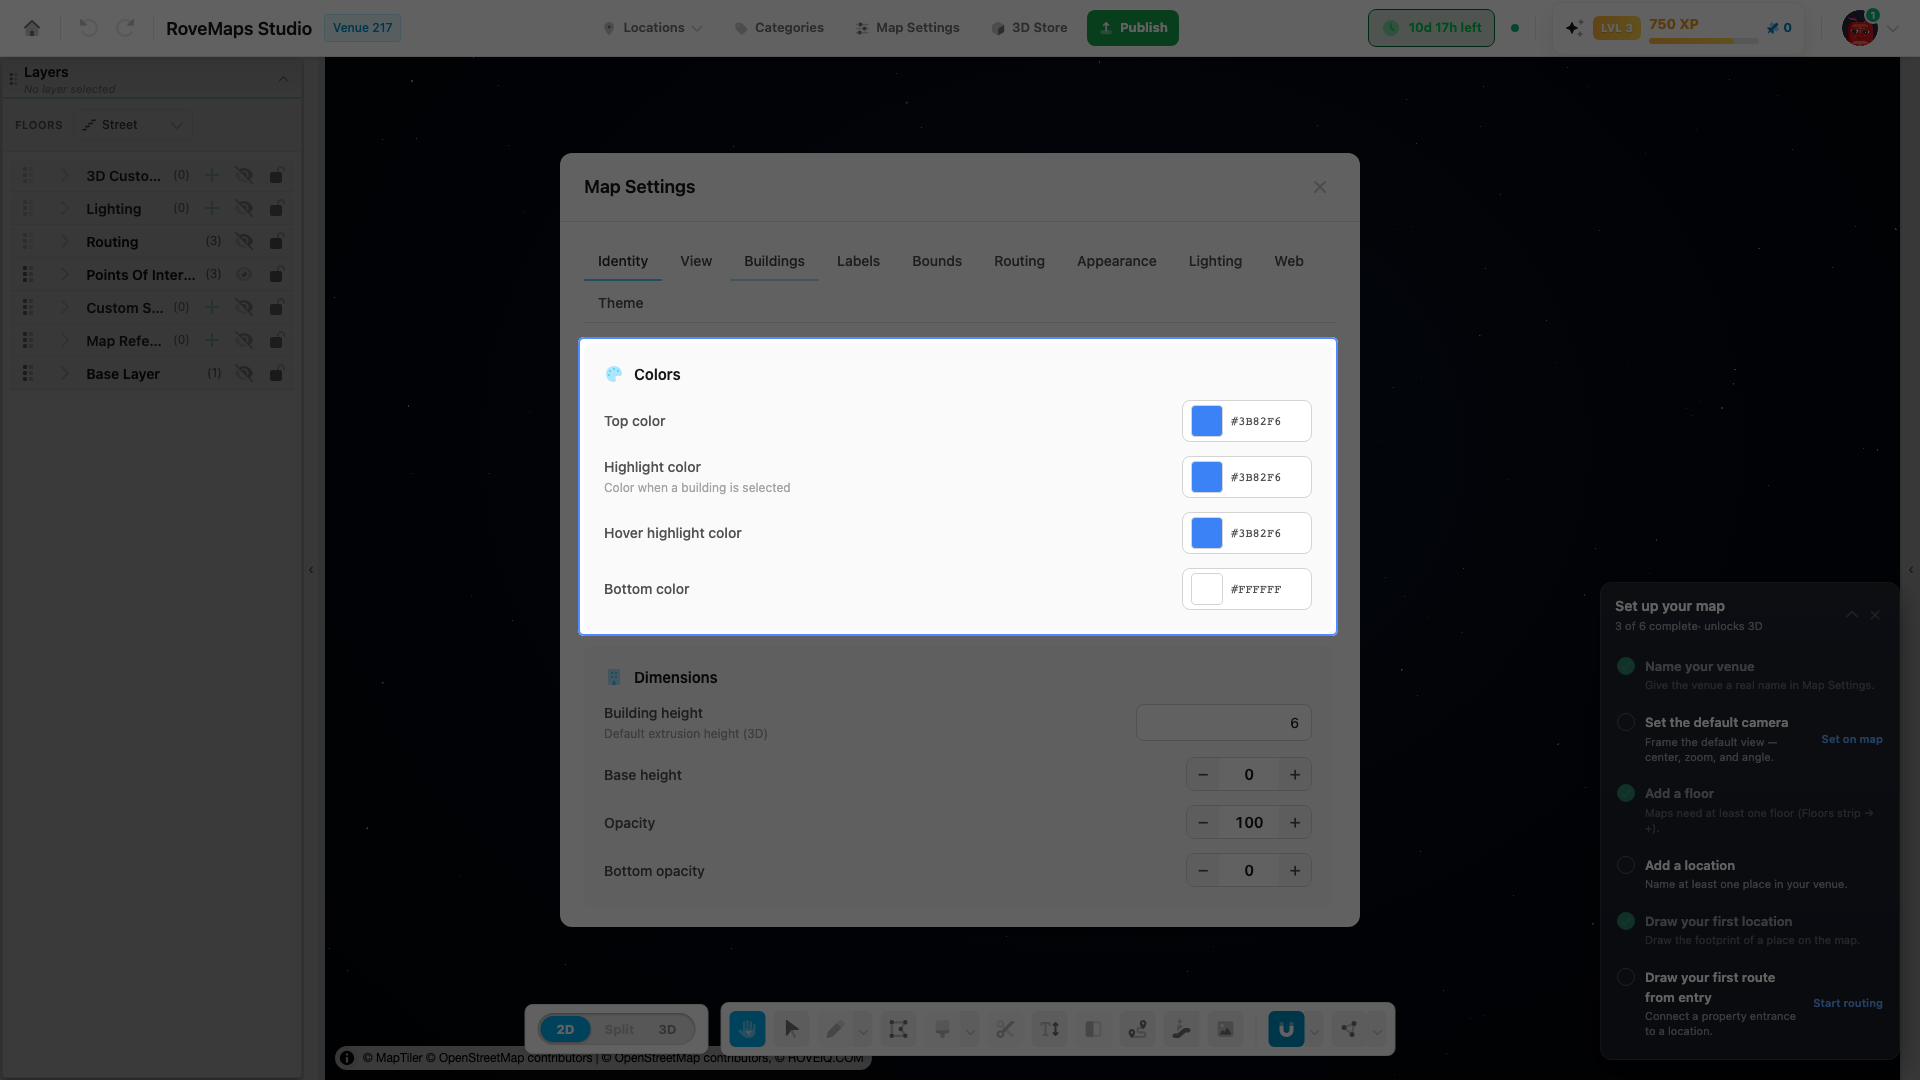
The Buildings tab sets fallback colors and dimensions for structures without a more specific style.
- Open Map Settings, then select Buildings.
- In Colors, choose the defaults:
- Top color — the structure’s default surface color.
- Highlight color — the color used when a building is selected.
- Hover highlight color — the color used on hover.
- Bottom color — the base color of the 3D extrusion.
- Use Dimensions on the same tab to set default height, base height, and opacity.
A structure or custom style with its own appearance overrides these venue defaults. See Structures and Custom Styles.
Publish impact: building defaults publish as venue settings.
Set the starting zoom
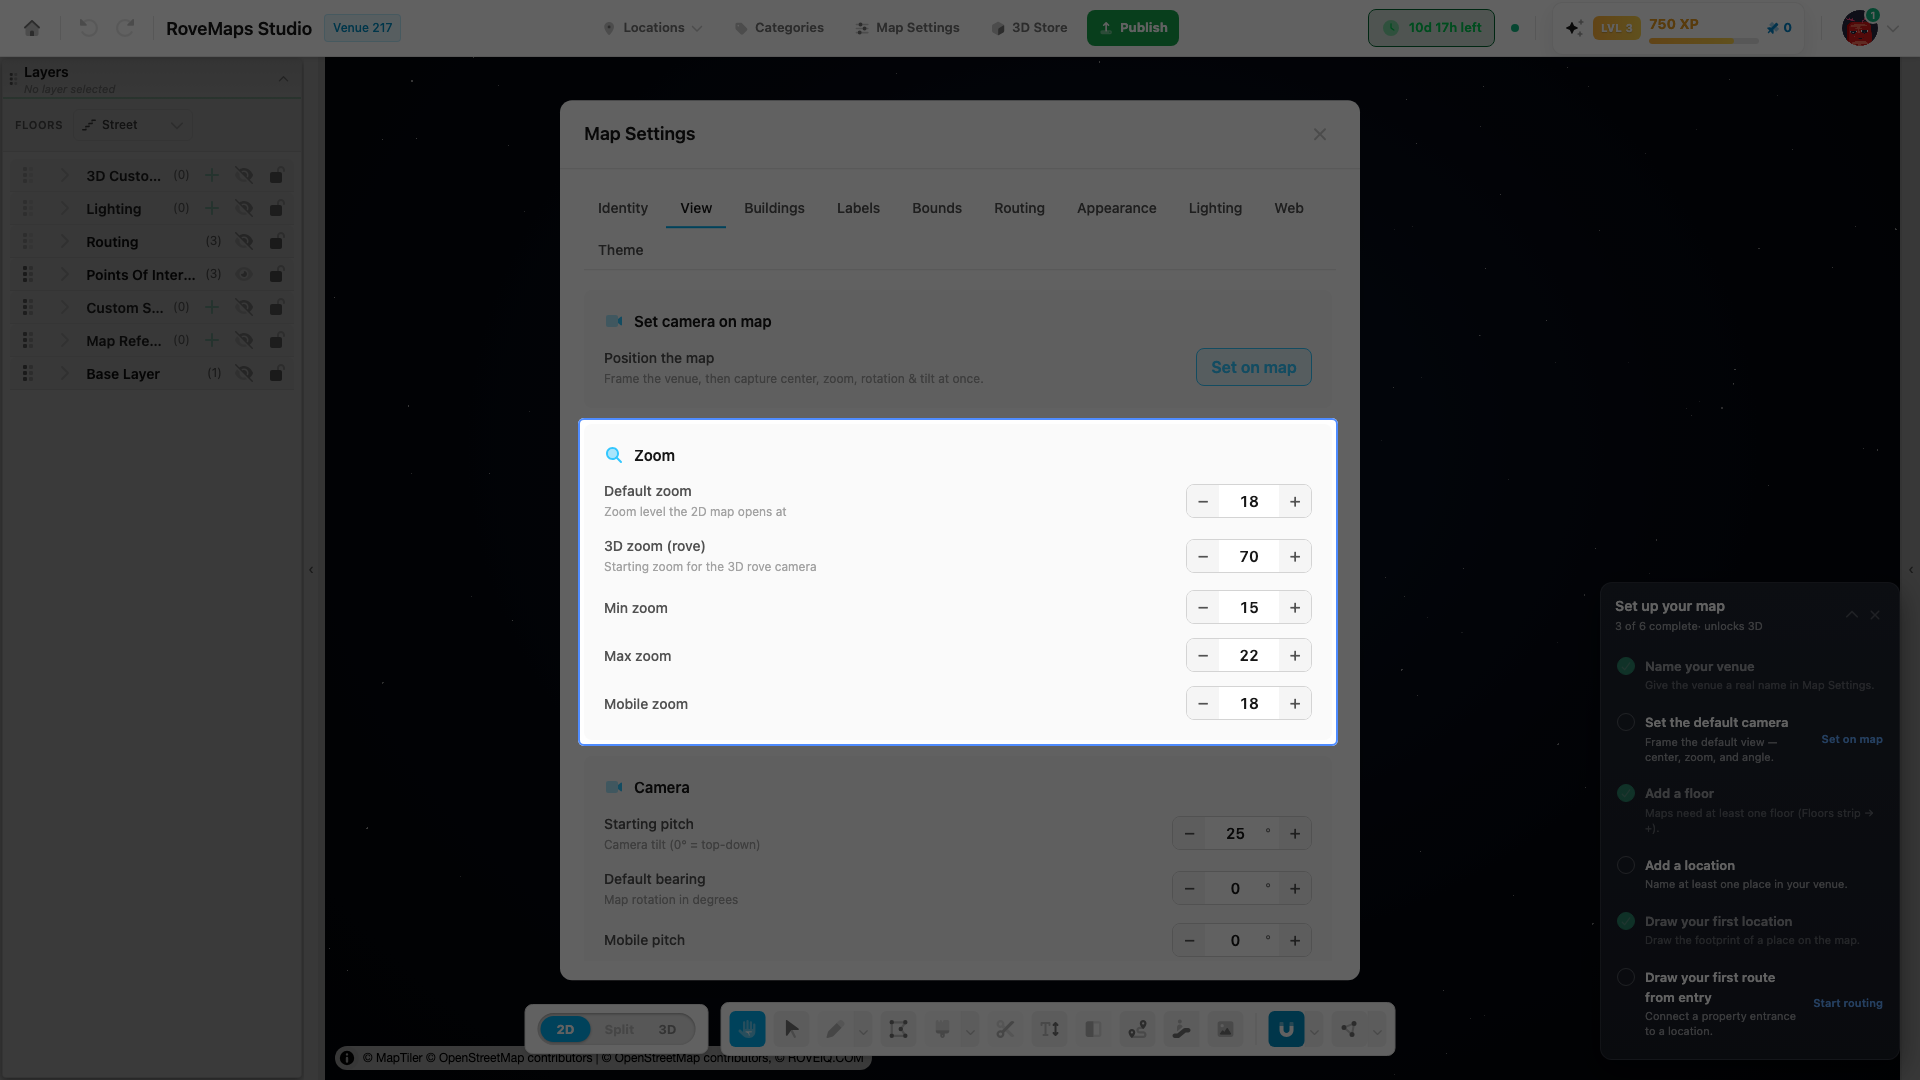
The View tab controls the camera the map opens with. Its Zoom card keeps the 2D and 3D starting zooms separate.
- Open Map Settings, then select View.
- In Zoom, set:
- Default zoom — the 2D opening zoom, from 0 (whole world) to 24 (very close).
- 3D zoom (rove) — the opening zoom for the 3D rove camera.
- Min zoom and Max zoom — how far the 2D map is allowed to zoom.
- Mobile zoom — the opening zoom on mobile.
- To capture the current map view instead, click Set on map, frame the venue, and confirm. This records center, zoom, bearing, and pitch together.
For the camera workflow in detail, see Camera Modes.
Publish impact: opening-camera values publish as venue settings.
Set the starting position
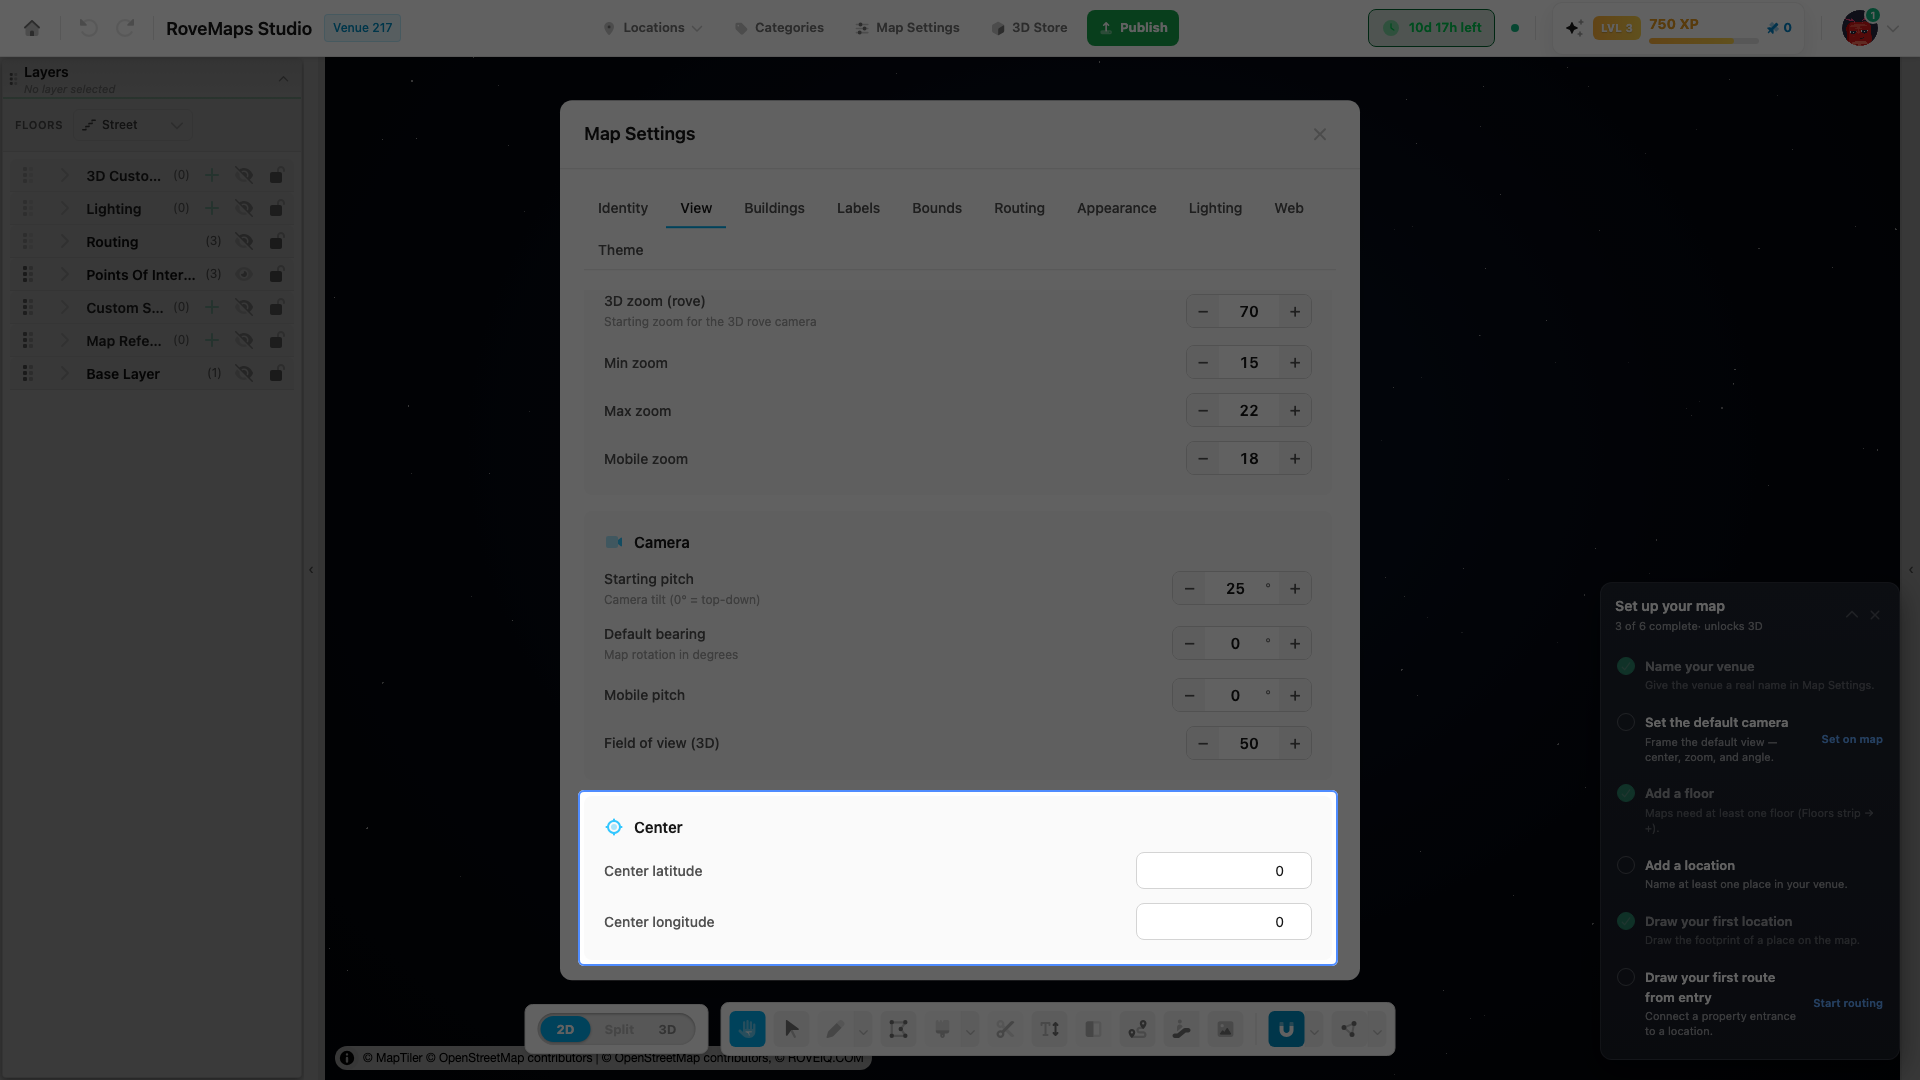
The Center card on the View tab sets where the map opens.
- Open Map Settings, then select View.
- Enter Center latitude and Center longitude.
- To capture the current center visually, use Set on map instead. It records the center along with the current zoom, bearing, and pitch.
Set the opening zoom separately in the Zoom card above.
Publish impact: the starting position publishes as a venue setting.
Other settings tabs
- Labels — default title color, rotation, and size.
- Bounds — venue bounds and mobile-GPS geofence coordinates; use Reconfigure to draw bounds on the map instead of typing them.
- Routing — navigation line and stroke colors, 3D sphere color, line size, and step size.
- Appearance — background, sky, street, stair, and label defaults.
- Lighting — ambient and directional light color and intensity.
- Web — colors used by the public web map, routing line, and directions button.
- Theme — applies a starter palette to a fresh map. It is disabled once custom styles exist so it cannot overwrite established style work.
Base-map style, opacity, and visibility are separate controls in the MapTiler row of the Layers panel; see Base Layer.
Publish impact
Every Map Settings edit is a draft venue change. The publish preview groups pending changes under Venue Settings; public map and web surfaces do not receive them until publish completes.