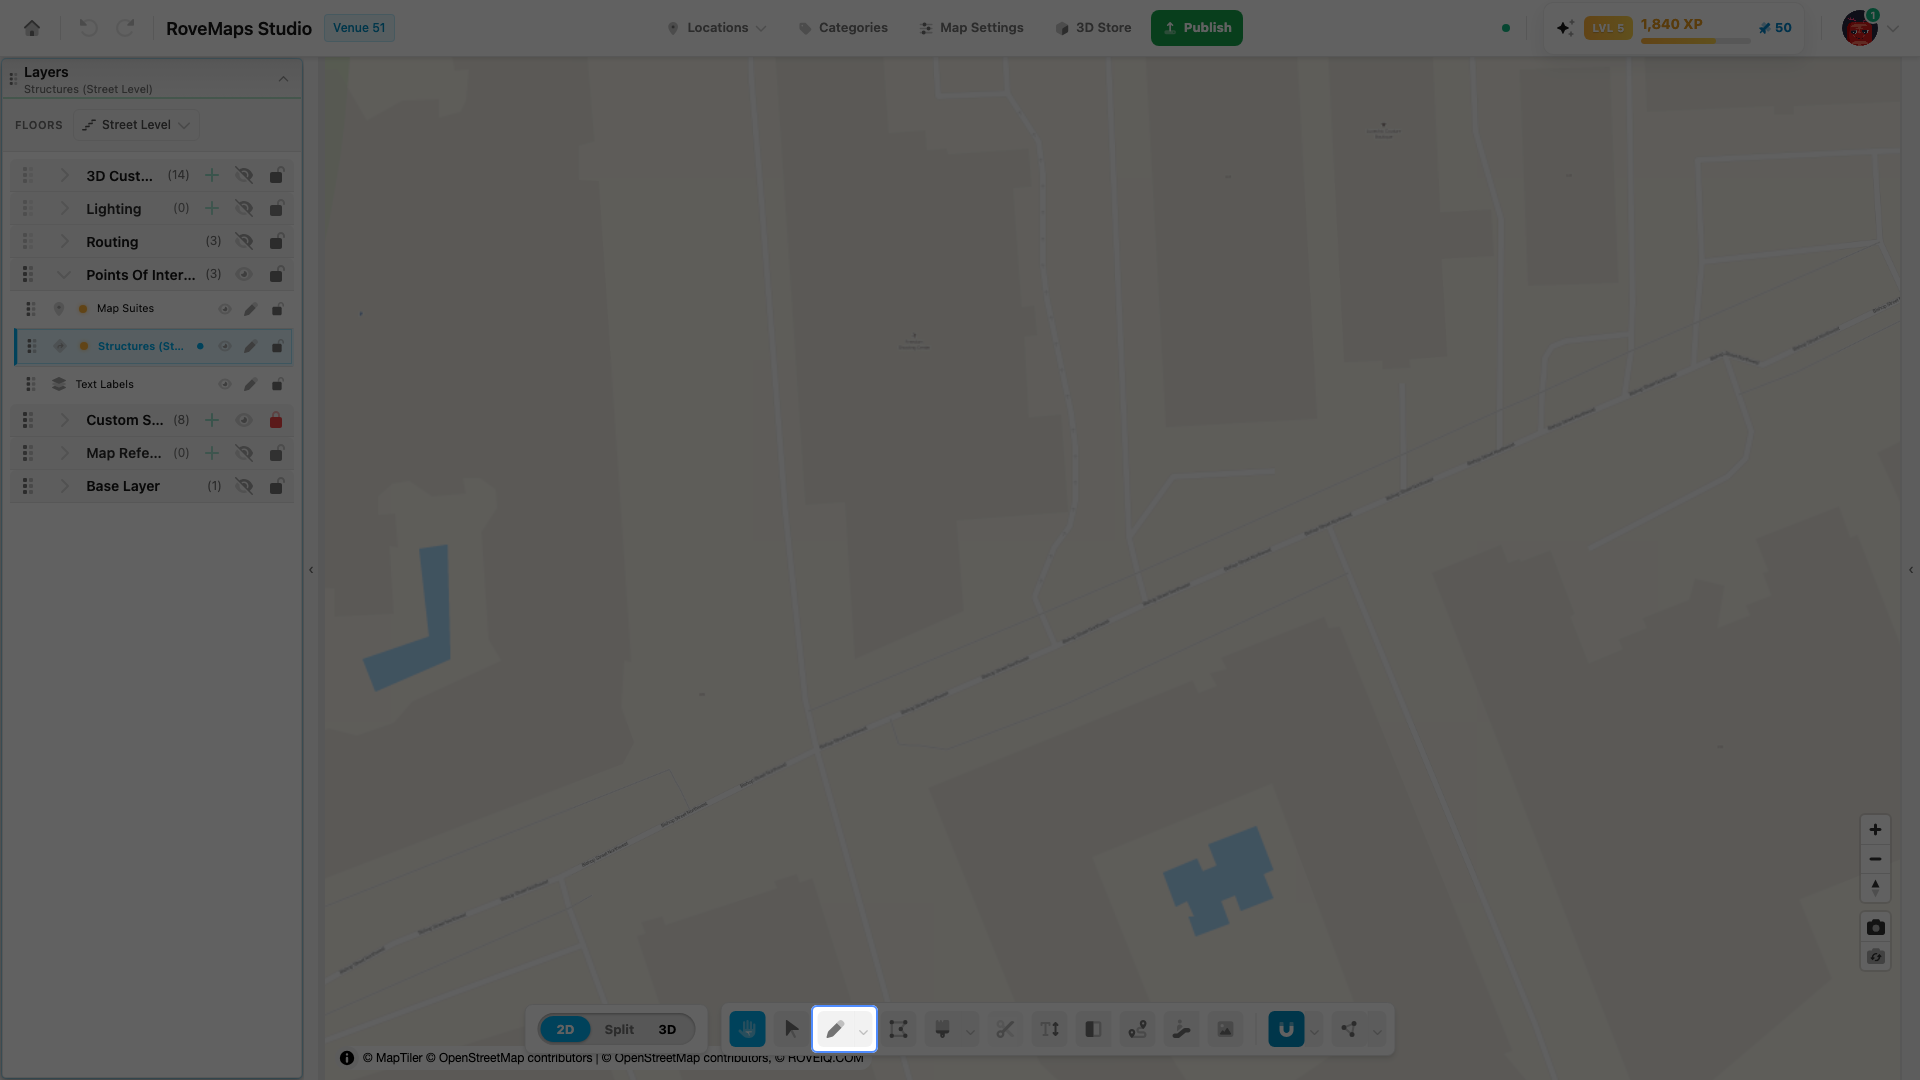
Draw
The Draw tool creates new geometry on the active editable layer — a structure, a custom-style shape, a routing line, or a point. The sub-tool it offers depends on the selected layer: polygon layers (Structures, Custom Styles) let you draw freehand outlines, rectangles, and circles; point layers place a single point; routing layers draw a line.
Before you draw
- Pick the floor and layer you want to add to — the Draw button is disabled until an editable layer is selected.
- Confirm the layer is visible and unlocked.
- Work in the 2D view when you need precise placement.
- Turn on snapping when the new feature should meet an existing edge or vertex.
The Draw button is enabled on Structures, Custom Styles, routing, doors, and map-reference layers. It is disabled on text-label, floor-transition, and base-map layers — those have their own tools.
Choose a draw sub-tool
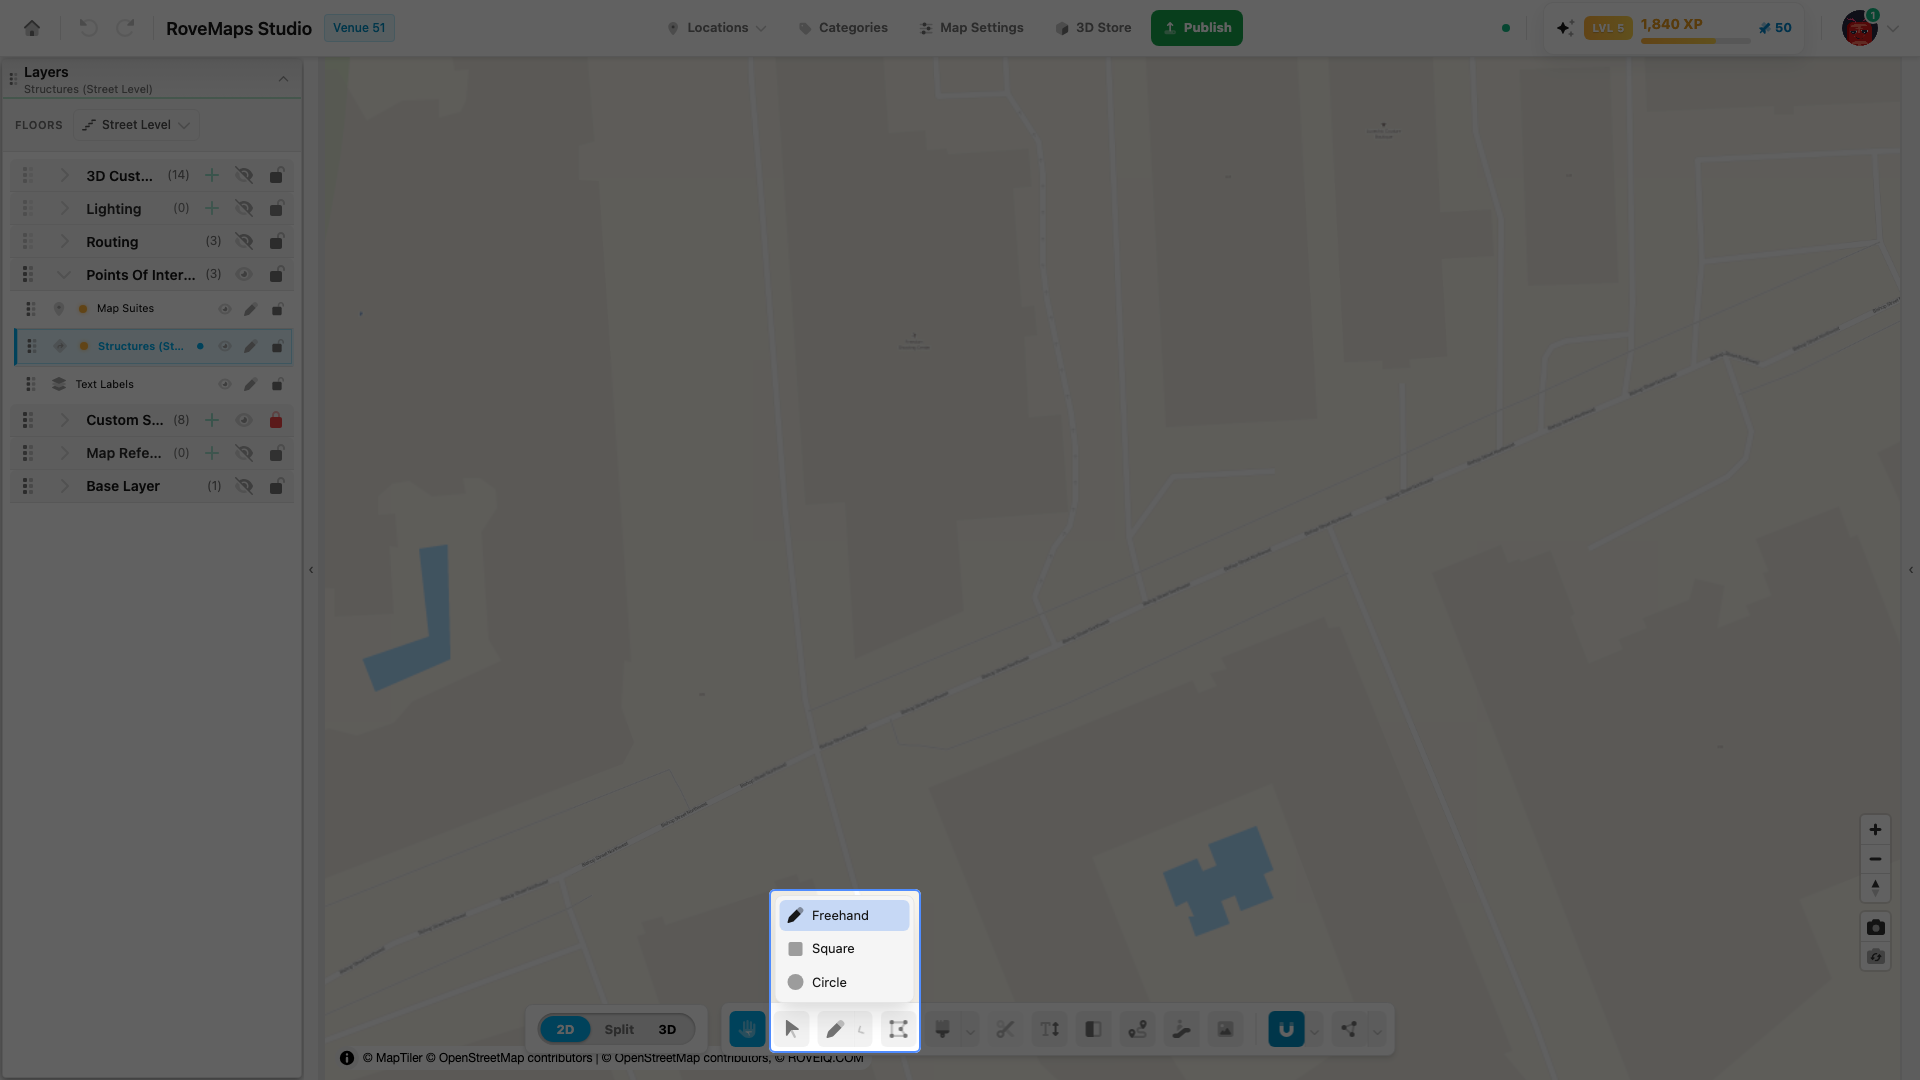
The Draw button changes with the selected layer:
- Polygon layers (Structures, Custom Styles) — pick Freehand, Square, or Circle from the chevron next to the Draw button.
- Point layers (doors, text labels) — the Draw button places a single point.
- Routing layers — the Draw button draws a line.
Freehand has the keyboard shortcut P.
Draw a freehand polygon
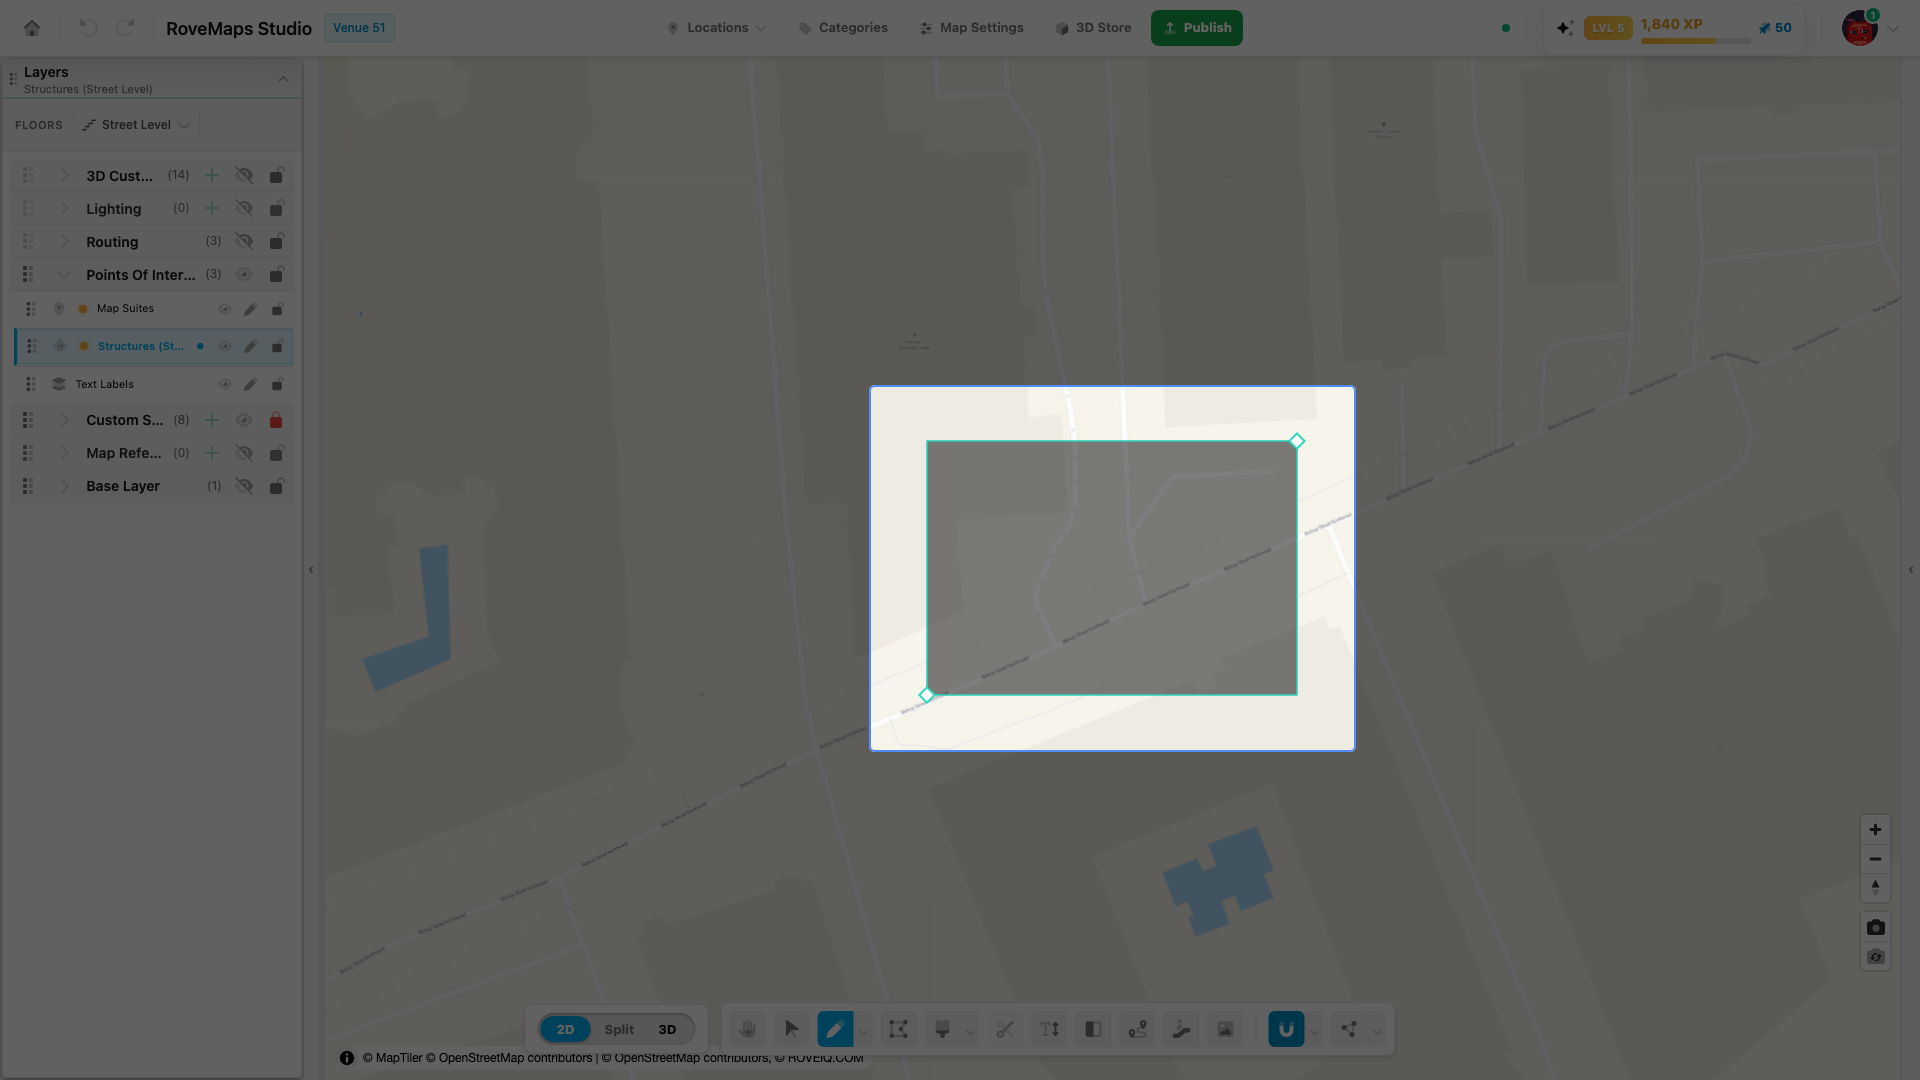
The Freehand sub-tool builds a polygon one vertex at a time — use it for outlines that don’t follow a simple rectangle or circle.
- Select a Structures or Custom Style layer.
- Open Draw, then choose Freehand from the chevron (shortcut P).
- Click on the map to place each vertex of the outline.
- Finish the shape to commit it — see Submit a drawing.
Notes
- A polygon needs at least three vertices; a shape with fewer is discarded when you finish.
- A vertex placed on an existing edge or vertex welds to that exact coordinate.
- Drawing on a Structures layer also creates the structure’s map suite and door — see Structures, suites, and doors.
Draw a rectangle
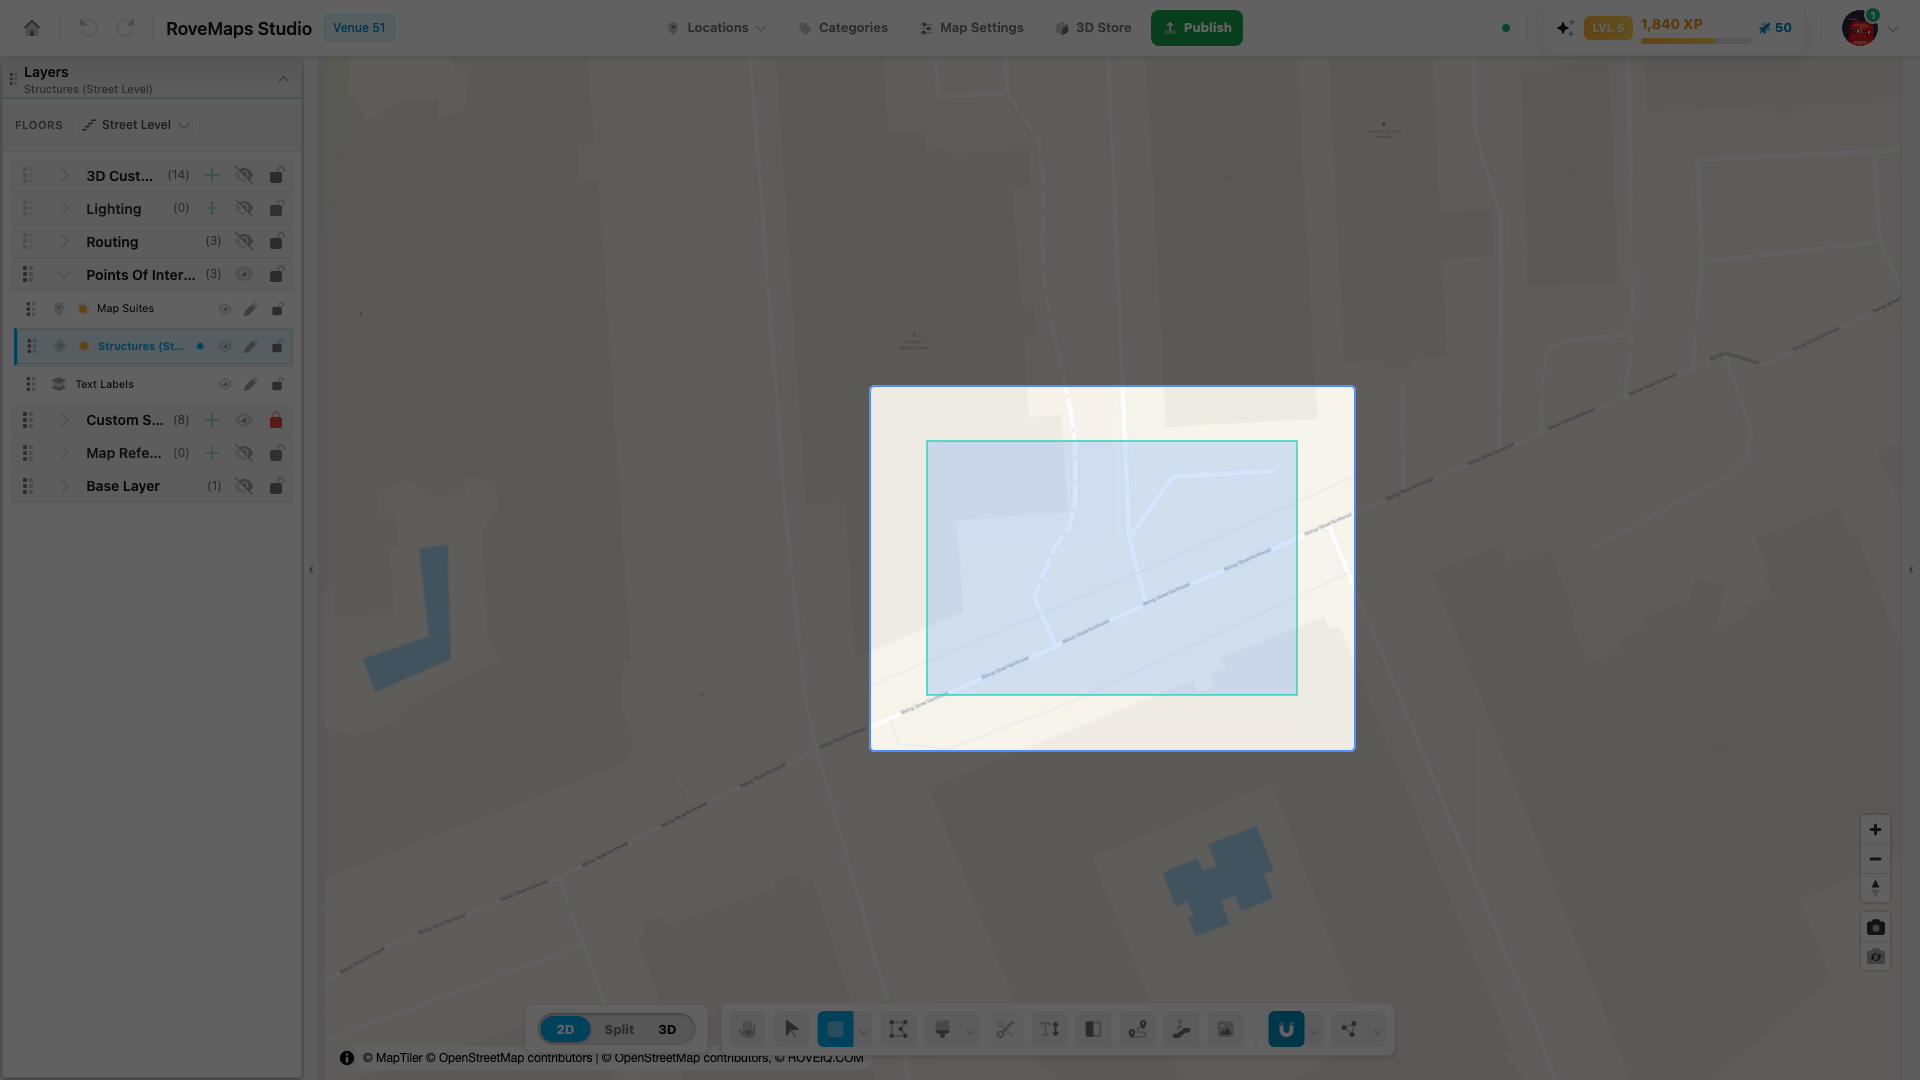
The Square sub-tool draws a rectangle from two opposite corners.
- Select a Structures or Custom Style layer.
- Open Draw, then choose Square from the chevron.
- Press and drag from one corner to the opposite corner. A preview follows the cursor.
- Hold Shift while dragging to constrain it to a perfect square.
- Release to commit the rectangle.
Notes
- Press Escape during the drag to cancel without creating a shape.
- A very short drag is treated as a click and creates nothing.
Draw a circle
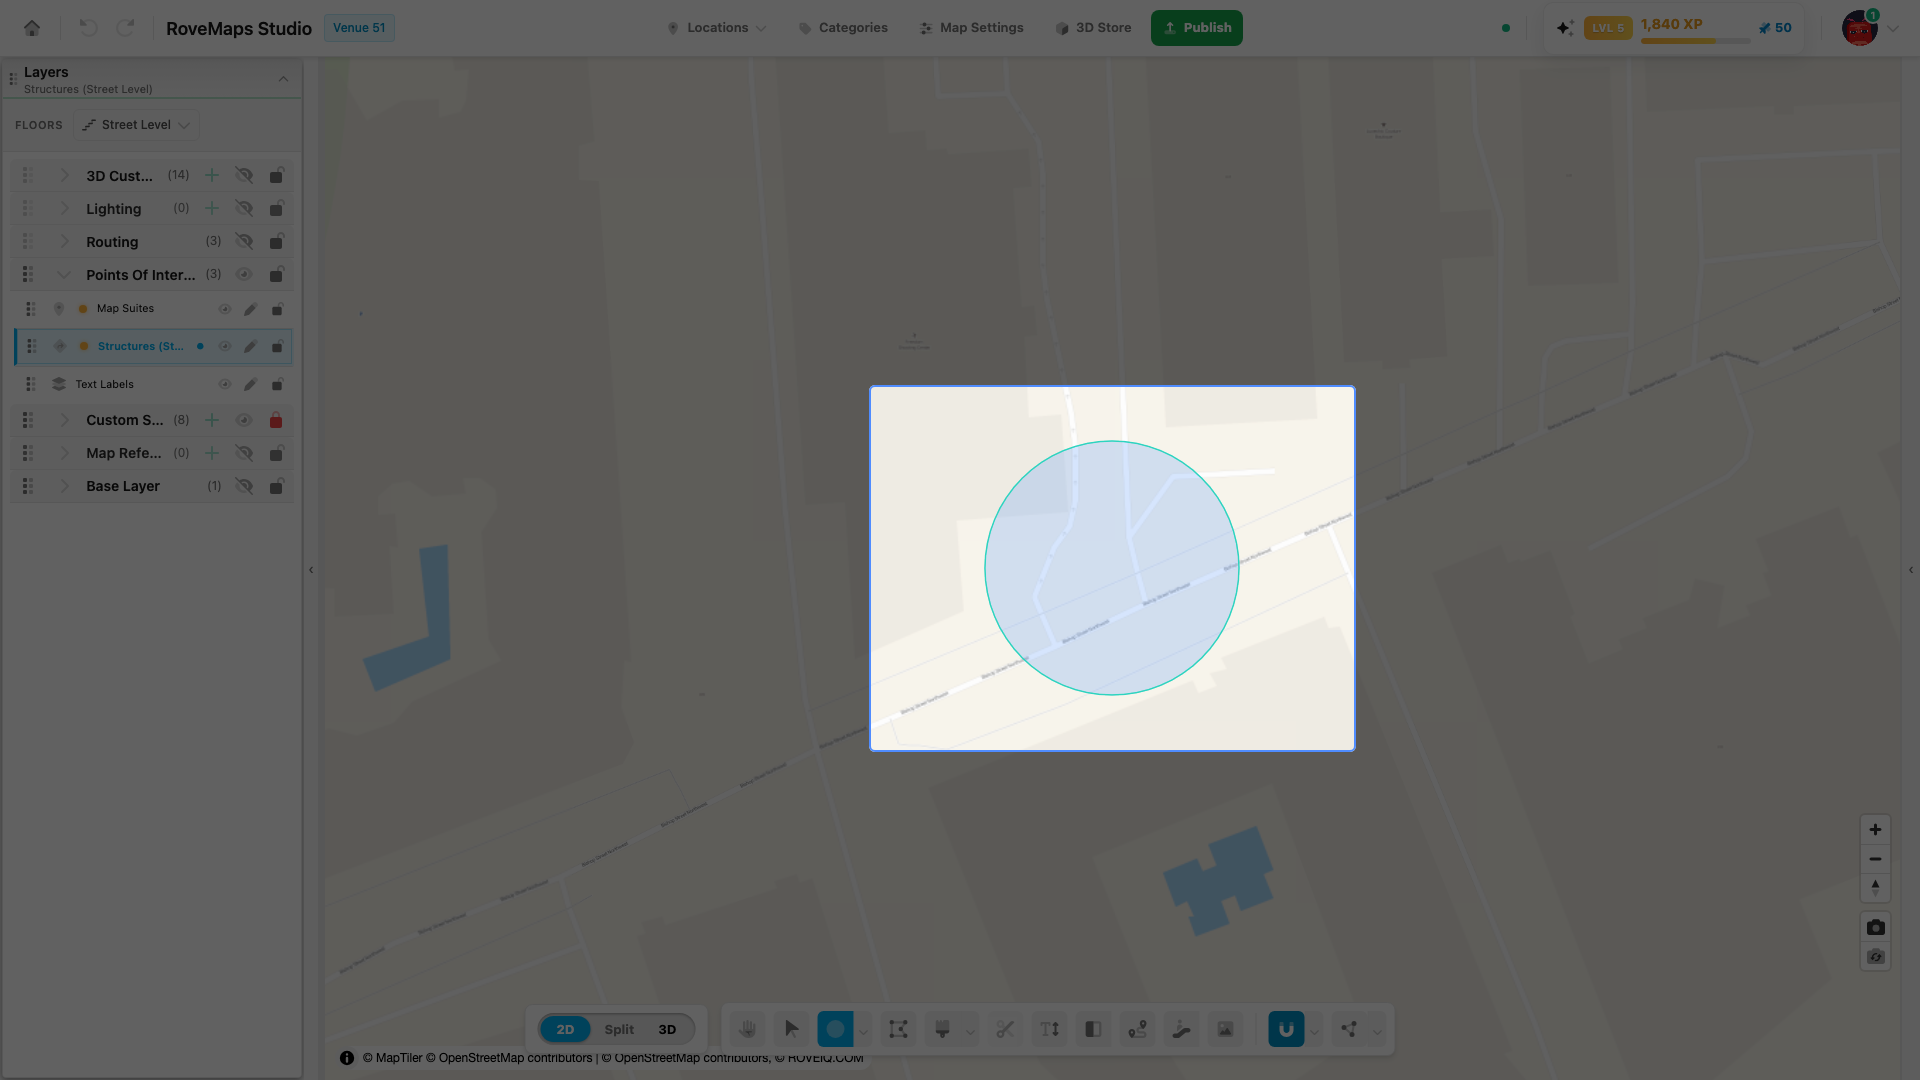
The Circle sub-tool draws a circular polygon inscribed in a box you drag out.
- Select a Structures or Custom Style layer.
- Open Draw, then choose Circle from the chevron.
- Press and drag to define the box the circle fits inside.
- Hold Shift to square the box so the circle fills it.
- Release to commit.
Notes
- The circle is committed as a many-sided polygon, so you can fine-tune it afterward with the Vertex Tool.
- Press Escape during the drag to cancel.
Draw a custom hole
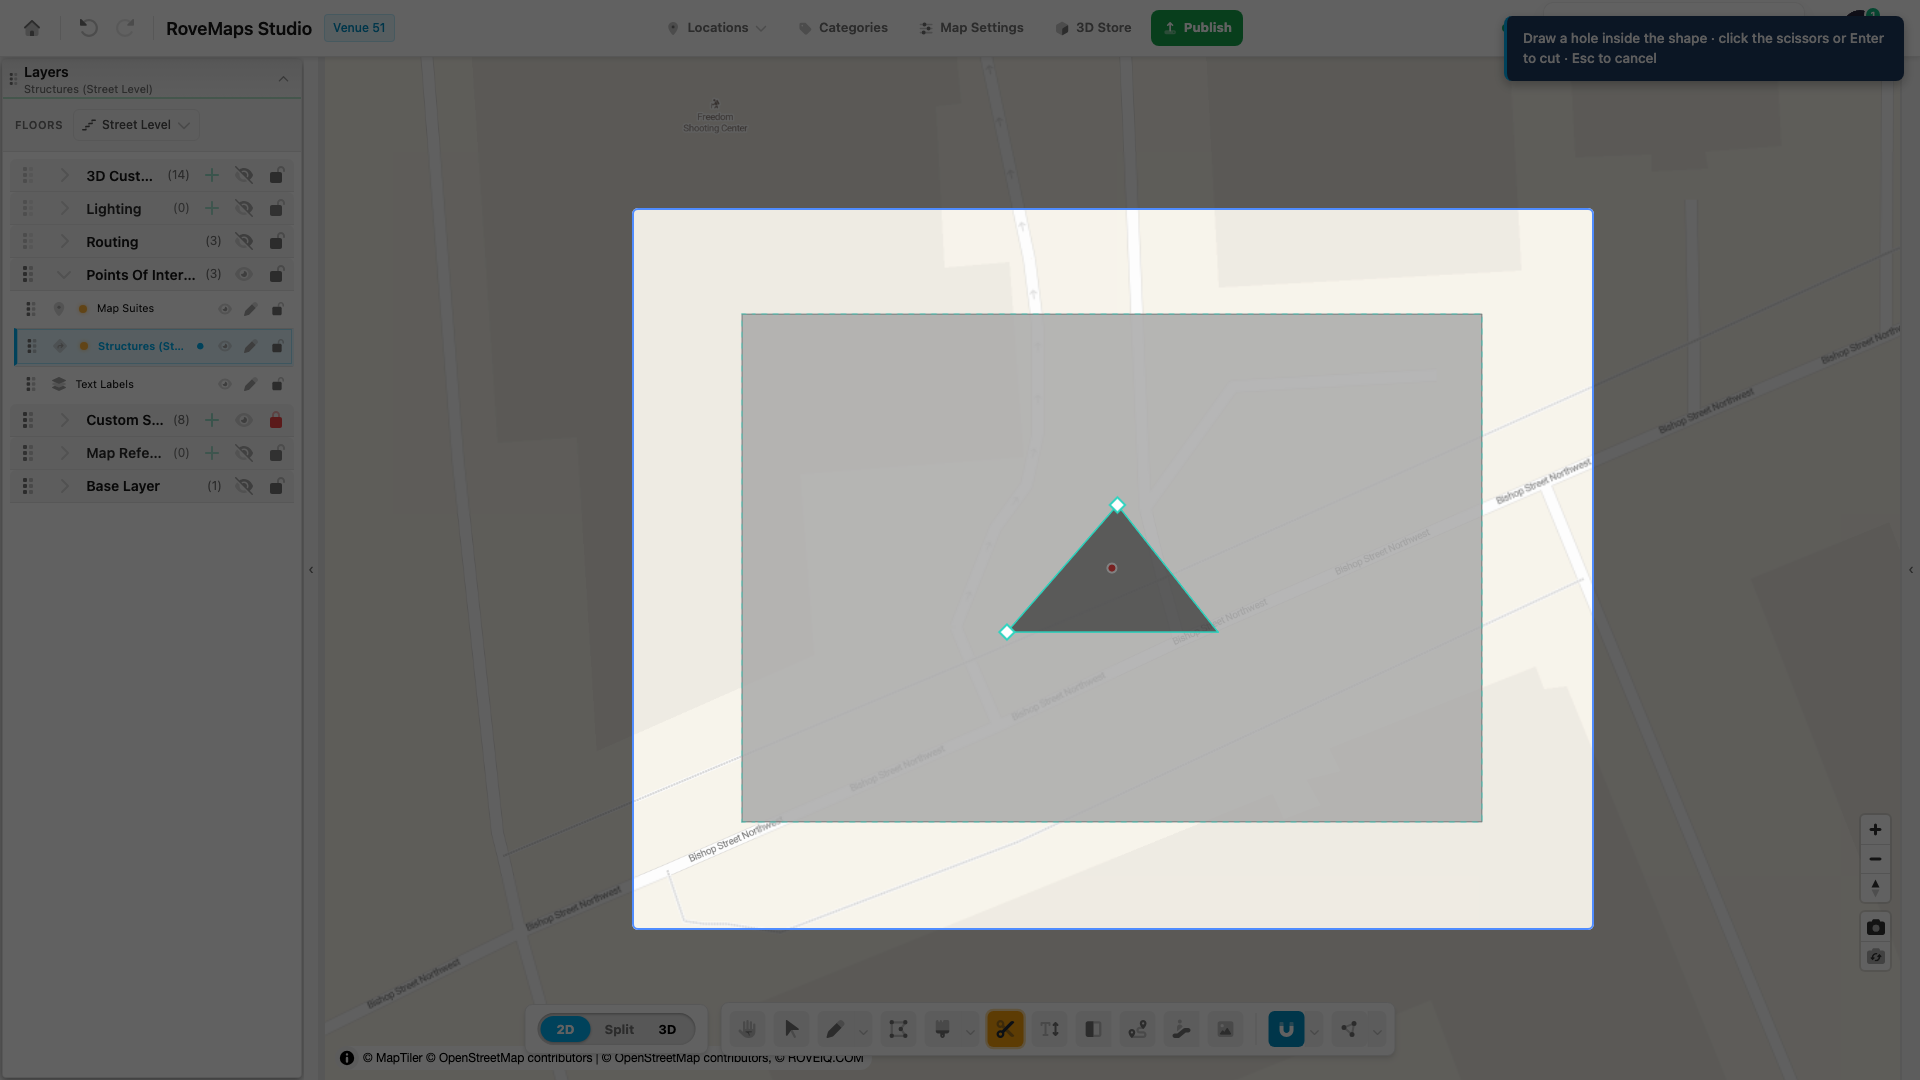
Cut an interior ring — a hole — into a polygon, such as a courtyard inside a building outline. The hole becomes part of the same feature, never a separate shape.
- Double-click a polygon to open it for editing in the Vertex Tool. Draw Hole stays disabled until a polygon is open for editing.
- Click Draw Hole in the toolbar (the circle icon), or press H.
- Click to place each corner of the hole inside the polygon, forming a closed ring.
- Finish it: click Draw Hole again or press Enter. Press Esc to discard the ring.
Notes
- The hole must fall entirely inside the polygon; a ring that crosses the outline is rejected.
- A hole needs at least three distinct corners and cannot self-intersect.
- Draw Hole (the circle icon) and Cut (the scissors icon) are separate toolbar buttons. To slice a polygon into separate shapes instead of punching a hole, use the Cut tool.
Submit a drawing
A freehand polygon isn’t saved until you finish its outline. Finish it in any of these ways:
- Double-click the last vertex.
- Right-click anywhere on the map.
- Press Enter — but not while typing in a text field.
The finished polygon is saved to the active layer, and the Draw tool resets so you can draw the next shape. Rectangles and circles commit on release, so they need no separate finish step.
Structures, suites, and doors
Drawing a polygon on a Structures layer creates three linked features in one atomic step:
- The structure polygon you drew.
- A map suite at its center, carrying the structure’s label.
- A door at its center, used as the entrance.
They are created — and undone — together. Drawing on a Custom Style layer instead creates a single style polygon with no suite or door. See Structures for the full model.
Edit or reshape what you drew
To reshape a feature after drawing it, select it and edit its vertices: double-click it (or press E with it selected) to enter vertex editing — drag a handle to move a point, hover an edge and click + to add one, or select handles and press Delete to remove them. To edit every vertex on the floor at once, use the standalone Vertex Tool. The Select tool opens the Selection panel, which shows the selected feature’s properties.
Undo and redo
Every edit is tracked so you can step backward and forward:
- Undo: Ctrl+Z (Cmd+Z on Mac).
- Redo: Ctrl+Shift+Z or Ctrl+Y (Cmd+Shift+Z / Cmd+Y on Mac).
Undo and redo are per-user — you only undo your own changes, never a collaborator’s. A multi-part change made in one action (a structure with its suite and door) undoes as a single step.
Glossary
- Sub-tool — the shape mode on the Draw button (Freehand, Square, Circle) for polygon layers.
- Freehand — place polygon vertices one click at a time.
- Square — drag a rectangle; hold Shift for a perfect square.
- Circle — drag a box; the circle is inscribed in it as a many-sided polygon.
- Hole — an interior ring cut into a polygon with the Draw Hole tool.
- Weld — a vertex placed on an existing edge or vertex snaps to that exact coordinate.
- Structure batch — the structure, map suite, and door created together by a Structures draw.