Custom Styles
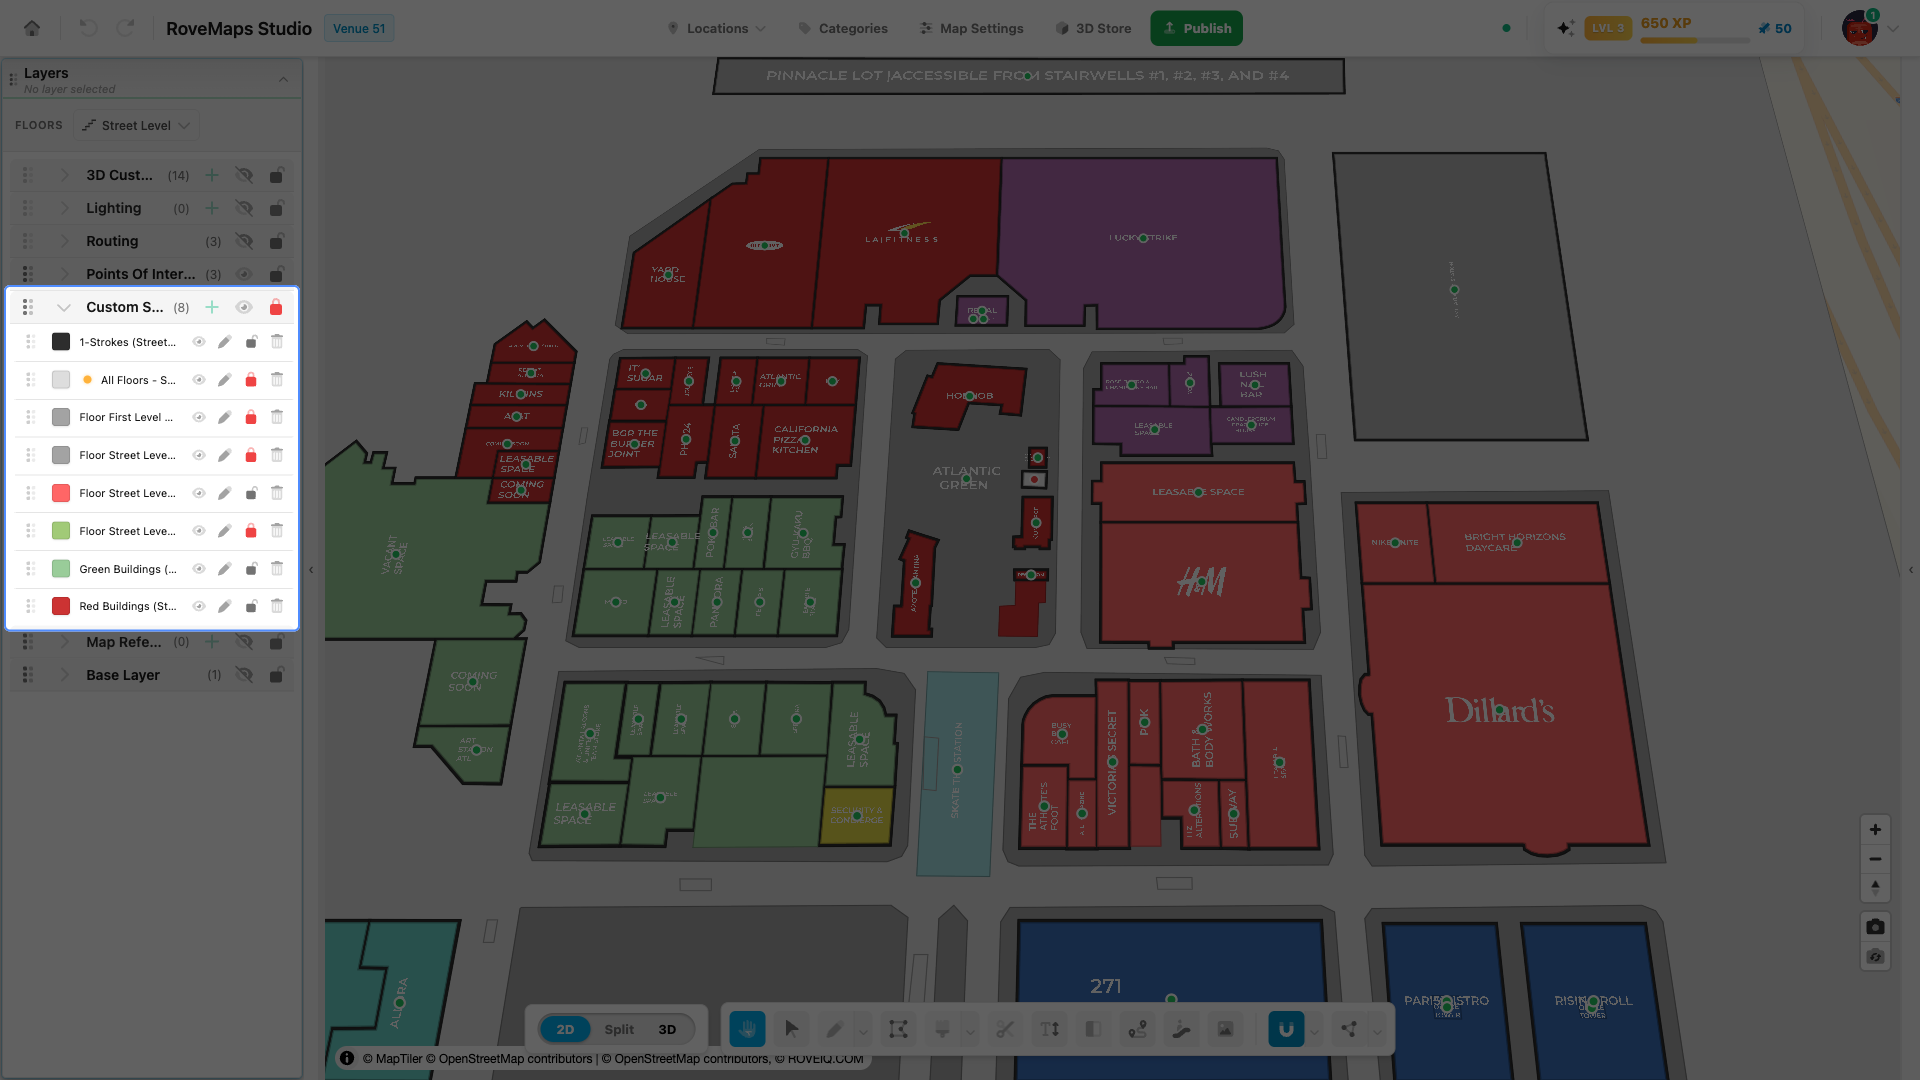
Custom style layers are colored, extrudable polygons you draw onto a floor — useful for water, landscaping, or any background fill that isn’t a structure. They live in the Custom Styles group in the Layers panel, where you add a layer, edit its appearance, and control how it renders.
Overview
Each custom style layer is a dataset of polygons that share one appearance — a color, an opacity, and an extrusion defined by Height and Base Height. Editing the layer changes every feature in it at once.
The Custom Styles group sits in the Layers panel and lists each style layer with its color chip. The group is ordered by total height (base height + height), tallest first, and its rows cannot be dragged to reorder — change a layer’s height to move it in the stack.
Add a style layer
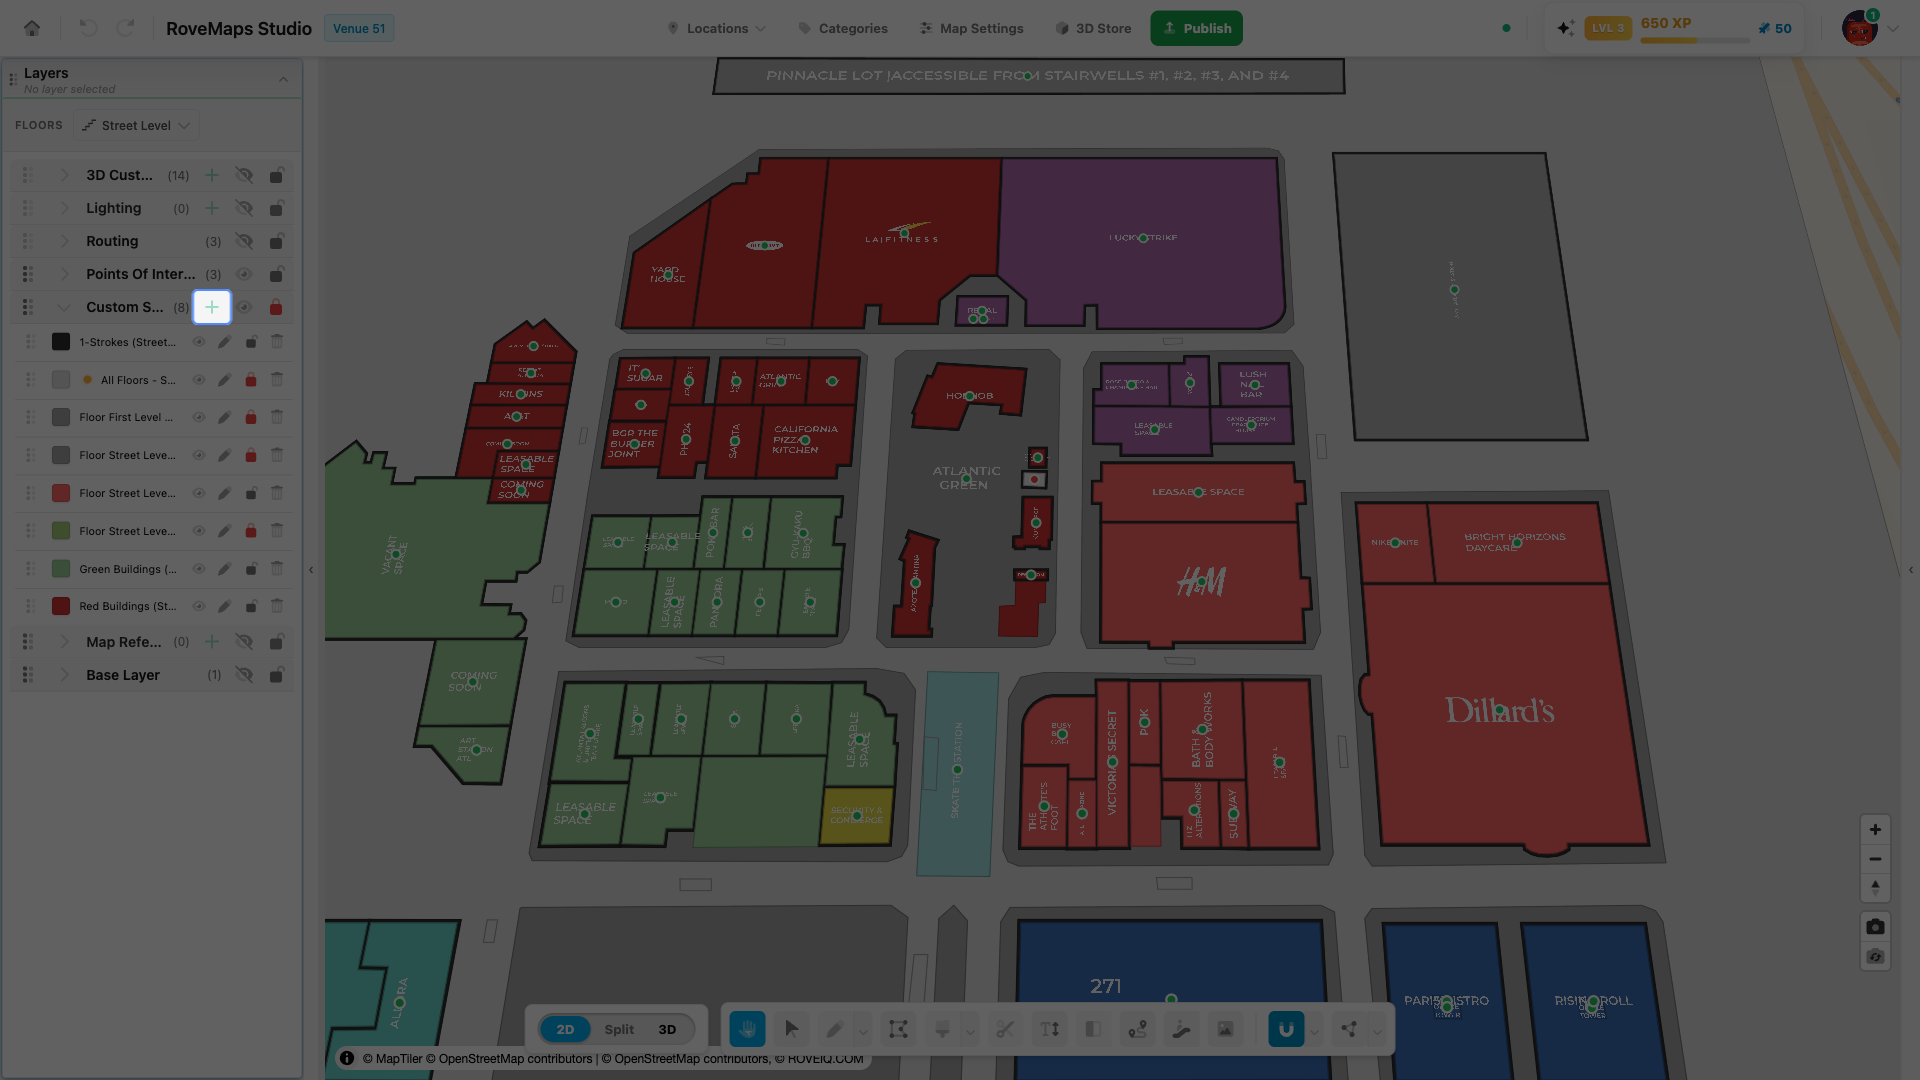
Add a layer whenever you need a new colored fill on a floor. A new layer starts empty — you draw its shapes afterward.
- In the Layers panel, find the Custom Styles group and click its add (+) button.
- In the Create Custom Style dialog, enter a Name.
- Set the Color with the color picker or by typing a hex value.
- Set Base Height (m) — where the extrusion starts. This is usually
0, meaning the base of the polygon sits on the ground. Then set Height (m) — how tall the extrusion is. - Adjust Opacity with the slider. Lower values make the style more see-through; 100% is fully solid.
- Leave Background layer checked to render the style behind other layers, or uncheck it.
- Under Floors, select at least one floor — these are the floors the style layer appears on. The current floor is pre-selected.
- Click Create.
Notes
- Create stays disabled until you enter a name and select at least one floor.
- The new layer is selected automatically. If the current floor is not one you assigned, the editor switches to the first floor you selected.
Publish impact: a new style layer stays in your draft until you publish. On Publish, custom style layers are sent upstream as geojson:styles datasets.
Draw a style feature
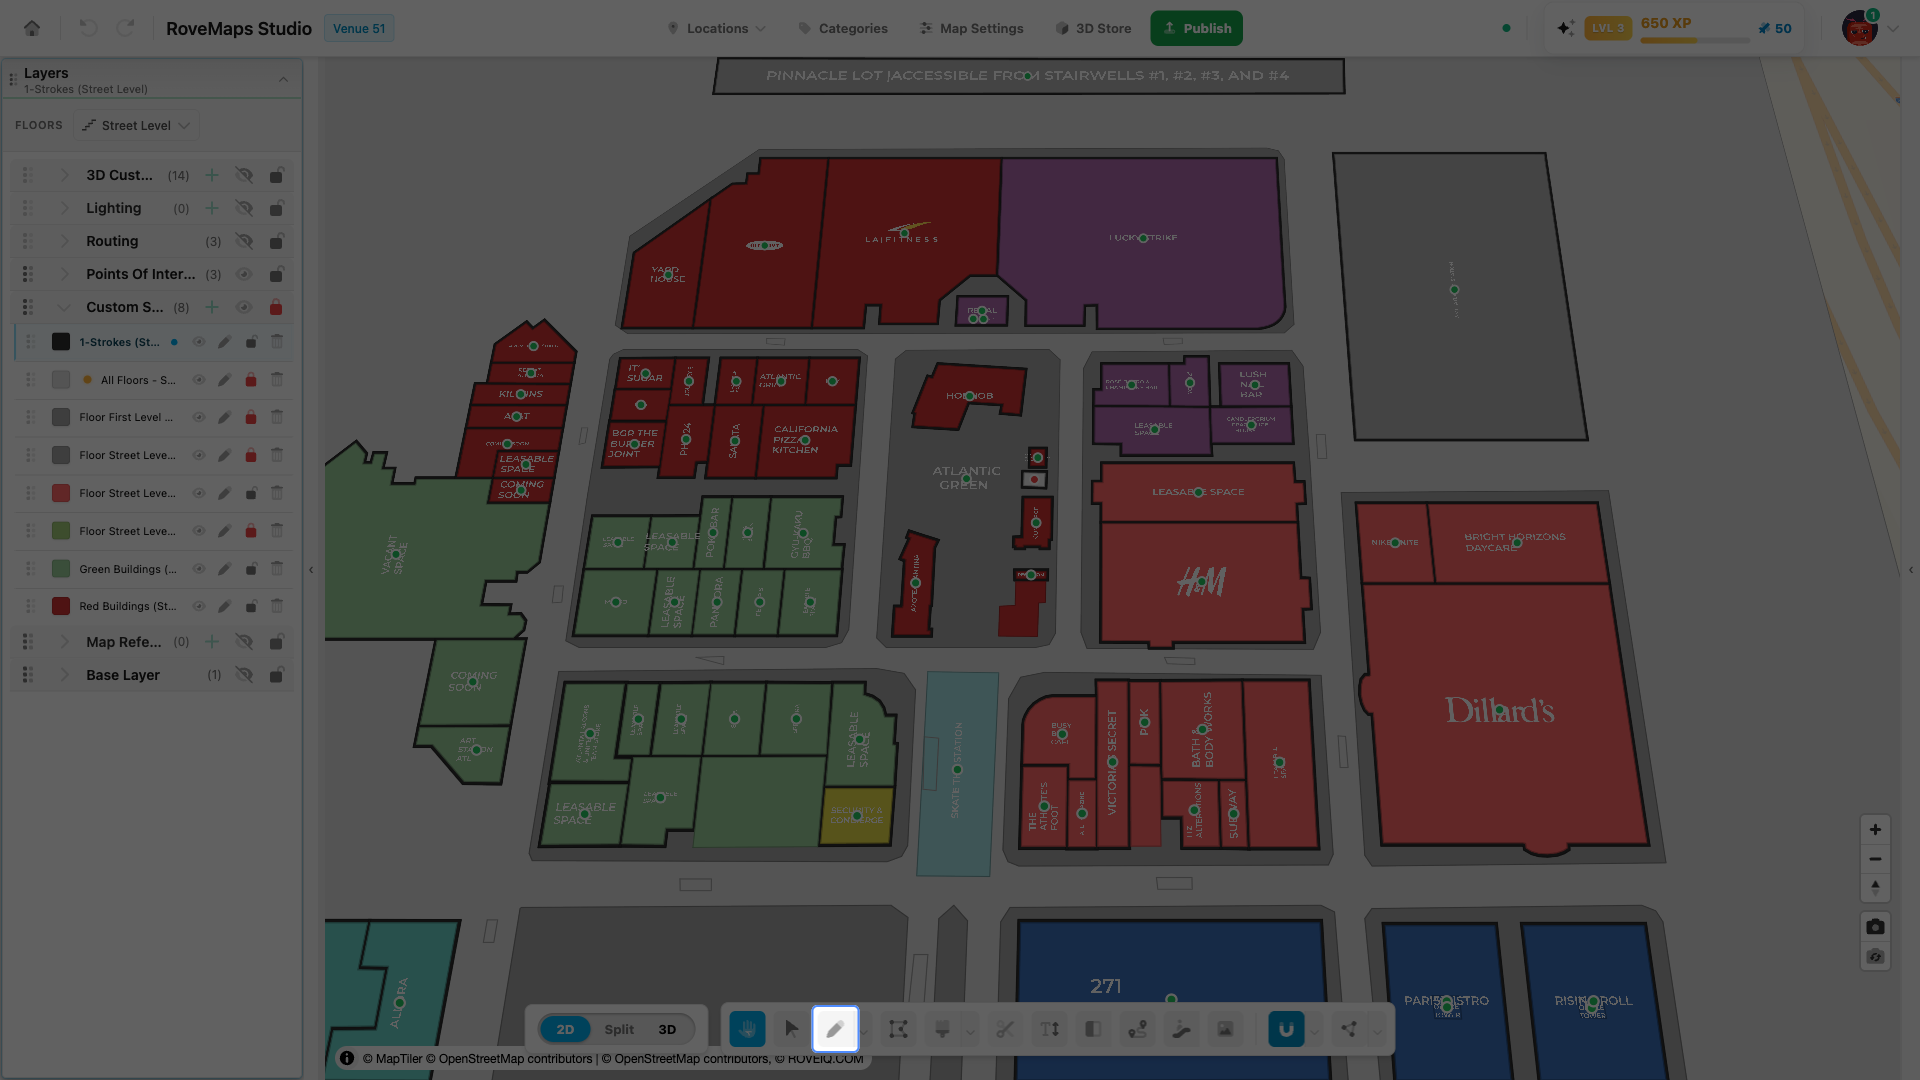
A new style layer has no shapes yet. You give it shapes by drawing polygons onto it with the Draw tool.
- Select the custom style layer in the Layers panel so it is active for drawing.
- Pick the Draw tool in the toolbar.
- Click on the map to place each vertex, then right-click to close and finish the polygon and add it to the map.
See Draw for the full drawing controls.
Edit a style feature
Once a style feature is on the map, you can move or reshape it.
- Enter edit mode — double-click the feature with the Select + Pan hand tool or the Select tool, or switch to the Vertex Tool to edit its vertices directly.
- Move it — with the Select + Pan or Select tool, click the middle of the polygon and drag to move it around the map.
Scale a style feature
Scaling a style feature in 2D is coming soon.
Edit color and height
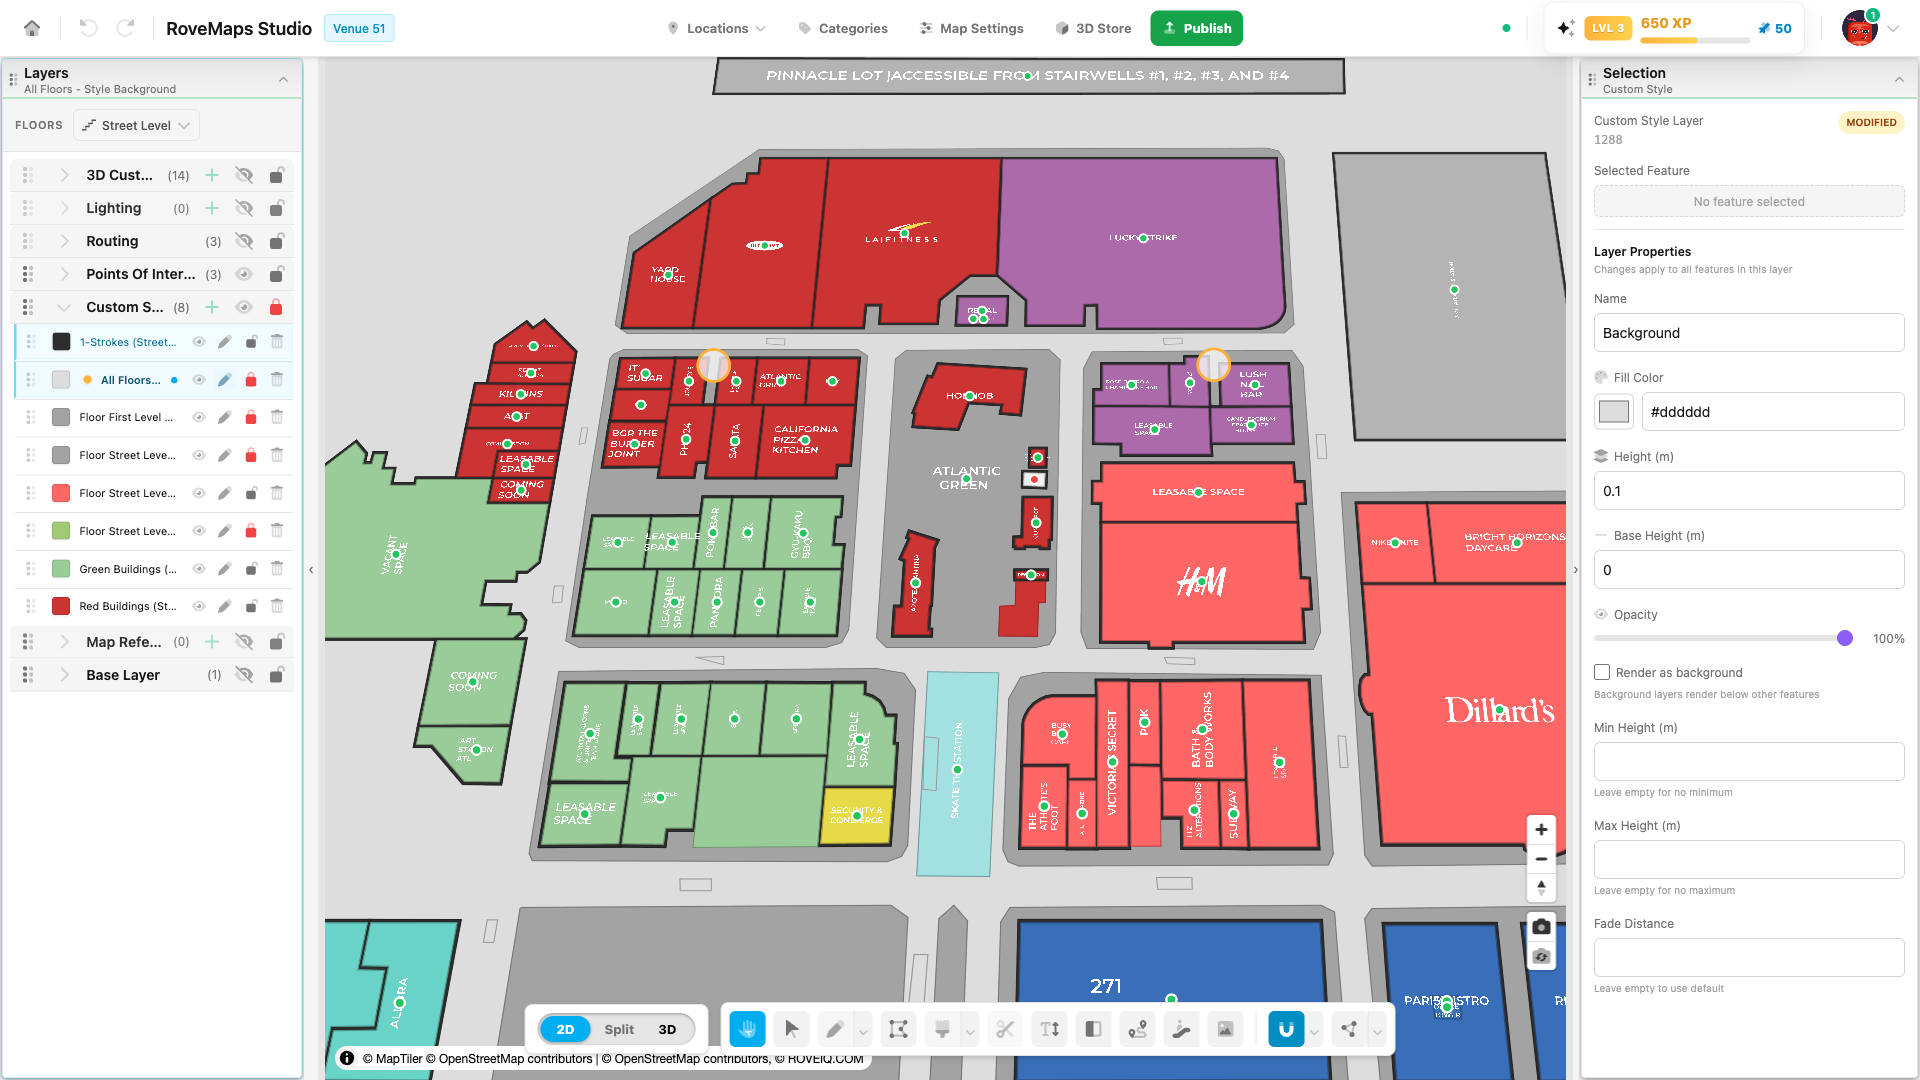
Click the Edit (pencil) button on a custom style layer’s row to open the Custom Style Layer panel. Its Layer Properties apply to every feature in the layer.
- Fill Color — pick a color with the swatch or type a hex value.
- Height (m) — how tall the extrusion is. Base Height (m) — where it starts above the floor.
- Opacity — fill transparency, from 0 to 100%.
- Render as background — when checked, the layer renders below other features.
- Min Height (m) / Max Height (m) — leave empty for no limit.
- Fade Distance — leave empty to use the default.
Notes
- Every change applies to all features in the layer, and the header status badge changes to modified once you edit a property.
- After you change Height or Base Height, the layer re-sorts in the Custom Styles group by total height, tallest first.
- If Max Height is below Min Height, the panel warns you but still saves the value.
- Heights are flat in the 2D map — switch to the 3D view to see the extrusion.
Publish impact: editing a style layer marks it as modified in your draft. On Publish, the layer is sent upstream as a geojson:styles dataset.
Delete a style layer
Deleting a style layer is coming soon.
View a style layer in 3D
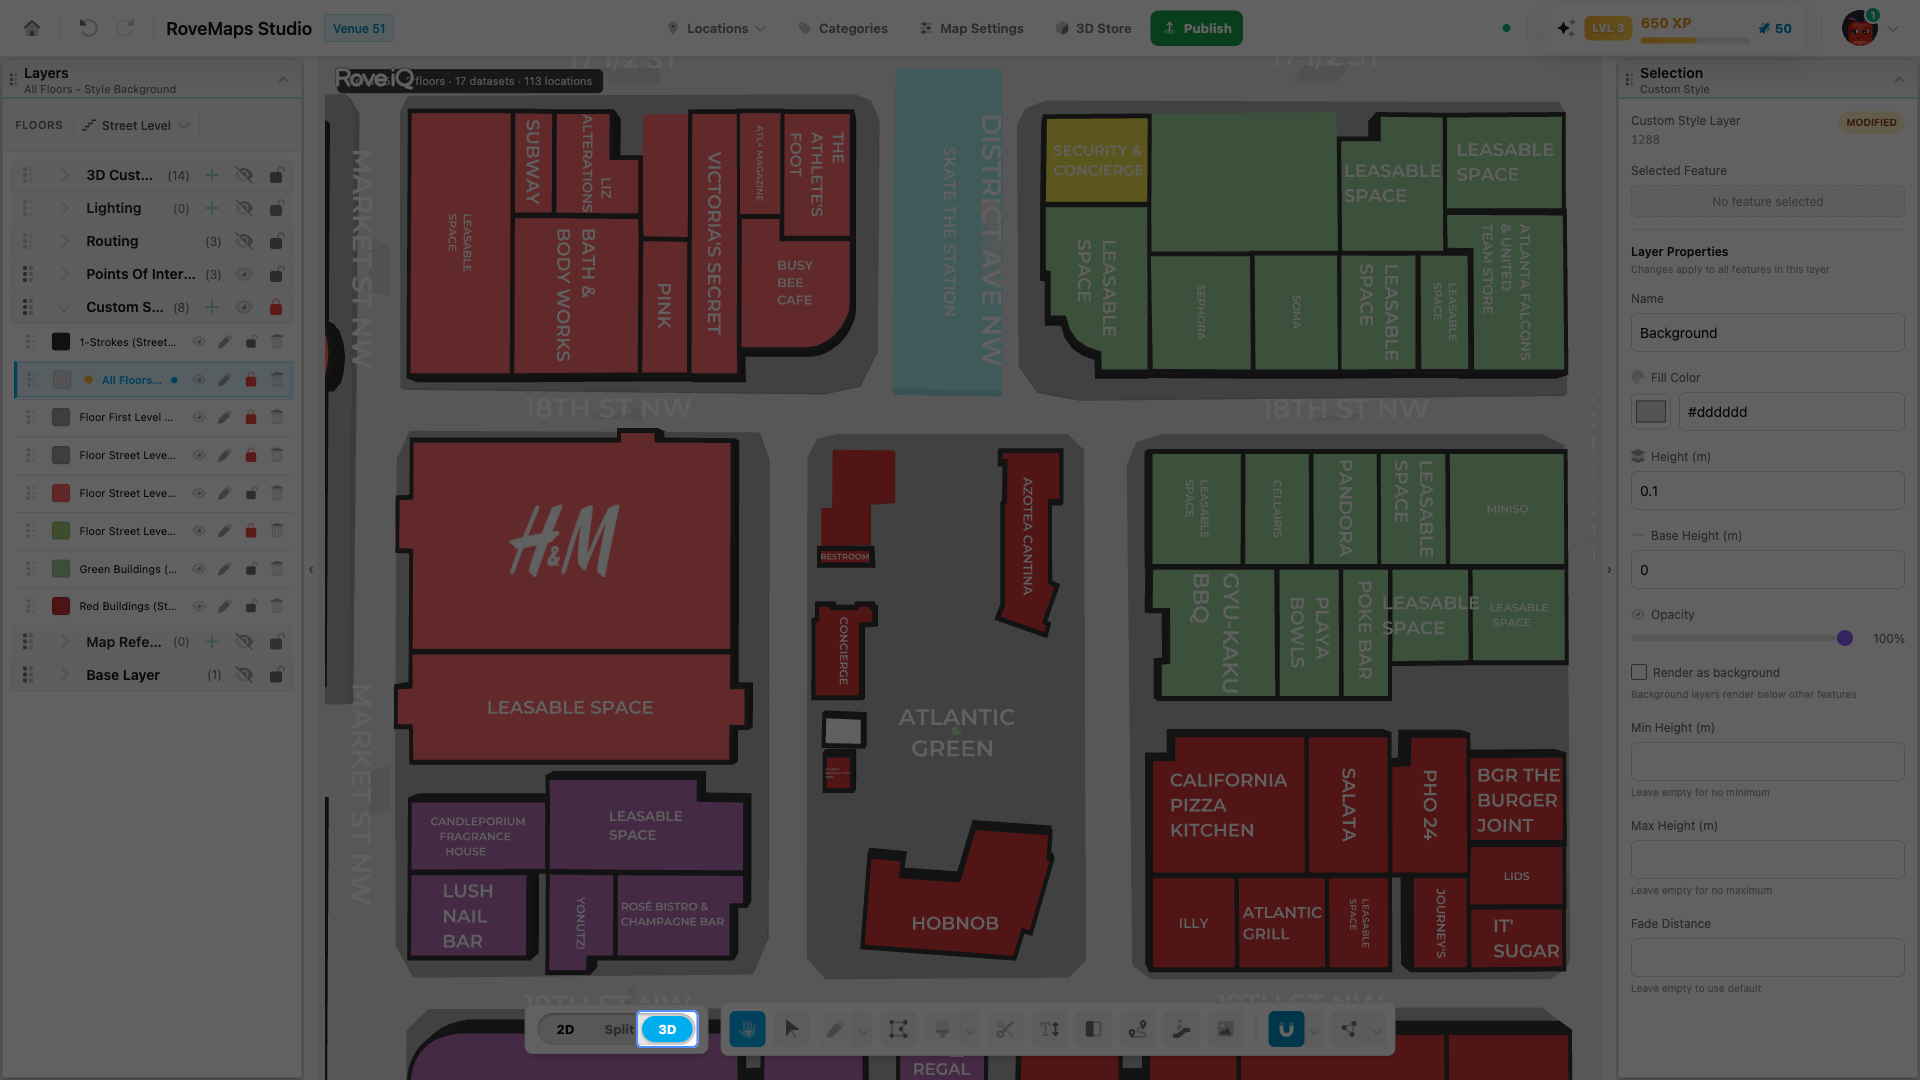
Custom style layers are extruded by their height and base height, which is flat in the 2D map. Switch the editor to the 3D view to see the extrusion, color, and opacity in three dimensions. This is a viewing change only — it does not edit your draft.
- In the editor toolbar, find the view control with 2D, Split, and 3D segments.
- Click 3D to show only the 3D scene, or Split to show the 2D map and the 3D view side by side.
- Your custom style layers render as extrusions using their Height and Base Height.
Notes
- Split and 3D stay locked until the required 3D setup steps are complete. 2D is always available.
- In Split, click the ▾ caret beside the label for Orientation, Swap sides, and Link cameras.
Glossary
- Custom style layer — a dataset of colored polygons sharing one appearance, drawn onto one or more floors.
- Fill Color — the color applied to every feature in the layer.
- Height — how tall the layer’s extrusion is, in meters.
- Base Height — where the extrusion starts above the floor, in meters. Usually 0, so the polygon sits on the ground.
- Opacity — how see-through the fill is, from 0% (invisible) to 100% (solid).
- Background layer — a layer that renders below other features.
- Min Height / Max Height — optional limits on the rendered extrusion.
- Fade Distance — the distance at which the layer fades; empty uses the default.