Stroke Tool
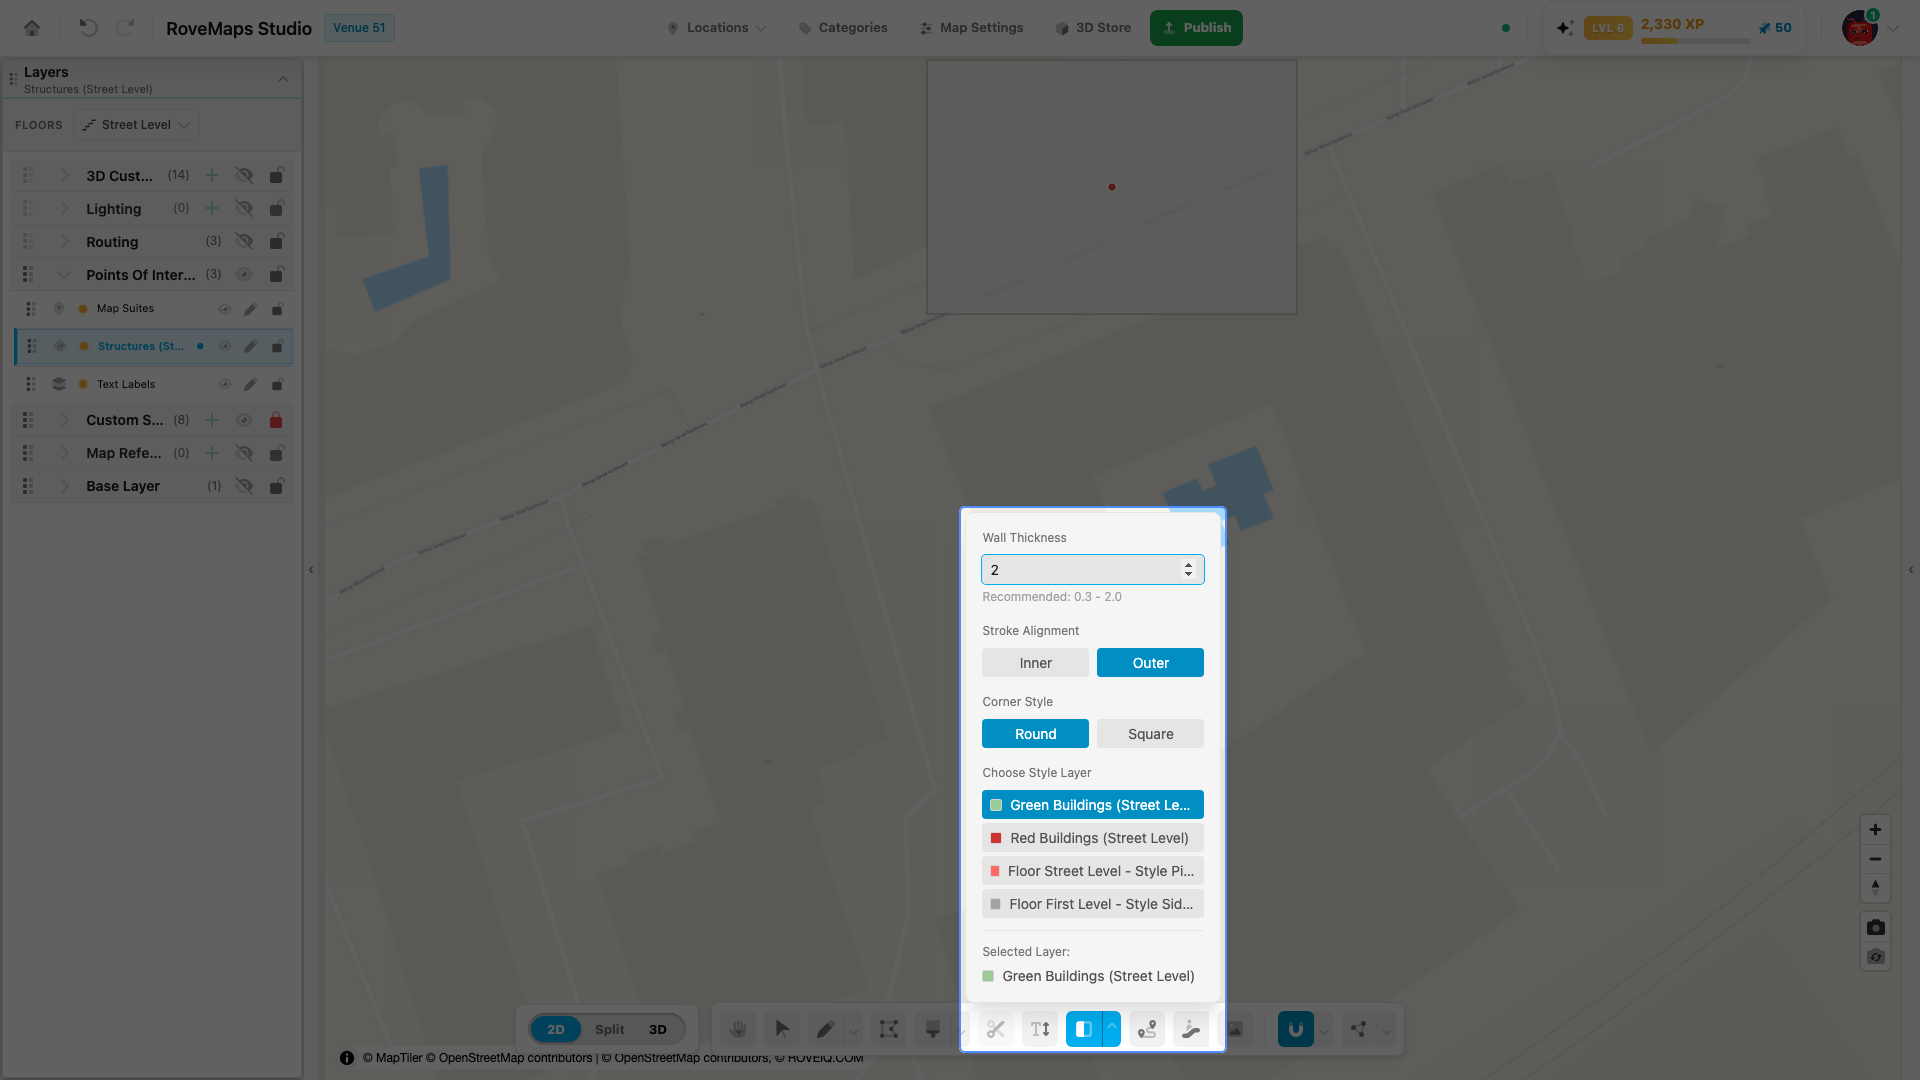
The Stroke Tool turns a polygon’s edge into an outline ring — walls along a room, a curb around a pad, a border around any filled shape. Hover a polygon on the selected layer to preview the ring, click to create it. The ring is always created as a feature on a custom style layer, never on the source layer.
Make a stroke
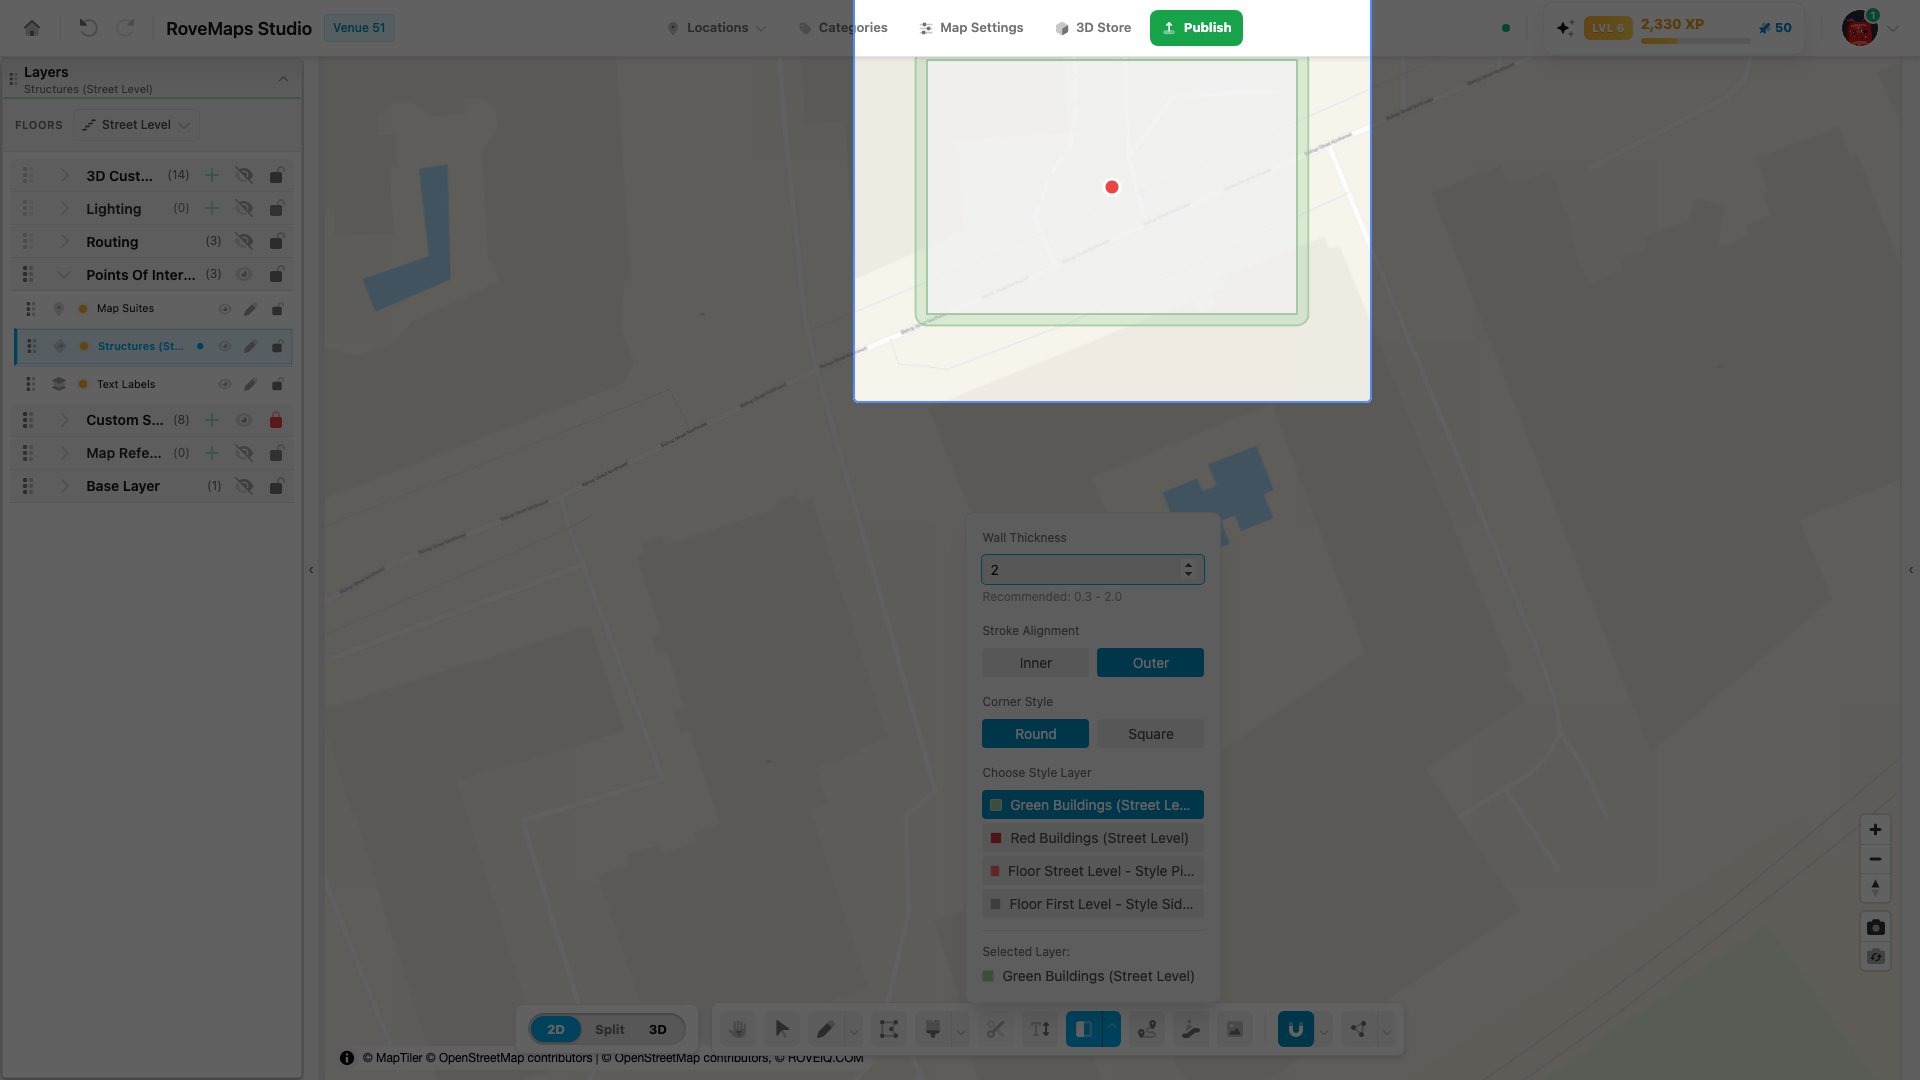
- Select a polygon layer (structures or a custom style) in the Layers panel — the Stroke Tool stays disabled until a layer is selected.
- Click the Stroke Tool in the toolbar. Its settings panel opens with Wall Thickness, Stroke Alignment, Corner Style, and the target style layer list.
- Hover a polygon on the selected layer — a preview ring appears in the target layer’s color.
- Click the polygon to create the ring.
Notes
- The stroke is computed from the polygon’s true geometry, not the on-screen tiles.
- Each click is a complete stroke — there is no finish step, and each stroke is one undo (Ctrl+Z / Cmd+Z). Pick another toolbar tool to leave the Stroke Tool.
- Switching floors deactivates the tool — the source layer and the floor’s style layers change with the floor, so select a layer on the new floor and start again.
- Coincident duplicate points on the source are welded automatically first (a message reports how many were cleaned). A shape that collapses to a line, or whose outline crosses itself, is refused with a message explaining why.
- An outer ring that breaks into several pieces is created as separate style features.
Publish impact: the ring is created on the chosen custom style layer, which publishes as part of
that layer’s geojson:styles dataset. It stays in your draft until you Publish.
Inner and outer strokes
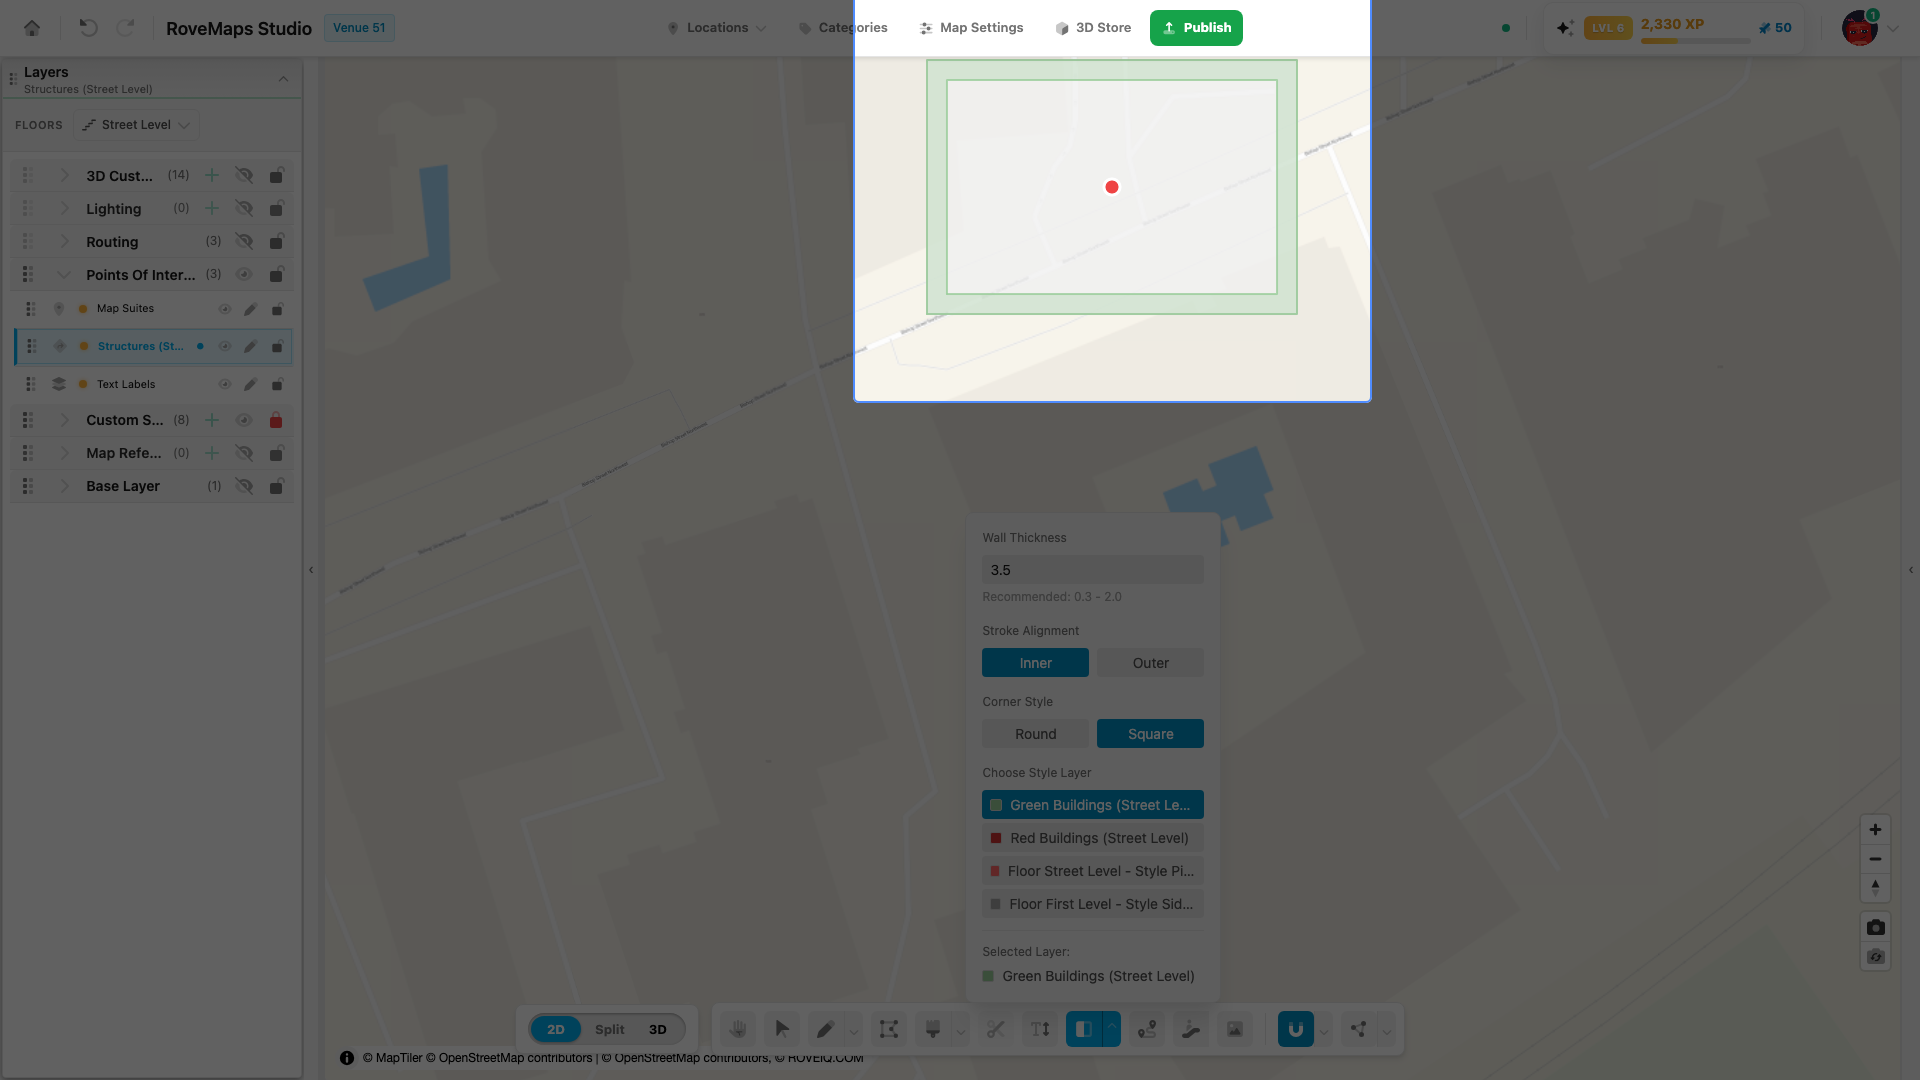
Stroke Alignment sets which side of the edge the ring is built on. Default: Outer.
- Outer builds the ring outside the polygon’s edge. The source polygon is left unchanged.
- Inner builds the ring inside the edge and shrinks the source polygon to fit inside it, replacing the source geometry.
Notes
- An inner stroke that would split the source into multiple polygons is not committed.
- A width too large for a small polygon can leave no room for an inner ring — nothing is created; lower the width or use Outer.
Choose the custom style target
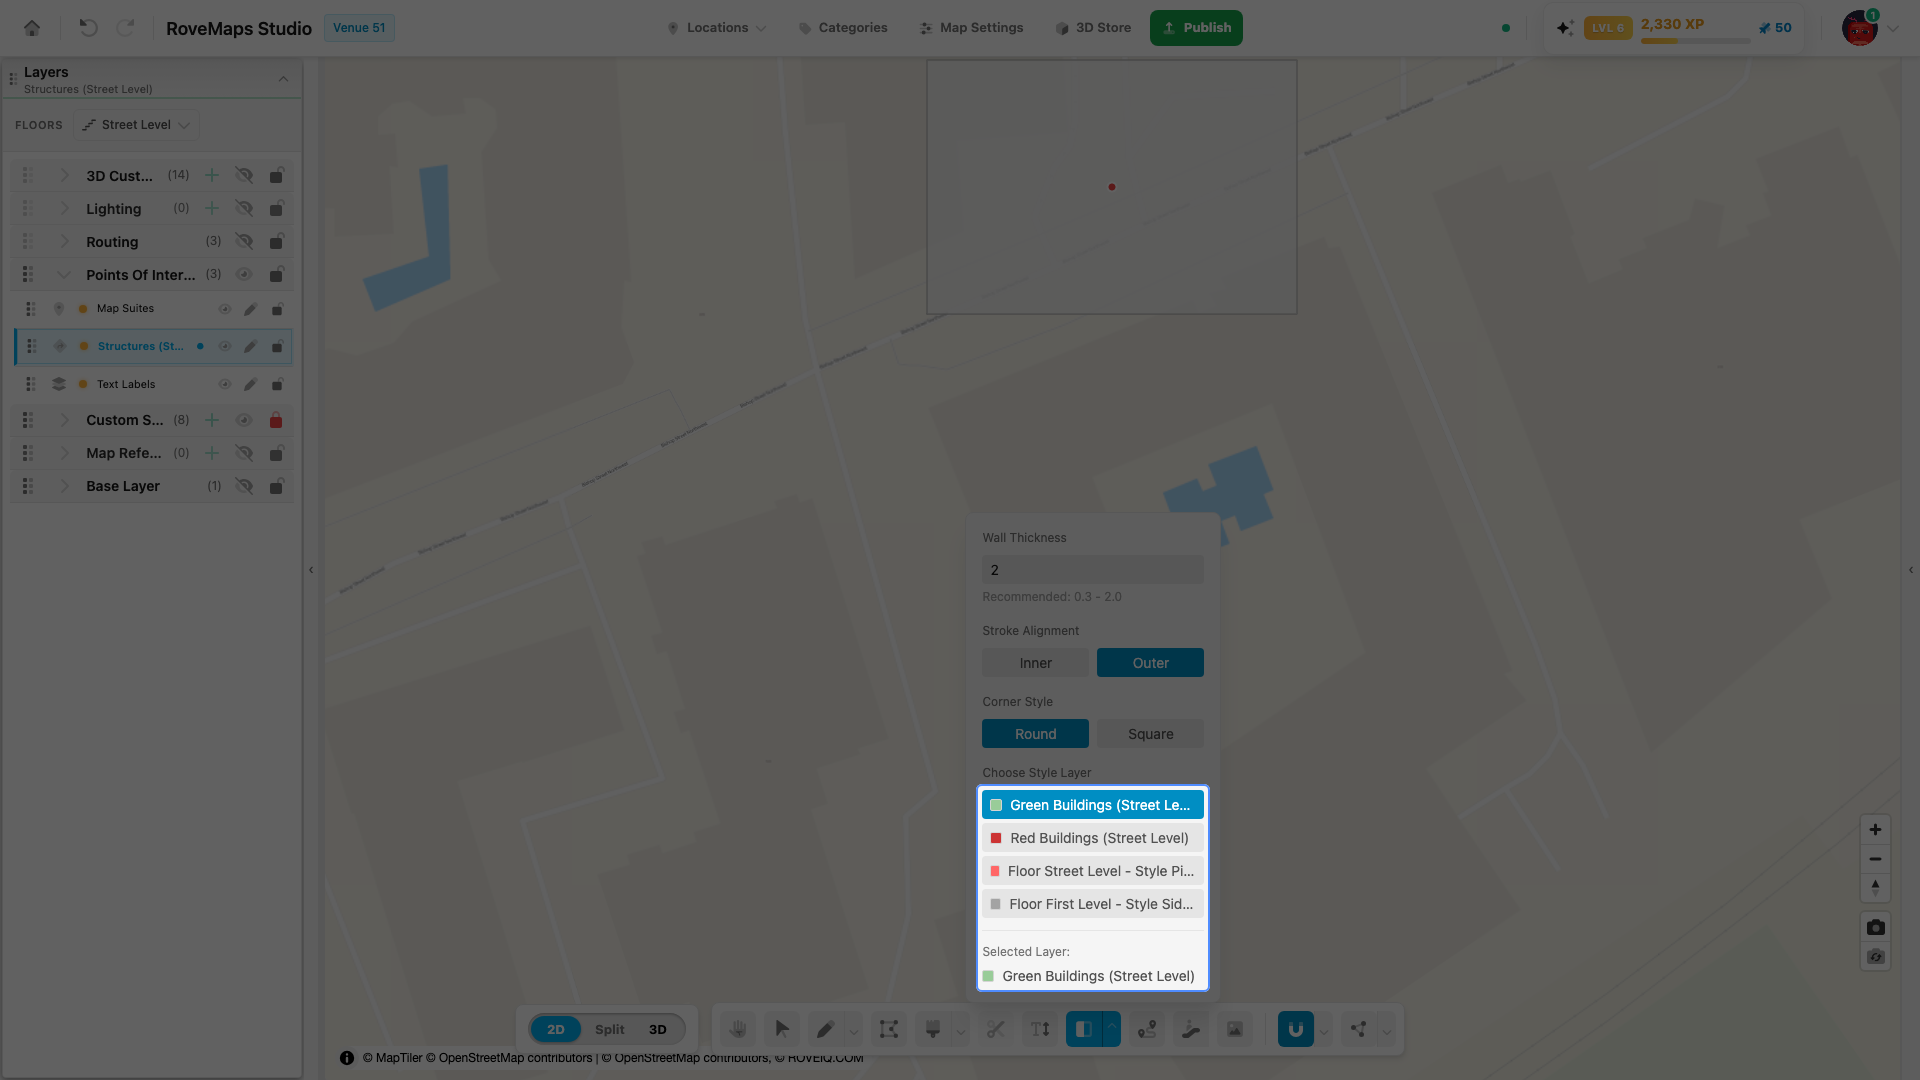
The Choose Style Layer list sets which custom style layer receives the ring.
- With the Stroke Tool active, find your custom style layers in the settings panel — each shown with its color swatch and name.
- Click a layer to make it the target. The current choice appears under Selected Layer:.
Notes
- The list shows only custom style layers on the current floor (a layer with no floor binding shows on every floor and always stays).
- The first custom style layer is selected automatically; if your target is removed, the panel falls back to the first available one.
- With no custom style layers the panel shows No style layers available — add a style layer first.
- The ring inherits the target layer’s color, opacity, and height.
Set the stroke width
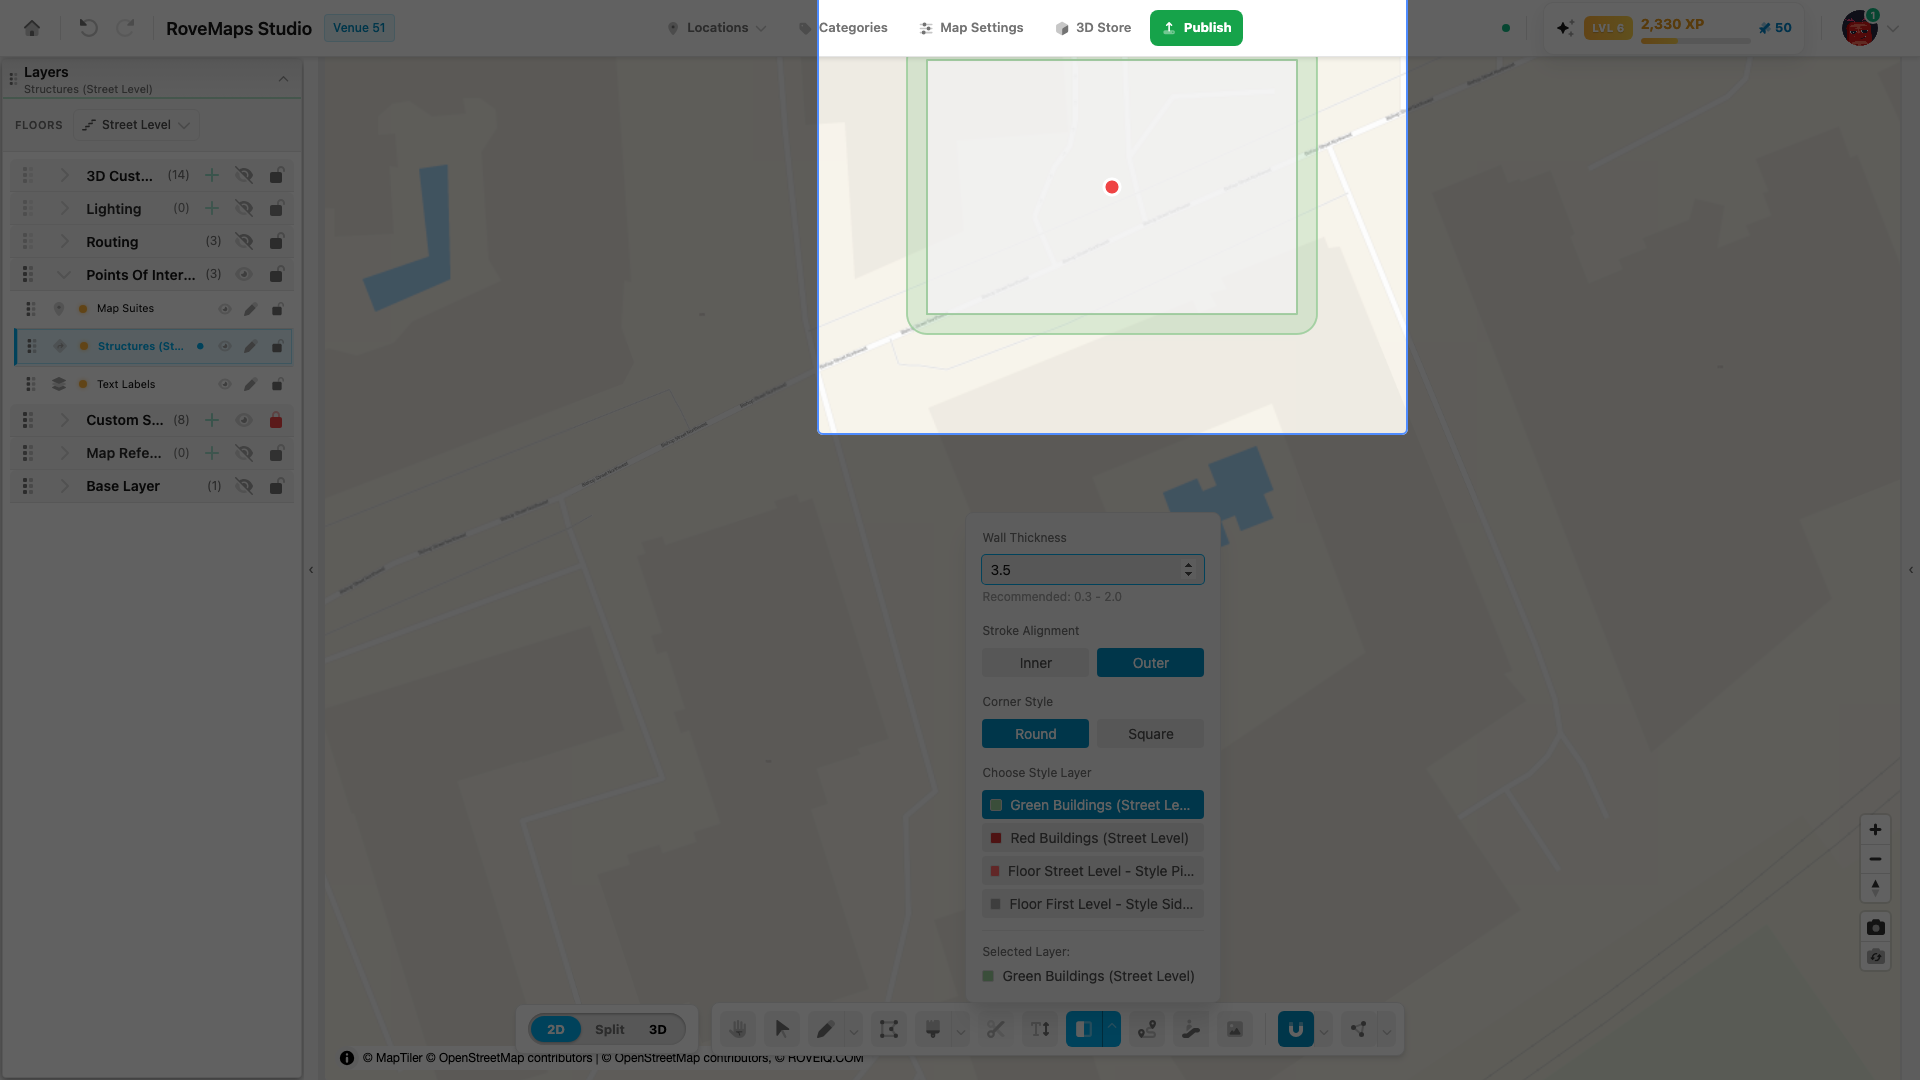
Wall Thickness sets how thick the ring is, in meters.
- Type a value in the Wall Thickness field — 0.1 to 5.0 meters in steps of 0.1 (default 0.5; the panel suggests 0.3–2.0).
- Hover a polygon to preview the ring at the new width, then click to create it.
Notes
- The width is the distance the edge is offset — it applies the same way to inner and outer strokes.
Round and square corners
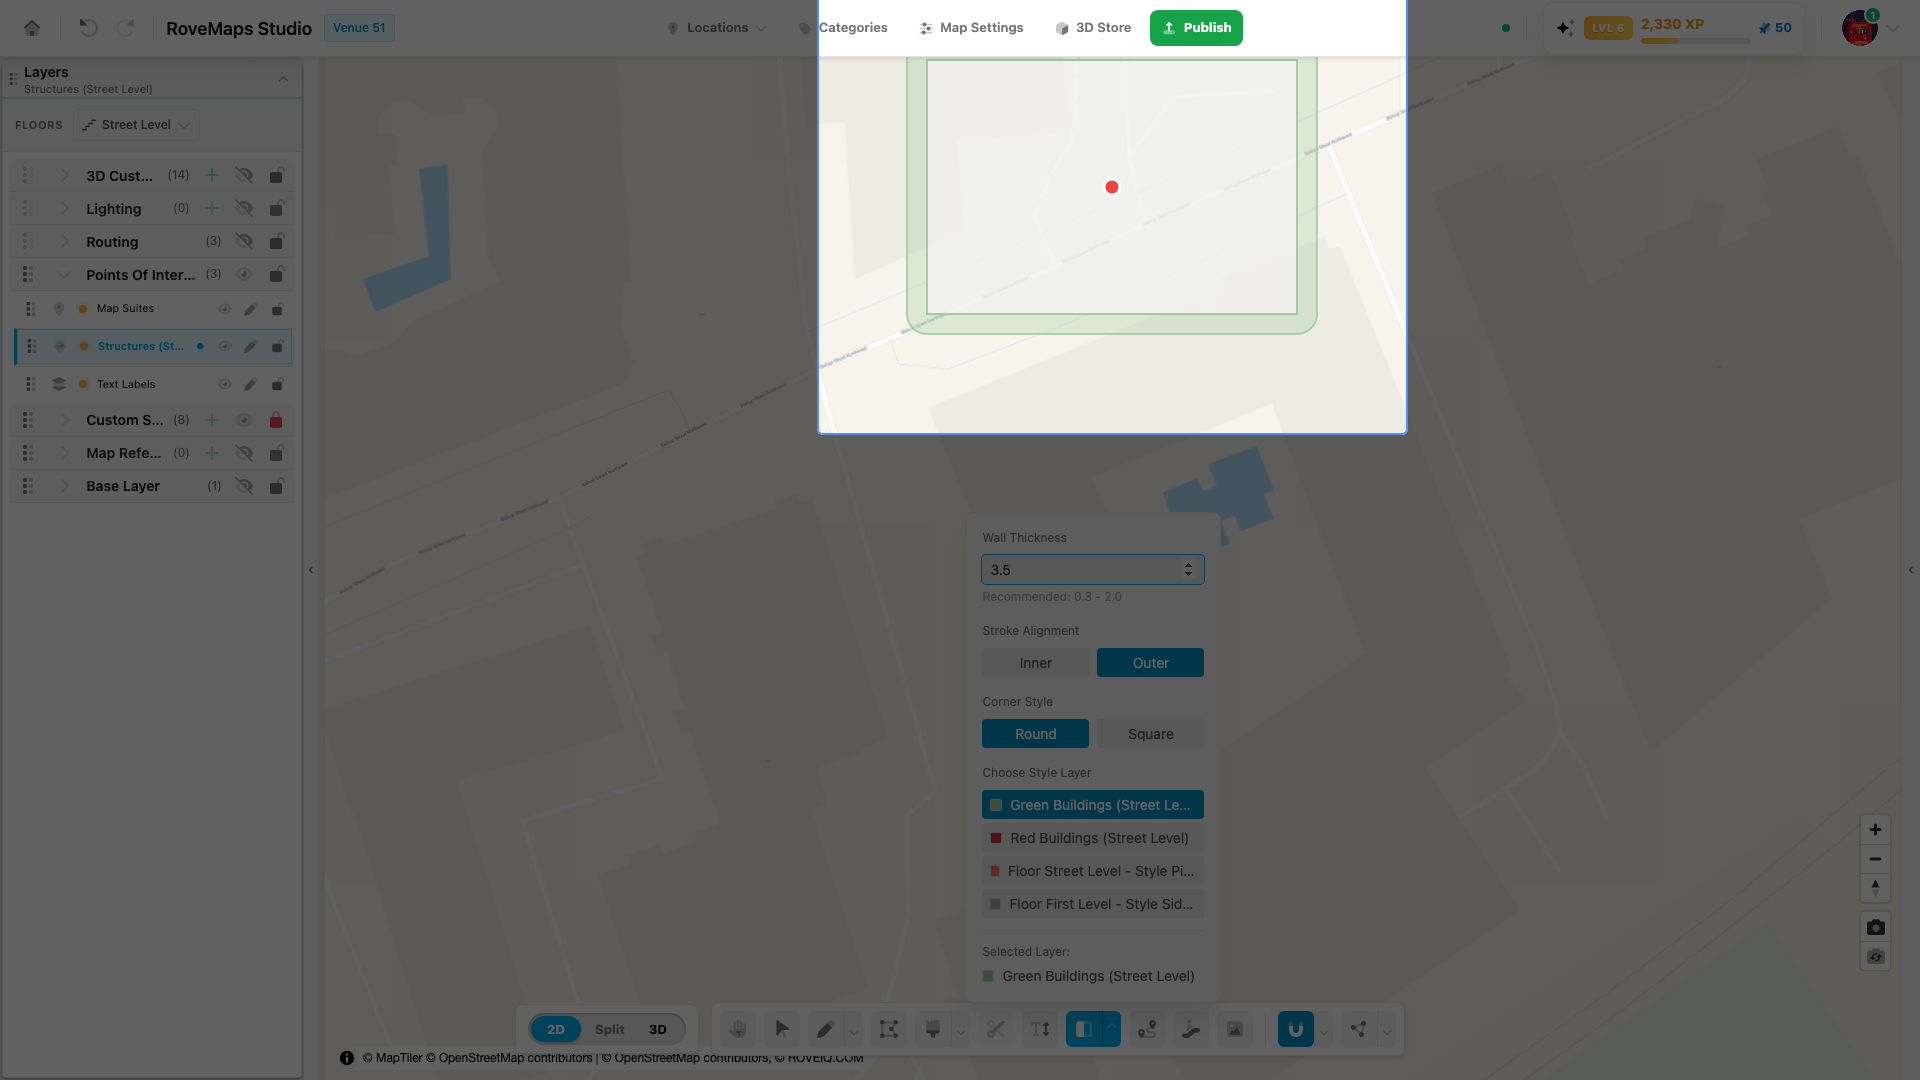
Corner Style sets how the ring turns each corner of the polygon. Default: Round.
- Round sweeps each corner with a curved arc.
- Square keeps corners sharp by offsetting the edges in straight lines and joining them at a point — like mitre corners in QGIS.
Notes
- The setting applies to both inner and outer strokes.
- On a very sharp (acute) corner, Square falls back to a plain offset point rather than a long spike, so the corner stays clean.
Glossary
- Stroke / ring — the outline feature the tool creates from a polygon’s edge.
- Wall Thickness — the ring’s width in meters (0.1–5.0).
- Stroke Alignment — which side of the edge the ring is built on: Outer (outside, source untouched) or Inner (inside, source shrunk to fit).
- Corner Style — Round (arced) or Square (sharp mitre) corners.
- Target style layer — the custom style layer the ring is created on; it gives the ring its color, opacity, and height.